Arranging, Recording, Mixing & Mastering A Song (Pt.2 Sp Edition)
By bassman2112 13 Comments
Hey again,
Thanks to everyone for all of the great feedback and interest in Part One!
So far we have talked about what it's like to write a song, as well as some general ideas of how to arrange one. For this tutorial, I chose to do an arrangement of Darren Korb's Setting Sail, Coming Home from the Bastion soundtrack. Rather than simply try to recreate the original, I opted to create an A Capella version (you can find the process, as well as some examples of the sheet music back on Part 1).
I would like to preface this tutorial by saying that I will be doing my best to use language that everyone can understand, and will avoid talking about things that get too technical. If you have specific questions, be them basic or complicated, feel free to ask them in the comments or send me a private message and I will do my best to give you a clear & simple answer =)
Now that we have an arrangement that's ready to hand to my players, let's do just that and get this thing recorded.
(You are probably curious why this is a "Special Edition." Well, read on and you'll find out =) But be prepared, this will be a very long post)
Recording & Initial Editing
As you might expect, when you're working with live instruments, you're more than likely going to want some kind of way to get that sound into your computer. Sure, MIDI is an option (and an amazing one, at that) but it'd be nearly impossible for me to do a completely vocal arrangement with MIDI. This means that I'm going to have to get my singers' voices onto my computer via an Interface and a Microphone.
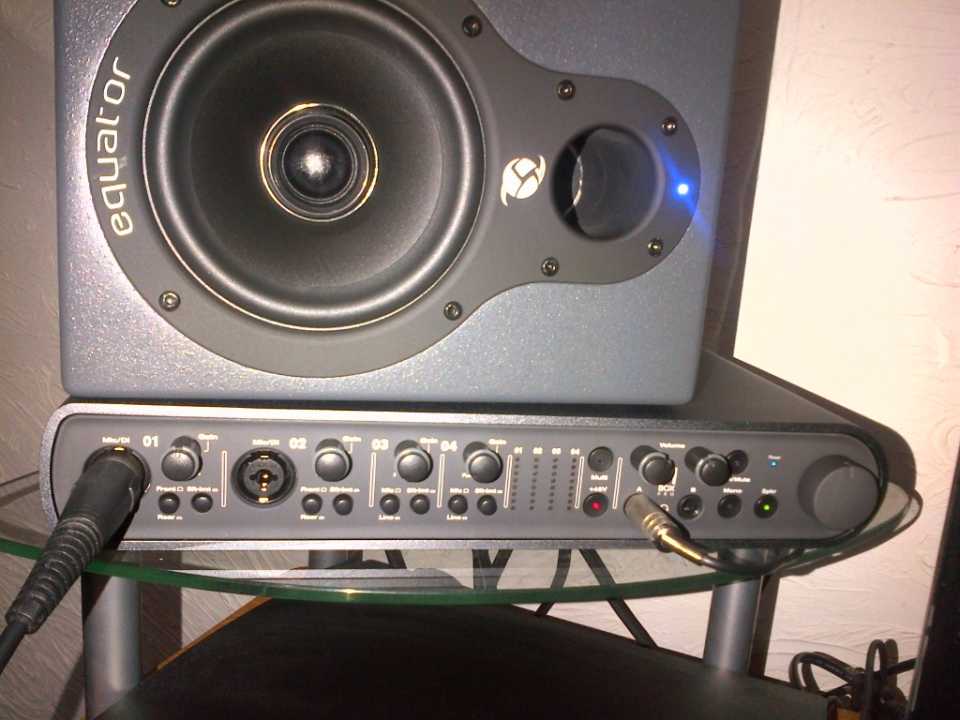
Above is what I used for getting my signal from the microphone into my computer. It is an MBox Pro Firewire Interface. Interfaces are one of your best friends when it comes to making & producing music in your home studio. Interfaces act as hubs for absolutely everything. Every signal that is going into your computer is connected directly through the interface, and every signal that comes out goes straight back to the interface. As you can see with the picture above, on the right side there is a 1/4 inch cable plugged in - those are my monitor headphones. Around back, my monitors (speakers) are also plugged in. On the left is where my microphone is plugged in. Every raw bit of audio coming in or out is handled by the interface.
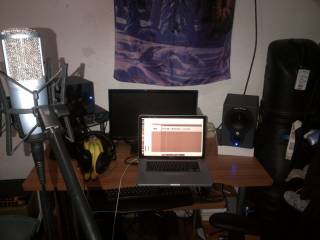
The MBox Pro is fairly expensive, but you can find USB/Firewire interfaces for very reasonable prices by searching around Amazon and similar sites =)
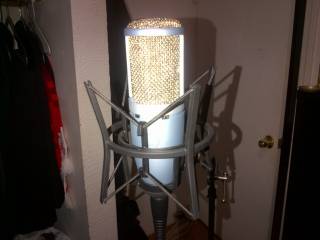
To the left is a picture of my general setup. Just so you're clear on my equipment: I am using a Macbook Pro 15" with Logic Express 9 (the simplest version of Logic) to record & mix everything. My monitors are Equator D5s. To the right is the microphone I used to record my own vocals. My other vocalists recorded with their own.
Now that equipment is out of the way, let's talk recording.
I'm going to let you guys in on a secret - I did not record any of this in a sound-proofed room.
That's right, it is not taboo to make recordings without having to invest thousands and thousands of dollars in sound proofing equipment. You can get recordings that sound just fine with a regular room! Would I release songs recorded here on an album and sell millions of copies? Probably not. Realistically, If I wanted to do that then I'd definitely go for a room with great isolation from sound so my mic is only picking up frequencies from the voice; but unfortunately I'm not quite selling millions of albums. For the purposes of a more grounded professional musician, I'm content to work in my bedroom if a studio isn't available.
As far as micing technique goes, that is completely up to you. I did not use a pop screen when recording because I'm a fairly dry singer, but I know one of my male singers did indeed use one. How far away from the mic the singer should be is dependent on how loud they sing, how much gain you are giving them, et cetera. For singers, mic technique is all about trial and error. If you're micing instruments, it's a very similar concept except you likely will not be using a condenser mic for amps - you'd be better off with a dynamic mic like an SM57 directed at the speakers (probably with a -10 or -20 dB pad set). This is because compressor mics are picking up everything in the room as well, but you will only want the amp's sound if you're recording a guitar (for example).
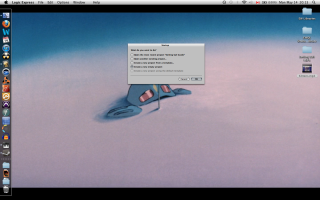
Alright, let's bring our singers into the project now. As previously mentioned, I'll be doing the entirety of this project in Logic Express 9, but all of the concepts I'm putting forth can translate to whatever DAW (Digital Audio Workplace) you are using. Common DAWs include Logic, Pro Tools, Cubase, Ableton, Reaper (Free!!), Digital Performer, among many others.
As you can see from image on the left, I'm not using a template when starting this all up so I can show you every step.
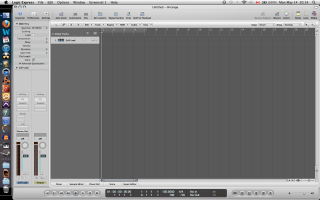
Now, the first thing you're going to want to do upon entering your DAW's workspace is create a track. Usually you'll be prompted to make one, in this case I've made a mono audio track (I'm not recording in stereo, so stereo would be superfluous for this track). As you can see, my input is not set (bottom left side where it says I/O [Input/Output], the spot for input is blank) - that is my next step, so I am able to actually start using the audio from my microphone.
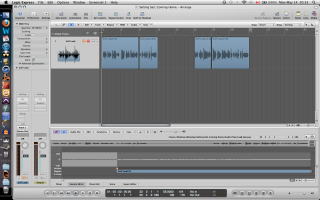
Now my input has been set (notice it says Input 1 under the I/O now). You will notice that on my track, I have the little "R" and the little "I" selected. The "R" is having the track 'Record Enabled,' meaning that when I hit record that track will be the one recording. The little "I" is for 'Input Monitoring,' which means I can hear my own voice through my headphones since the program is sending the signal out for me.
I have also finished my recording of the first track with the image on the left. As you can see, the track is not all one long chunk of sound like you would expect, it is broken into smaller pieces. This is because I have gone back and chopped up my recording where there is total silence. (As an aside: when I cut away silence, I try my damnedest to never take away any breaths - breathing make it sound organic. Taking away the breathing will make your recording sound lifeless and synthetic.) This is a practice you'll see throughout this tutorial - I like to segment my audio into smaller portions so I have a visual aid that can help me easily identify the various sections of the song. This is important, you will see this come back at the end.
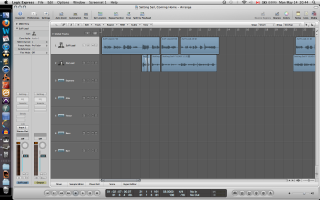
Next up, I recorded my next track of vocals & chopped away the silence accordingly. You'll probably notice that in the new track, Zia Lead, that there is a little section with some white curves. Those are fades. What happened there is that my female singer had different timing than my male, so in order to line them up I made a cut between two of her words, changed their positioning, and faded between them to make it sound smooth/natural. I used the 'Fade Tool' in Logic to do this. You can find the Fade tool by clicking the spot on the upper right side (under 'Notes' & 'Media') that has the little cursor macro and switch to the 'Fade Tool.' Then it is just a matter of dragging and adjusting the curve to your liking.
Another thing you'll notice about the previous picture is that I have added a bunch of empty tracks. Now that my leads are recorded and I'm happy with how they sound, I can ignore them for the time being. I'm now going to focus completely on my background vocals until they are completed, then I'll incorporate the leads again near the end.
Now, bear in mind, this is not a performance practice that I will always follow. If I were recording a song with full instrumentation, (bass, drums, guitar, et cetera) the rhythm section would be recorded before my leads. I would always want to lay down something for the lead instruments to work over top of, but since I am working with vocalists I approached this recording in a different way. What I did was create a 'Guide Track' (if you look at the first screenshot I took, you'll see that a previous track available was 'Setting Sail Guide') which is a piano recording of all of the parts for my vocalists to record along with, seeing as there is no support apart from other vocalists when recording begins.
Back to the recording.
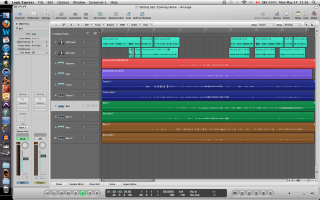
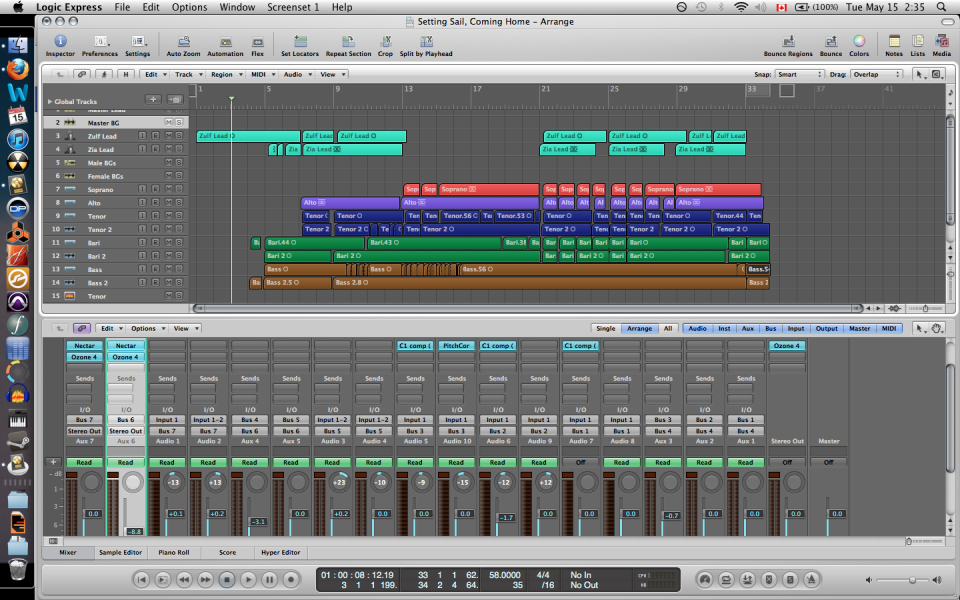
While I was ranting about guide tracks & which order you should record in, I've magically finished recording all of the parts. Since we have all of the tracks, I have color coded each one so they're easy to differentiate at a quick glance. Again, this is very important and will come back at the end. You'll notice that there are some paired colors, that is because I recorded some parts (Bass, Baritone, Tenor) with two different singers to give a fuller sound. Notice I've also arranged them from lowest voice (Bass) at the bottom, to highest voice (Soprano) at the top. This is all for the sake of workflow and being able to have a clear visual representation of everything you're working with. I know I have mentioned it a few times already, but I cannot stress enough how important it is to have a clear and easy workflow, you'll see why later.
With the above images, I have begun the next step in preparing my tracks. Similar to what I did with the lead vocals, I have listened to each track individually, making cuts where there was silence. I listen to each track in its entirety 2 times after I've finished my cuts just to make sure there are no artifacts (popping, buzzing, et cetera) and there is no distortion or noticeably bad breath noise. Then, I listen to each pairing of tracks (listen to both basses at the same time, listen to both baris, et cetera) to make sure they sound good together. You'll notice in the third picture that one of my bass parts has a whole lot of cuts, that's because I was fixing some entrance timings by chopping between words and moving them around to sync the two tracks up.
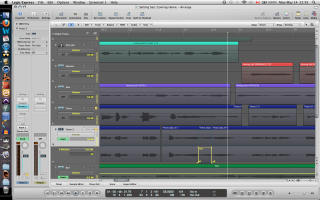
Now I noticed one little thing that needed fixing in one of my tracks. One of my Tenors hit a wrong note. That's okay, it is a quick fix. I used Logic's "Pitch Corrector" tool and loaded it onto the track (notice that in the 'Inserts' section on the left I have the Pitch Corrector set to my Tenor 2 track). I am now using the 'Automation' function of my DAW (Notice up on the top bar 'Automation' is selected').
Automation is something that you will want to use for the rest of your life in your DAW of choice.
Period.
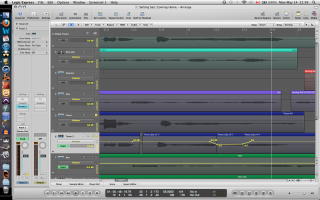
What Automation does is, well, automate. You can tell it to do any function over any period of time, which means you won't physically have to worry about that function. Volume and panning are very common for automation, but in this case I will be automating my pitch corrector (you get to the automation of the inserts of your track by going to the automation state, clicking the little arrow on the bottom left of the track, and selecting whatever it is that you want to automate). Since my singer sang an E instead of an Eb, I will be telling my pitch corrector to change whatever note is being sung to an Eb once it hits a certain area (notice on the picture above and to the left that the automation has two states: on and off). Now that I've fixed that note, it will sound a little weird (Logic's pitch correct is not perfect). What I have done to compensate for that is brought the volume down at that note just a little bit so my other tenor's voice will make the area sound more natural (you can see the volume automation in the picture to the right).
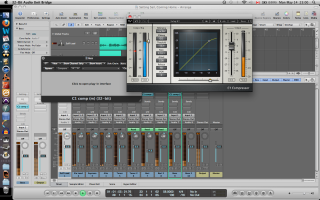
The last thing I am going to do before moving on is to add some compression to some of my tracks. What compression does is, well, compress. If you have a track and the gain/volume of the track has parts that are really, really loud and parts that are really really quiet, it's going to be hard to work with that track as a whole because you'll have to alter the volume all over the place. What compression does is brings down those really loud parts to make them sound closer to those really soft parts, meaning the entire track is around the same volume. This is extremely useful for vocals, and is something you will need to learn how to use if you want to work with vocalists. I will not provide a tutorial on compressors right now; but if you have questions, feel free to ask.
Okay! Now the initial editing is done! Our tracks sound really great individually - there are no errors or artifacts, their volume is consistent and our paired parts sound good together. That means it is time to start mixing.
Mixing & Mastering
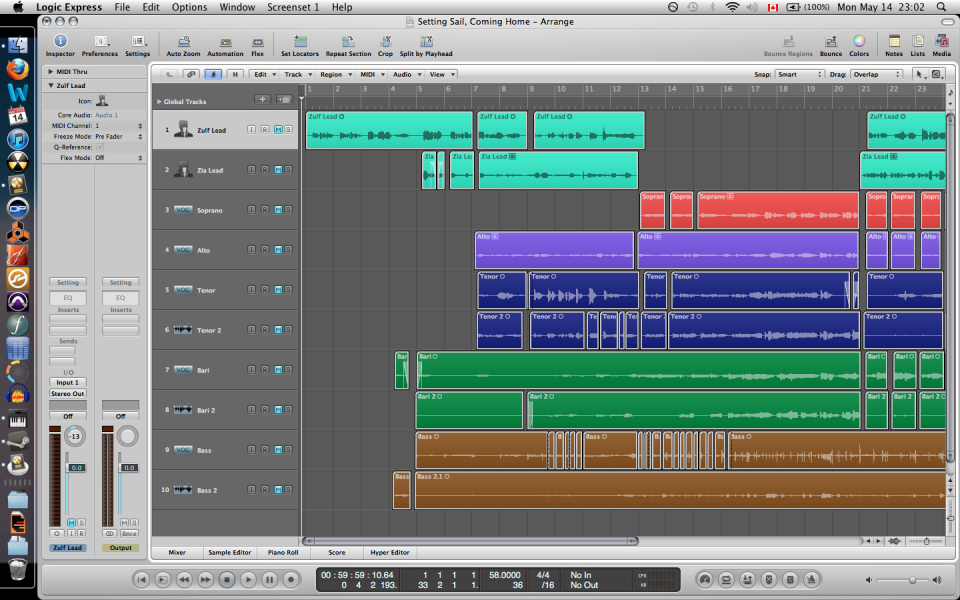
Now is the time that I let you guys in on one of the reasons why this is a Special Edition. I want you guys to get the most out of this tutorial as possible, so I am going to do something a lot of audio engineers are uncomfortable publicly releasing and give you a raw file with absolutely no mixing or mastering. This is such an uncomfortable thing to do because there are still lots of errors that need to be fixed, some voices get drowned out, some are way too loud and it is generally misrepresentation of the final product. I wanted to provide this to you guys so you could have an idea of what this project sounds like at the time the above image was taken, compared to what the final product will sound like.
Here is the file for your reference.
(I have another surprise for you guys at the end that makes this tutorial even more special =) You'll enjoy it)
Now we know what our song sounds like with no mixing. Thankfully it doesn't sound terrible, and that is thanks to one thing: My singers. I'm about to let you guys know one of the most important piece of advice I've received.
The secret to having a good recording is having good players.
Yes, pitch correction and audio editing has gotten to a point where we can manipulate what we're working on to sound 'right,' but 'right' doesn't always mean 'good.' For something to sound good, it needs presence and confidence. Good singers have both of these things, as well as a great sense of pitch. Editing too much makes your work sound unnatural. Just remember: Confidence and presence make for good players, and good players make for good recordings.
Alright, now let's get to mixing.
As you may have noticed by the image above, all of my tracks are muted. That is because there is a golden rule when it comes to mixing: START FROM SILENCE. This is a rule that a lot of new engineers & producers don't understand and think it is best to mix things based on where they sound in a full mix. If you are doing that, please stop - the way I am mixing may take a little longer but it will sound much better.
Since I am starting from silence, I am mixing everything one track at a time. My first step is to mix my pairs together, to make sure both voices sound equal and to make sure they compliment each other rather than battle. I achieve this by volume automation between the two tracks.
Now, this is the point where things may start to get a little technical if you're new to this, but don't worry, it will all make sense. Now that I have mixed my paired voices, I am going to make it easier on myself for the final mixing process and make a new track that lets me control that new sub-mix (meaning I no longer have to change the individual tracks, I'll have one track that controls their combined output). This is a process called Bussing. Bussing has many purposes, including inserting a single effect to multiple tracks, routing tracks to external devices and signal flow (this one is what we're using Bussing for). Bussing is achieved by going to your mixer window and creating a new Auxiliary track, and using its I/O settings to control which Bus you will use. In the images above, you'll notice that I made a new track under each of my paired sections. If you look at the 'input' of each of these tracks, you'll see that its input (under the I/O section) is Bus (x).
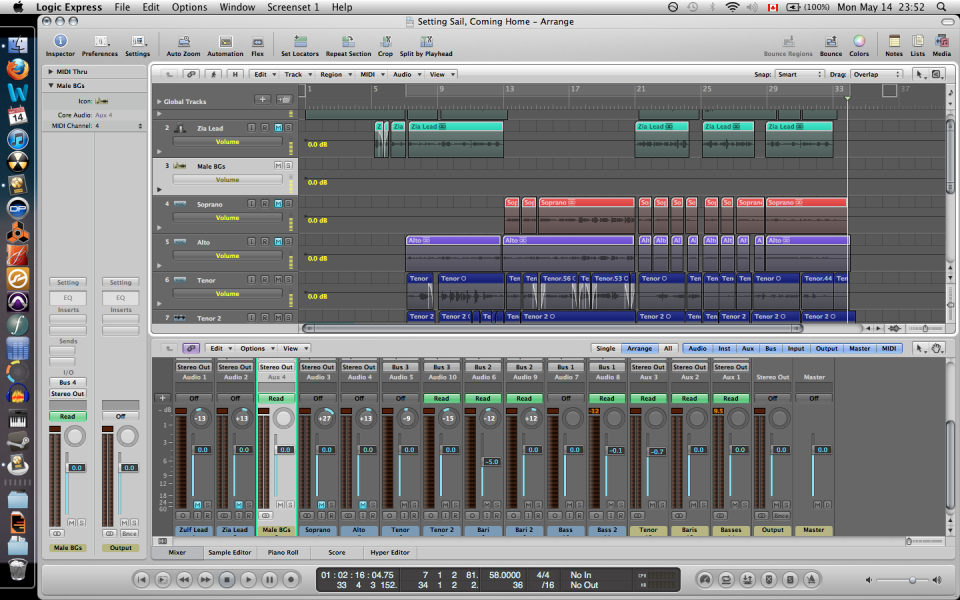
Notice that in my mixer window, the Auxiliary tracks are labeled in Tan where my audio tracks are labeled in Blue. also notice that my various Bass, Bari & Tenor parts all have their 'output' section of their I/O set to a Bus. Ignore the highlighted track for now, it will be explained soon.


Now that we have set up our busses, it is time for us to start mixing individual sections. Since I have my Basses, Baris and Tenors bussed, I will no longer be mixing their individual tracks but their Auxiliary tracks through automation. I start one at a time in an additive way. First I begin by mixing my Basses and Baris, (shown in picture on left) making sure they blend well. After that is complete, I add my Tenors (shown in picture on right) and mix until I feel they completely blend.
Once I am happy with that mix, I create another bus (that is where the highlighted track in the above picture I asked you to ignore comes in). Since these are all mixed well together, I can now mix them as a unit by routing them all to a new bus that is specific to their section (Male Backgrounds). The routing for these busses is shown in the picture to the left, my apologies for having cut off the track labels - but hopefully you'll see that it is still the Male BGs (male backgrounds) track that is selected and that its input is now Bus 4, and all of our bussed male sections have their output set to Bus 4 as well.
Now that we have our male section ready, I go through the exact same process with my female section. I first mix my female background parts together (thankfully there are only two of them this time around) and then create a bus for their section once I am happy with their mix. The next thing I do is mix my two background sections together, and then add my lead parts to get a general idea of how I want everything to balance. The above pictures document that process.
Now, I'm nearing the end. Since I'm adding my lead vocals, I am doing very minimal amounts of movement with my individual tracks anymore, it is almost entirely mixed with volume automation from my busses. After a while, I finally have a final mix.
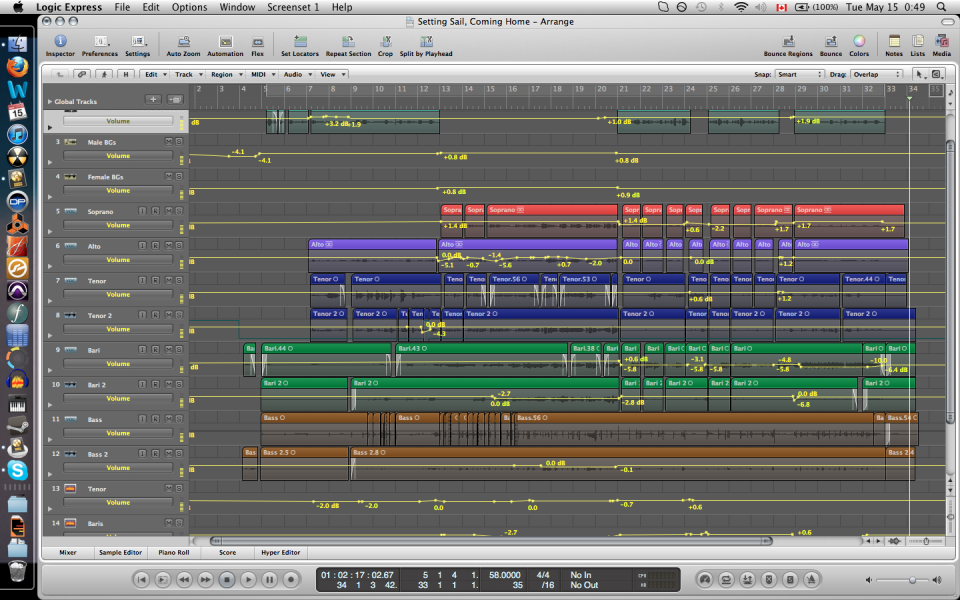
Now I hope you can see why I stress having very clear workflow habits (color coding, order of tracks, et cetera). Without any order, the above picture would make absolutely no sense; but since I have my sections split up, my tracks colored and have them in the proper order, I can clearly see exactly what I'm working with. Get into the habit of practicing good workflow habits from the very start, that way you won't be tripping over yourself when you're nearing the end of your project.
Now that I am happy with how the general mix is, I will apply some mastering effects. These include Reverb, Equalization, Saturation and Stereo Imaging. I have provided a quick screenshot of most of the effects I used above. For the 4 images on the left, pay attention to what is at the top of the little window the effect is in, these are new busses I've created solely for mastering. They are the Mastering Lead bus and Mastering Background bus. These both go straight to my output, which mas my final mastering effects (seen in the right two pictures) which include a final EQ, Stereo Imaging, Multiband Dynamics, Loudness Maximizer and a Harmonic Exciter.
This brings us to the end of this tutorial.
One thing that is worth knowing is that this entire process took somewhere around 40 hours to complete between transcription, arrangement, recording, editing, mixing and mastering. To make a professional-sounding recording takes a lot of work, as well trial & error when you're learning the process; but I hope you agree that the product is worth it.
Thank you for reading along and, again, if you have any questions I would be more than happy to answer whatever ones you may have! Feel free to shoot me a message or leave a comment about anything and I will get back to you within a day (usually).
Now, remember I mentioned there is another reason this is a special tutorial for you guys? Here is why. I have not only provided a recording of this song for you, but I have provided the stems as well.
Stems are those colored tracks you see above rendered as audio files. There are 10 individual audio tracks so you can bring them into your DAW and experiment with them yourself =) They have all of the effects applied from my mastering tools, so they may be strange to work with; but it should give you an idea of how you can alter the volume, panning and various other elements of each track to change the sound of the entire project.
I hope you enjoy them! And I also hope you enjoy the song.
I have uploaded the completed song to Soundcloud, you can check it out here.
Thank you for taking the time to read this tutorial and I hope it has been helpful to you. Again, if you need any help, have any questions, feedback, criticism or generally want to chat, get a hold of me any time.
<>
-Alex


