
I went and roped my friend into playing all the Mario Party games, to see which maps are worth playing because I've got a screw loose and enjoy minigame collections. We started with Super Mario Party for the Nintendo Switch for no real good reason, so I guess we'll be working our way back. To preface, the intention here is to rank each map in each game to let newcomers know which maps are the cream of the crop. The best of the best. The least worst, in some cases. For some background, I have played every main line Mario Party game beginning at the GameCube era, starting with Mario Party 4. My friend Sam, hasn't really played any of them, aside from the occasional Mario Party 10. So this is going to be sort of an ongoing process where once we finish each game, I go back through the notes I took during our time in Mario's Party, and piece together something coherent. There are ground rules we set at the beginning of this project, these are they:
- An average amount of turns. Meaning we spend at least two hours on each map, so we can get the fullest experience, but not over exert ourselves with the max 50 turns.
The same characters. To keep things consistent, we've chosen characters that are in every Mario Party, the two CPU's are interchangeable, so it's whoever we want to get stuck with.
No throwing matches. For the Real Mario Party Experience, we have to go into every map with the intention of winning. Which can be difficult when playing maps in succession.
And those are the ground rules. Without further ado, the Super Mario Party Maps.
Whomp's Domino Ruins
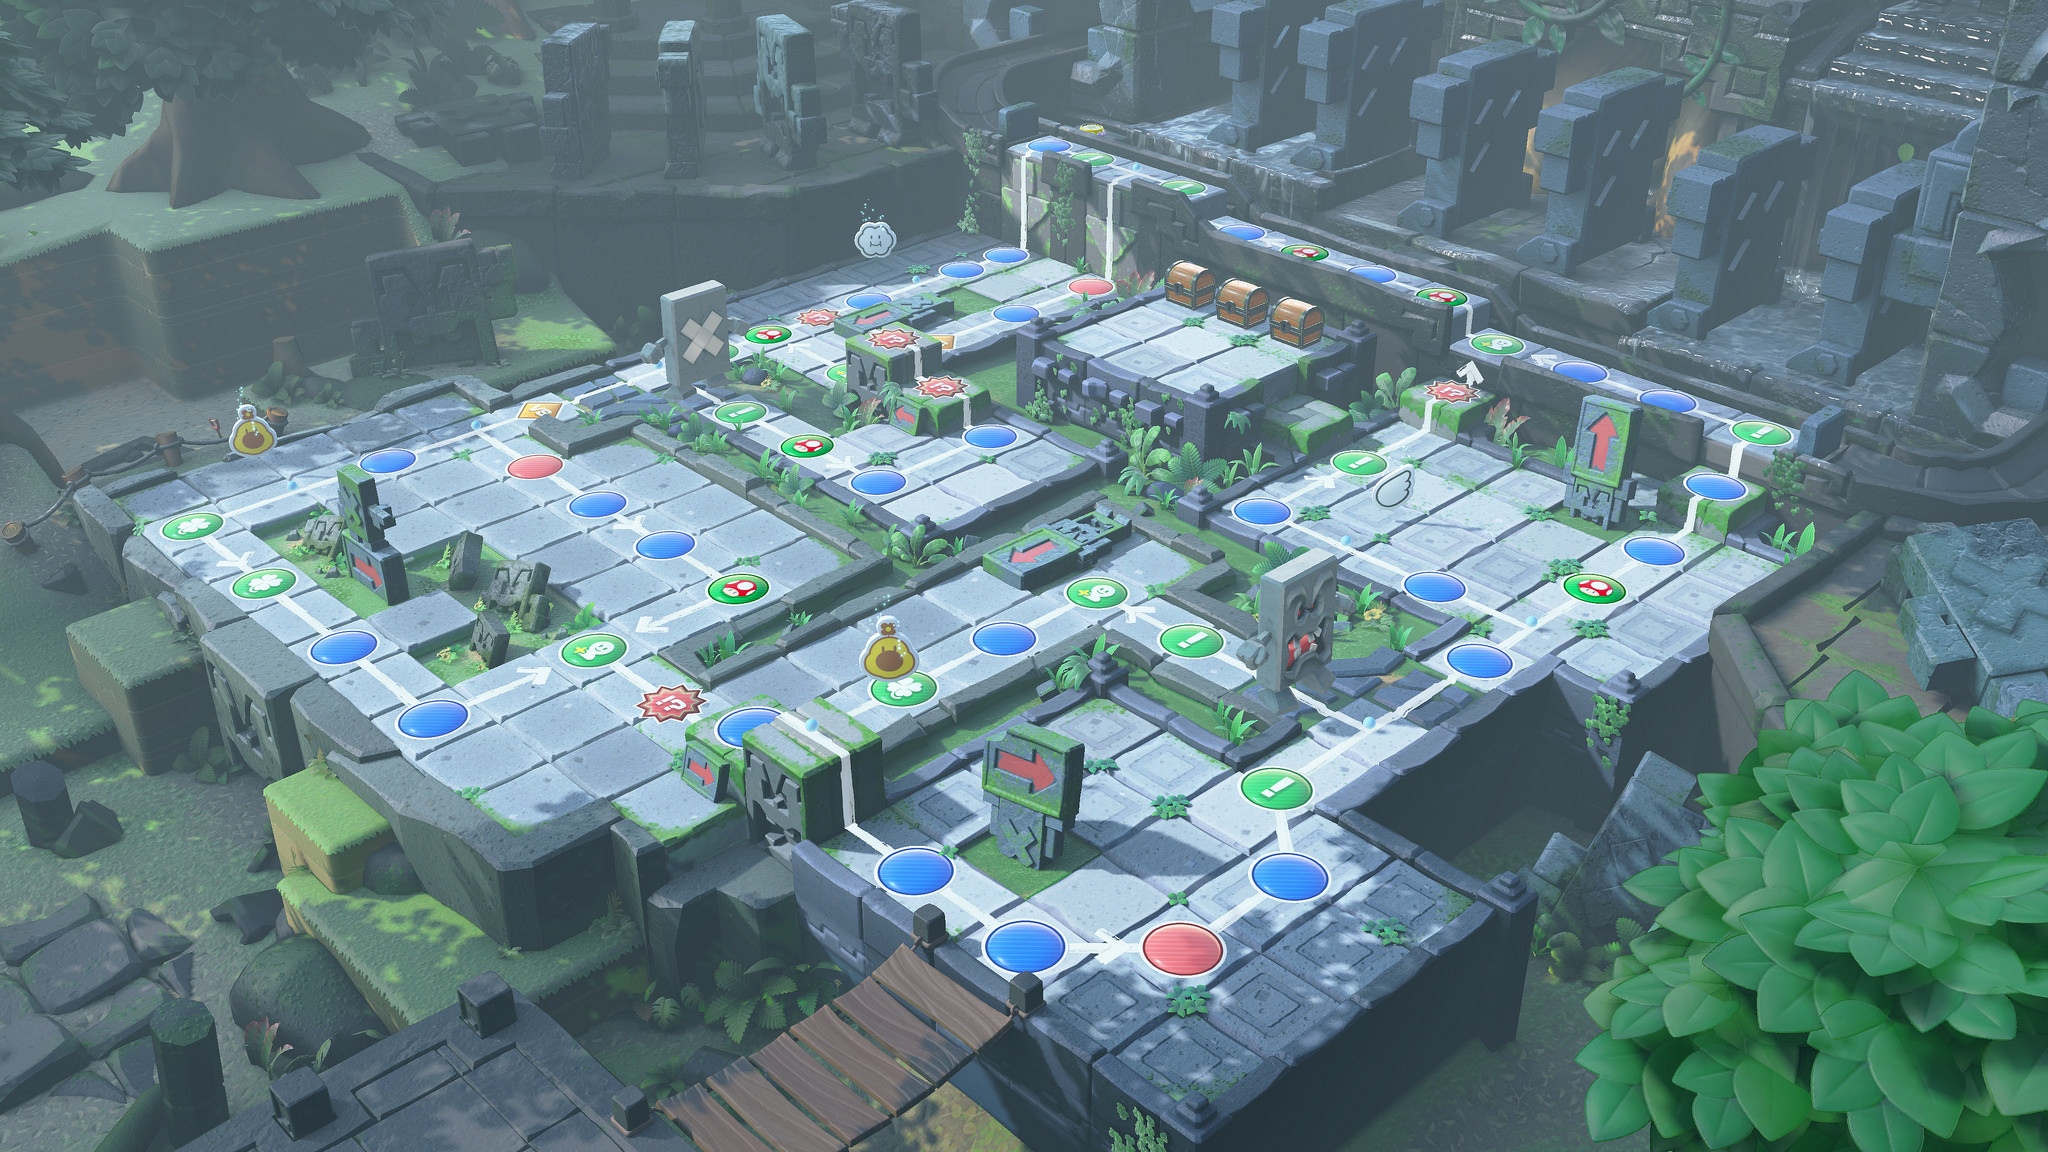
Every one loves Whomp, right? He's a staple in Super Mario games and serves only to block the player. He does that here too. So each map in Mario Party has a gimmick of some kind. In Whomp's Domino ruins, its Whomp. Whomp gets in the way. There are key intersections that Whomp can block exits from. There are two ways to get Whomp to move, either pay the toll, or step on the Happening space tied to shifting the Whomps. This moves all Whomps, mind you, so there's a semblance of strategy. However, because this is Mario Party, mentioning strategy during any of these games means throwing any plan out the window. Let me explain.
Mario Party is a game about rolling dice. During your turn, you roll a die. The outcome of the die allows you to move forward that many spaces. Y'know, like a board game? There's a twist. In Super mario party, each character gets a unique die, capable of many things. For example, Wario, the character I chose to be my representative in The Mario Party, his die has four faces with a 6, and the other two have -2 coins. Meaning if I roll that die, there's a 66% chance of getting a 6, and a 33% to lose two coins. So you can begin to formulate a strategy. This character has X dice so I have a chance at getting Y number to move to Z space et cetera. However, these percentages are made up, because the result of the die is whatever the game wants me to have. There is no mapping out statistics and averaging out numbers. You roll the die and hope for the best. Game of skill.
To it's credit, there are a number of items available at shops dotted around the map, indicated by the Flutter symbol. The shops don't count toward spaces rolled, so no worries there. These items allow you to add extra spaces to your roll, remove some from another player, warp directly to the star, and let you pick how many spaces you go forward. I'm beating around the bush here because these maps are boring in a very special way. There's a loop. Whomp's Domino Ruins is more or less just a big circle with obstacles. Whomp Obstacles. Whompstacles. At the top of the map there's the "Whomp Domino" section, where any player in the top track that happens to be stuck there while another player drops the ball, metaphorically and literally, and lands on a Happening space. The happening space in this case drops a string of dominoes that activate an Indiana Jones' type rolling ball and pushes every player back to the beginning of the track. The Happening space that was landed on gets removed for the time being.
Towards the center of the map is the treasure chest happening event, where if you land on the corresponding Happening space, you get to pick a treasure chest. The chest contains either 3 coins, 10 coins, or a Golden Dash mushroom. That's basically it for Whomp's Domino Ruins. It's just an okay board. Its inoffensive enough so there's no strong feelings one way or another. There's a pervasive issue in Super Mario Party, in that it feels dumbed down. If you're even halfway decent at the minigames, which admittedly are pretty good, chances are you get at least some money. Most minigames reward money, less if you placed lower than Winner. However, the money starts to add up, especially if you're stuck in a loop and not spending any. So you just rack up the coins. The items available for purchase cost 10 coins or less, and the stars are exactly 10 coins in most cases. There just aren't enough ways to spend money, so having too much is worthless. You hit a ceiling fast. If this is your first time booting up a Mario Party, this is a pretty safe map to start. The objective score-out-of-ten I gave this map was a 6, Sam's was a 5.
King Bob-omb's Powder Keg Mine
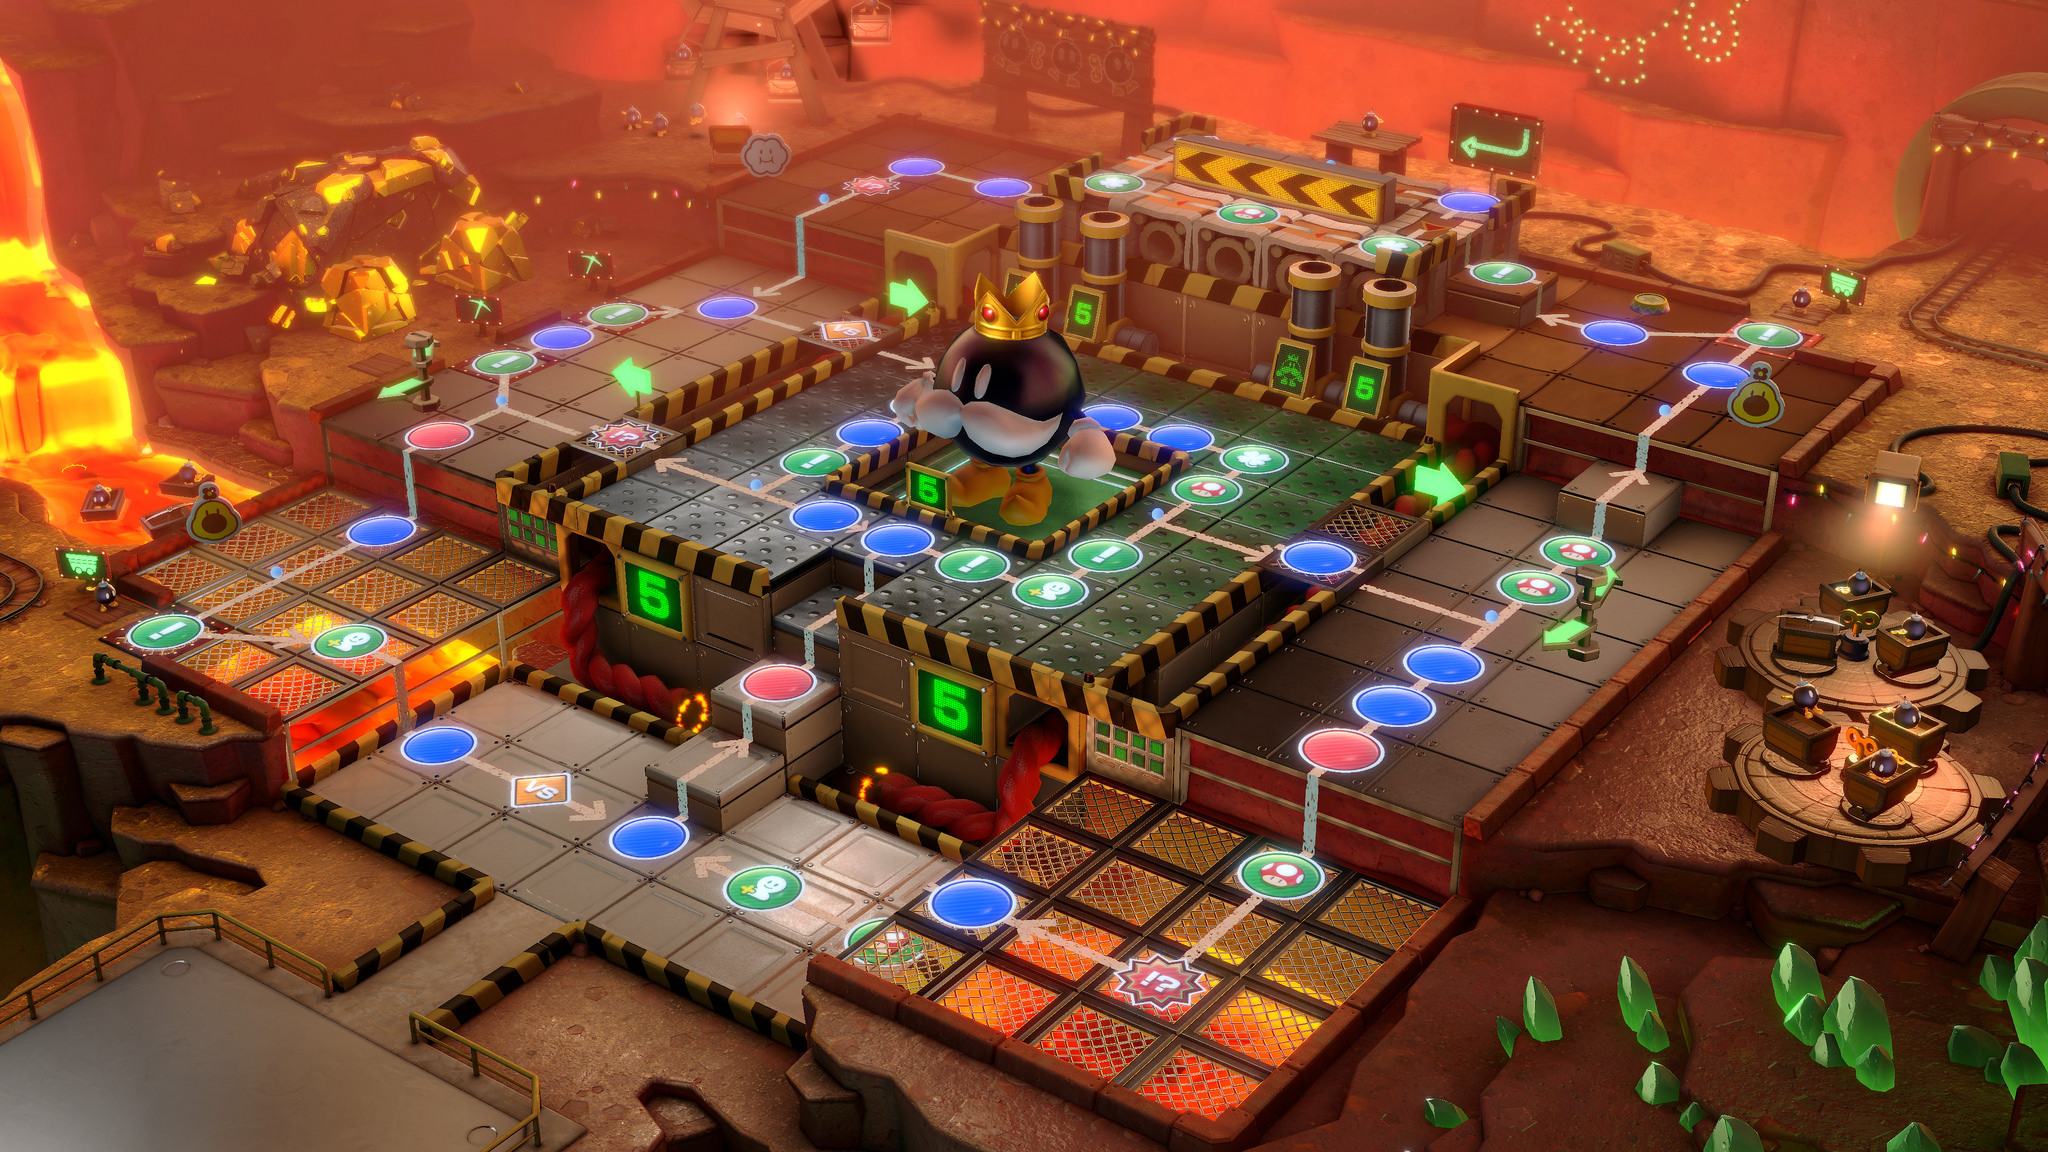
Ah, yes. King Bob-omb. King of the Bob-ombs. The gimmick for King Bob-omb's Powderkeg Mine might be what you'd expect. Can you guess? Did you guess bombs? You guessed correctly. The high explosive hirsute highness sits in the middle of the map, with a square of spaces surrounding him. In this square are Happening spaces, that when landed on, tick down the fuse for the king. After five Happenings, he blows up, making any player in the adjacent spaces lose half their coins. Speaking of bombs, there's normal Bob-ombs on this map too.
At the top of the map there's a conveyor belt that goes either up or down. Nearby, a Happening space changes the direction the belt goes. If it goes down, its all good. If it goes up, you get a hanger-on. this hanger-on, a self described "Annoying Bob-omb" follows you around. Which at this time, I'll introduce another concept to you; Allies. Allies are called from a New Super Mario Bros. type bubble when you land on an Ally space. These allies are just the other playable characters. Meaning you also get to choose from their respective die. Since there's sixteen characters in total, up to twelve can be recruited, four per player. In the off chance that each player gets an Ally Phone item or lands on the Ally spaces enough times to exhaust the roster, which I've never seen happen. To jump back, the Bob-omb now acts as an ally, but is more of a nuisance, subtracting either 1 or 0 from your total dice roll. After about three turns it blows up and that's the end of that.
There's two more points of interest in the map, and its the gold mine and the mine cart track. On the left side of the board are two Happening spaces that allow you to play a mining game of chicken. Hit the rock and get coins. Every time you hit the rock, there's a chance you're pick will break and you get nothing. Fun minigame. As for the mine carts in either corner, its just a simple way of moving from one corner to the other. More of a hindrance than a help in my experience.
King Bob-omb's Powder Keg Mine is definitely a step up from Whomp's Domino Ruins, since its a little more open ended. Using the mine cart to zip from one corner to the other in order to get a quick star is, well, an option. Another option would be to get stuck in the middle and never leave and end up getting second place with 6 stars. There's more space to move around in, which moves the skill ceiling a good bit above Whomp's Domino Ruins. Our objective score-out-of-ten was 4
Megafruit Paradise
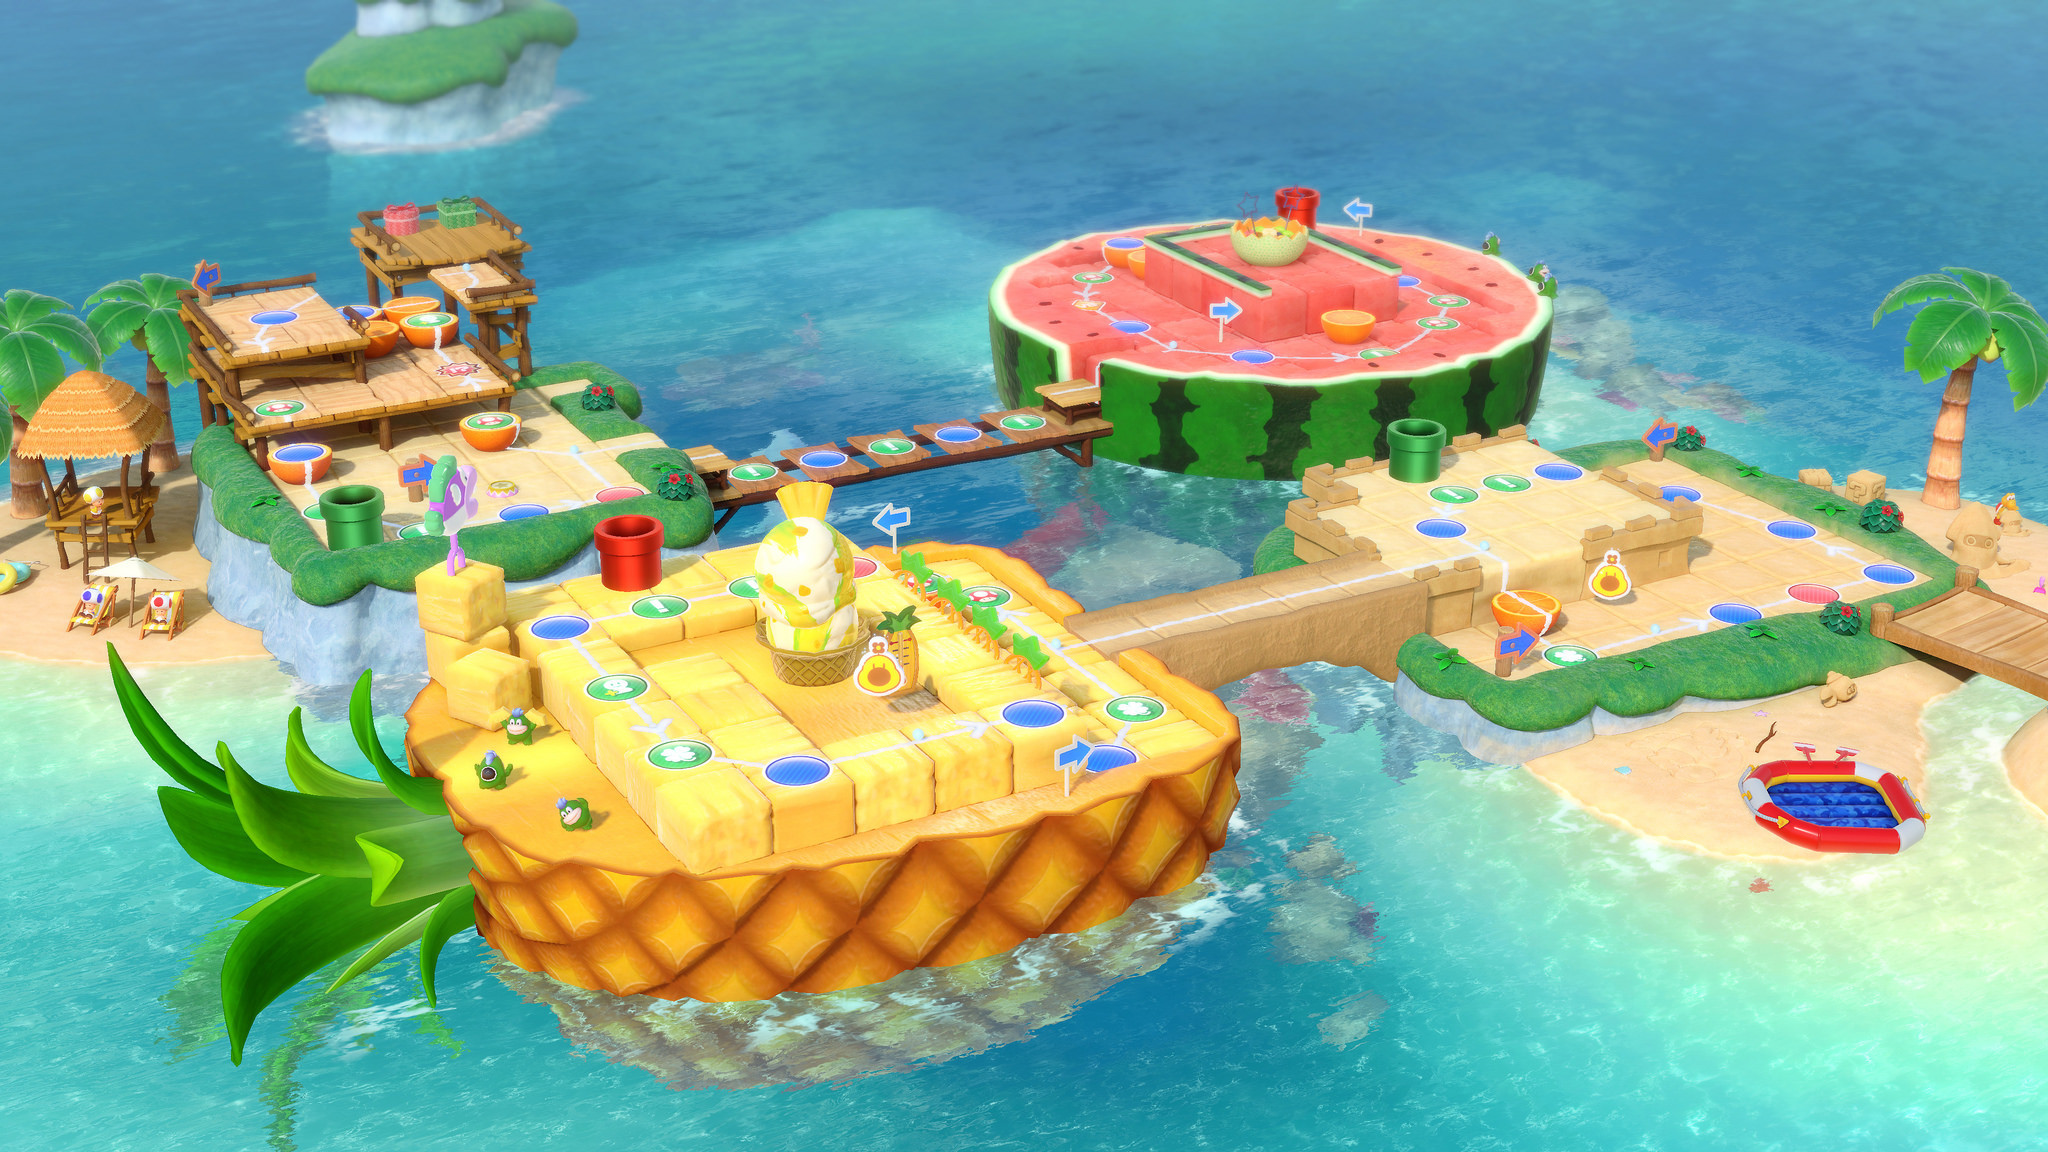
Megafruit Paradise is an interesting one, because it manages to be both annoying and boring at the same time. In Megafruit Paradise, there are four islands, each with their own special flavor. The islands are interconnected using bridges and pipes. The Beach island, which is the bottom right island, and the Rock island, top left, are connected only by pipe. The same can be said for the Pineapple and Watermelon islands, but they're both connected to the Beach and Rock islands respectively by a fragile bridge. The bridges break under unique circumstances, the sand bridge from the Beach island breaks if its used too often in succession, and the rickety wooden bridge connecting the Rock and Watermelon islands breaks if a player lands on one of the three happening spaces. The big blooper jumps out of the water and breaks it. In either case, any players on the bridges get sent back to the starting space when the bridges break.
So pipes and bridges. Bridges can be crossed when the player passes them, but pipes, a Happening space needs to be landed on. An aspect of Mario Party that you might not be aware of, are stars. The star space moves when someone lands on it and purchases a star using coins. So the star space can land on any of these four islands, keeping the player on their toes. The catch to this, is that's its a hassle to move from island to island, so the star in most cases, feels like a carrot, being dangled in front of you, but you'll never be able to reach it. No matter how hard you try little bunny, you'll never get that tasty carrot. Some other bunny in cheap plumber's overalls will snatch it right in front of your eyes, right after you get bumped by his entourage of Mario franchise characters. Hey how about those special island events huh.
The beach island has a shop.
The Pineapple island also has a shop, but its a special shop. Flutter's shop here has high end items, letting you pick which number of spaces to move, and an item that lets you warp to the star. Handy stuff. Problem is that after about five? Six? passes, the ice cream behind flutter starts to melt. It reaches its tipping point after about six passes and a spin on the wheel. Its random when it happens, but after the ice cream melts and falls onto Flutter's basket, its out of the game for good. No more high end items. So don't get greedy. Or do, and ruin it for everyone else. Heh.
Rock island has a small platform with two boxes on it. One box has Lakitu in it, the other a pirahna plant. Lakitu is another aspect to these maps, he lets you steal from other players, a role normally given to Boo. For free, Lakitu will steal some coins from another player, of your choice or at random, which is always my choice because I love chaos. For a nominal fee of 30 coins, Lakitu will swipe a star from another player, which is pretty good for causing a ruckus. The pirahna plant, on the other hand, bites you, forcing you to lose up to 10 coins.
Watermelon island has the best(?) special event, and something I've only seen once. At the bottom of the island there's a Happening space, when you land on it one of the sparklers stuck in the middle of the island light up. If you land on it again, the other one lights up. Cool, huh? When both light up you get a star. Nifty.
Don't play this one first. Our objective score-out-of-ten was 3.
Kamek's Tantalizing Tower

Don't Play this one. You have to unlock it by first playing the other maps, so there's no way anyone playing Super Mario Party fresh out the box can run this map, but don't. It's not fun. Its at the very least, 10 very boring turns intercut between 10 decent minigames. The most it can be is 30 exhausting turns Nothing happens on this map and anyone who can figure out The Strategy for this map will will by a ten star lead and no one else will have fun. I should know, I used The Strategy and won with a five star lead because Sam got wary of my antics, but it was too late. I'll explain The Strategy in a moment, but first, board features.
This map doesn't play by other maps' rules. The star is in a fixed location at the very top of the map, at the end of the main path. The price changes every time someone passes the star space, it can go from 5 to 10 to 15 coins, and the player can buy two stars at a time. Once you're past the star, you enter a pipe and exit out at the beginning, starting the cycle over again.
There's a few things on the map, like the chain chomp and Toady's shady shop. The chain chomp is asleep, until you wake it up by landing on a Happening space, then it wakes up and takes coins from you. How many? No one knows. Not even mariowiki. Passing by Toady's shady shop forces you to buy something. The items are always a dash mushroom, a poison mushroom, and a custom dice block.. The shop is an integral part of The Strategy, which i will detail in just a moment. There's a pipe sequestered off to the corner that I was never able to get to, I can only assume it leads to Lakitu, and a Versus space, which lets you duel another player for money and fame. And stars. There's also a Thwomp, which acts like a whomp, yknow, from the ruins a couple paragraphs ago? Except this time the toll raises by whatever the last person put in, plus 1. So if you pay 5 coins and pass through, the next person is forced to pay 6 or more. It's this path or the one with Toady's shop and the chain chomp. It's strategy time.
Disclaimer: Don't do this.
The Strategy involves some educated guesses and a considerable amount of input from the player. First, choose a character with a good dice block. Don't be fooled, some die are much better than others. A die block with a consistent high number is preferable, like Diddy Kong's 0-0-0-7-7-7 or Wario's 0-0-6-6-6-6. Next, make a beeline for the shady shop. Doesn't matter if you have the coin or not, Toady will sell you any item if you don't have the 6 coins. The item to buy here is the Custom Dice Block, it lets you choose 1 to 6 spaces to move forward, no guff. Next, make it close to the star. It's around here where you want to use the Custom Dice Block. The goal isn't the star, but instead the Ally space a couple spaces past the pipe. Land on it and grab an ally. Rinse and repeat, and you'll be rocketing past everyone and straight to another star or two every other turn. We played 30 turns and I had this in mind since turn one. It's how I made out like a bandit with 20 stars and over 400 coins earned overall. This strategy is bad and don't do it. This map is bad and don't play it.
We gave this map an objective 7/10 for being okay but not great.
Don't play this map.
Log in to comment