
Super Mario 64 is one of my favorite games. I've covered it on this site several times, including this stage-by-stage deep dive into its world design, a peek at its randomizer hack, and most recently as the vanguard of my ongoing, self-destructive 64 in 64 feature. It's a game into which I've poured countless hours, to an extent that I had allowed myself to believe I had some level of mastery over it if perhaps nowhere close to those well-practiced speedrunners who can ace the whole game in minutes. While I'm not quite prepared to dedicate that amount of gaming time to even a firm favorite like Super Mario 64, something was brought to my attention after I covered it for 64 in 64: the RetroAchievements set for this game is intense as heck. Not only does it involve collecting every Power Star in the game but also every single coin, every hidden extra life, every extra-hidden warp, and performing tricks and techniques I previously had no idea were possible. The group of users that conceived this achievement set knew this game back to front on a level far beyond my own ken. It's humbling.
With this monthly feature I'm going to see if I can earn as many of these achievements as I can, with an eye to eventually acquiring them all. Some might demand a restrictive level of skill or patience so I can't make any firm promises but my collectathon completionist spirit burns at the promise of thoroughly defeating the genre's first and greatest champion through my own power alone, though it may yet prove to be a uphill struggle or even, perhaps, a no-win situation. This is... my Kobayashi Mario.
For this inaugural part, I'm going to focus on the first floor of the castle prior to entering the locked basement door. That means the first five courses—Bob-Omb Battlefield, Whomp's Fortress, Jolly Roger Bay, Cool, Cool Mountain, and Big Boo's Haunt—plus the Princess's Secret Slide, the Secret Aquarium, the Wing Cap switch, and first Bowser course. I will also be earning the Hardcore version of these achievements: this means no save states, cheats, or any other manipulation of the emulator (I'd play my own copy of Super Mario 64 for this, but RetroAchievements is only compatible with certain ROM dumps). I imagine I'll be met with no small amount of frustration even in the early hours of the game but I gotta hit this Everest with everything I can muster.
(Disclaimer the First: Might require a bit of fore-knowledge about Super Mario 64 and its 120 Power Stars to follow most of this, but it's not wholly necessary. Gonna get real in the weeds about these decidedly unfair achievements.)
(Disclaimer the Second: I've added an Exasperometer rating to each achievement to indicate how challenging it is, from 1 (regular game difficulty) to 10 ("Why am I doing this to myself?").)
There's 132 of these bad boys to earn and 120 Stars to collect in the process, so let's roll up our sleeves and get started:
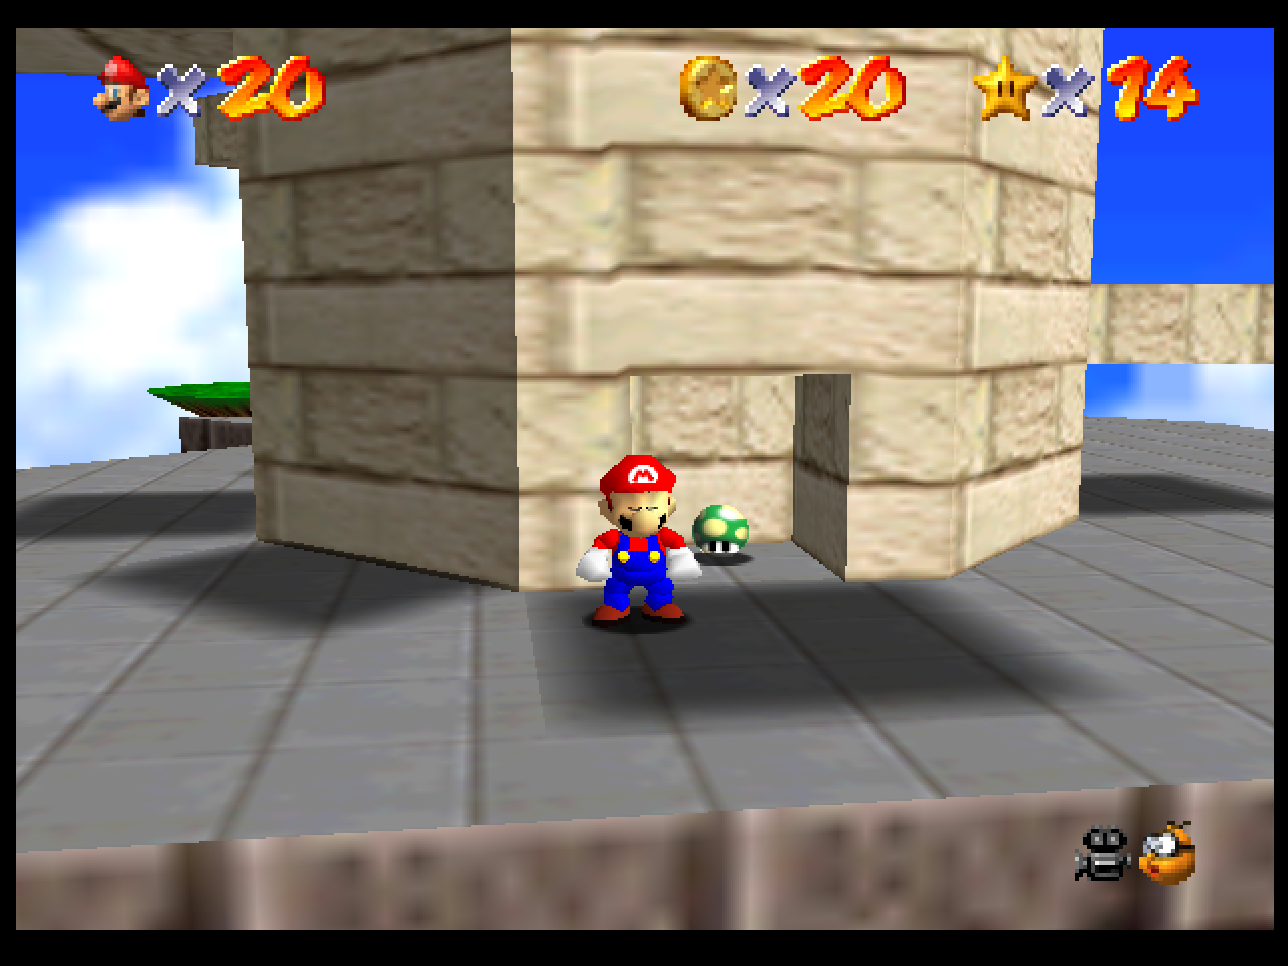
Bob-Omb Blaster
There's a few achievements to earn in the game's hub area, but I figured I'd take things easy and start with the first course. Bob-Omb Blaster's not too challenging: the goal here is to reach and defeat the first boss of the game, King Bob-Omb, without taking any damage or getting thrown by the boss (which usually doesn't hurt you but counts as getting hit regardless here). That also includes evading all the course hazards along the way too, including those rolling balls and that real fast Chain Chomp. There's similar no-hit boss runs throughout, most of which will be much harder than this one.
Exasperometer: 2.
A New Journey
Just a nice little encouragement achievement earned after your first Power Star. Kinda impossible to avoid. Only risk presented here is dying from cuteness.
Exasperometer: 1.
Long Walk Into the Mountain
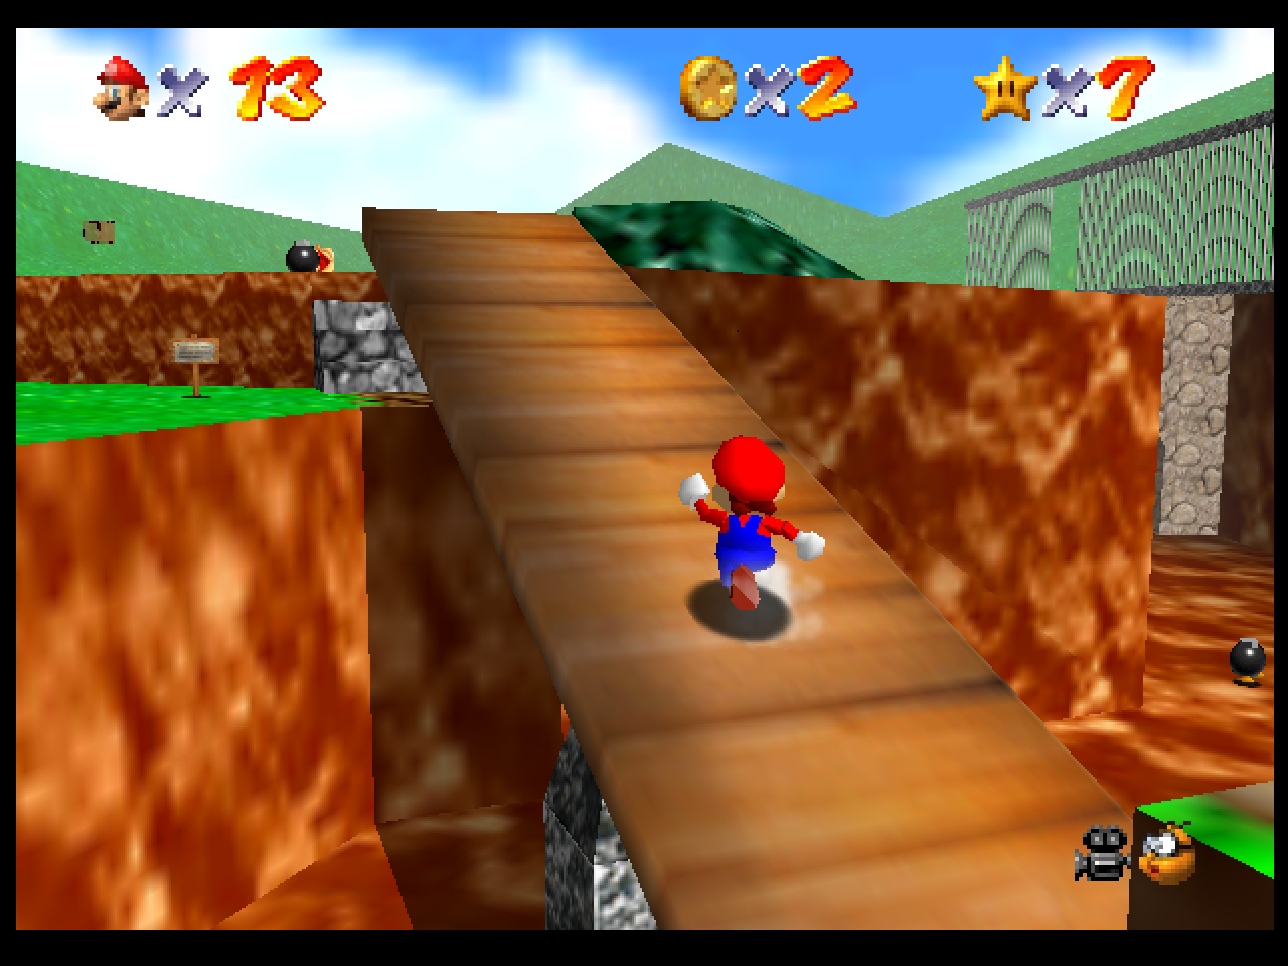
Time for some weird technical challenges. For this achievement, you have to reach the top of the mountain in Bob-Omb Battlefield without pressing the jump button (or warping). You might assume the challenging part comes later when you're running past all the balls and hugging the wall to avoid them, but it's actually fairly early on right past the Chain Chomp. There's a seesaw bridge followed by a short staircase as you approach the mountain's base; the staircase is still too tall to walk up, so you have to tilt the seesaw to give yourself enough height to grab the lip of the higher area. Not too tough to figure out what I had to do given I can't just warp there via the flowerbeds, but the first occasion I've discovered something new in this game for quite some time. Looking forward to plenty of other firsts as I take on the other achievements.
Exasperometer: 2.
Red Challenge on the Battlefield
The Red Challenges simply involve getting the Red Coin Stars on every course without taking any damage in the process. The difficulty of this is variable for each course: Bob-Omb Battlefield's actually fairly tough because of how spread out the red coins are here. It involves getting as high as the floating island (reachable from the second cannon you find, though it's a tough shot and the intended cannon to use is most of the way up the mountain) as well as grabbing one from the top of the Chain Chomp's pole. The rest are pretty painless to reach, so it's a matter of setting a course through the few that pose a risk of bodily harm first and sweeping up the rest after. Many other courses tend to concentrate their red coins to one area which will make their Red Challenges a little easier, though there's a few I'm not looking forward to.
Exasperometer: 3.
Lifesaver I
The Lifesaver series involves finding all the 1Ups in any given course. I'm not sure if you need to get them all in one run or not, but I'm not taking any chances. I figured I'd save these for when I do the coin challenges since I'll be scouring the whole course anyway but it was pretty easy to earn it on Bob-Omb Battlefield without going too far out my way. The first course has only three of these well-concealed little beauties: the first, and the only one out in the open, is underneath the stone bridge heading to the mountain and is hard to miss given there's a red coin down there too. The second is in a tree near the start of the course that activates when you climb to its top, and the third requires collecting a ring of coins around a flowerbed (another one that's hard to miss if you're going for the 100 coin challenge).
Exasperometer: 2.
Mario Shoots to the Sky
Still on Bob-Omb Battlefield. This one requires that I get the sixth and last Power Star for this course ("Mario Wings to the Sky") by going through the five coin rings without the Wing Cap. This is one of those things I used to do playing the game casually as well; it's the only Bob-Omb Battlefield Star that you need to come back later for and I didn't like leaving things half-finished even if it was significantly harder and dumber to do this without the right power-up. Chief issue is that the N64's limited draw distance means you can't see where you're aiming at, so for the third, fourth, and fifth rings it's almost literally a crapshoot. This achievement brought back some very obstinate memories. (And I'll get to do all this again later with the coin-related achievement, since there's forty-five coins to grab up here. I'll be using the Wing Cap by then though.)
Exasperometer: 2.

Secrets of the Battlefield
Quick and easy achievement before leaving the Bob-Omb Battlefield for a while. The "Secrets" series of achievements simply require finding all the warps in a course. Bob-Omb Battlefield only has the two and they're probably familiar to people who have played this game a lot: there's an early flowerbed that warps to another one just outside the mountain path, and you can also warp between the alcoves that the rolling balls come out from for a shortcut up the mountain (I couldn't use either for the "no jumping" challenge, if you recall). I have a fairly good grasp on all the warps up to the first snow course, Cool, Cool Mountain, but the rest are going to be new discoveries (without too much trial-and-error, I'm hoping).
Exasperometer: 1.
Lifesaver Slide
Time for a distraction. The Princess's Secret Slide is usually the first secret castle Star players find, though it might take them a little longer to find the second Star you can earn in this bonus area by beating the undisclosed goal time of 21 seconds. There's also two extra lives to earn here: the first appears after a hard turn, forcing you to chase after it at the risk of flying off the side of the course, while the second appears if you poke around the back of the raised platform where the Star can be found.
Exasperometer: 1.
Mario's Speedslide
The second achievement available from the Princess's Secret Slide. This requires beating the course in under 17 seconds, which is impossible unless you cheat a little. That is, you have to fall off the course almost immediately once it opens up and then land back on a later section without taking fall damage, as this causes you to lose all momentum as you go through the damage animation.
Exasperometer: 3.
The Princess's Secret Treasure
The third, final, and hardest achievement available from the Princess's Secret Slide. It's actually not too bad though: you just gotta collect all eighty coins on the way down. That includes the many you get from a blue coin switch behind you when you enter the course. The slides do let you reverse a little with some jumping and mid-air kicking so with enough patience it can be a one-and-done.
Exasperometer: 3.
Whomp Crusher
Same as defeating King Bob-Omb for "Bob-Omb Blaster," just have to get to the top of Whomp's Fortress and beat the boss without getting hurt. It's a more perilous path than Bob-Omb Battlefield but also a lot shorter, so it balances out. The only real risk besides falling off and taking fall damage are those sleeping piranha plants, and they're no threat if you're moving fast enough.
Exasperometer: 2.
Ready to Fight Bowser
A freebie for earning eight Power Stars, the minimum needed to take on the first Bowser stage. We'll get to that sordid business much later.
Exasperometer: 1.

Secrets of the Fortress
It says secret"s", but there's only one warp in Whomp's Fortress and it links between the small balcony area between the sliding platforms and the Thwomps to the middle floor area where there's a very tall flagpole. Cuts out a few seconds and having to deal with the Whomps and piranha plants, but otherwise kinda minor as shortcuts go. Still got an achievement for it though.
Exasperometer: 2.
Jump onto the Caged Island
If you recall, Whomp Fortress's "Fall into the Caged Island" requires waking up an owl from the tree next to where you start and riding its talons up and over a caged floating island so you can drop in and get the Star. I never knew about the owl when I first played the game (somehow I figured out the even more obtuse Star in this course, though, where you have to break off a random piece of the architecture using the cannon). There's two other ways to reach this island: long-jumping from the tower at the right angle and speed to make your way over, or using the cannon at the perfect angle to launch yourself into it—as random as this method sounds, you can actually see and aim for the island from the cannon viewpoint so it's not that big a logic leap. Prior to finding the owl, I'd always done the latter, and this time was no exception. Man, the way I used to brute-force this game...
Exasperometer: 2.
Cannonless into the Wild Blue
Essentially the reverse method from the above, where instead of using the cannon to get the Star underneath the flagpole platform you have to find an alternative path. In this case, it's easiest to just hop off the platform facing backwards and use the mid-air kick to propel yourself into the Star area. I figured it would take a few tries but... nah. No sweat. That's right, I'm going to carry this cockiness into the real nightmares coming up and see how long it lasts.
Exasperometer: 2.

Red Challenge in the Fortress
Mostly fine, though it's another like Bob-Omb's Battlefield in how it spreads the red coins high and low. At least they're all on the path to the top, barring perhaps the one you need to ride a Thwomp to reach and the one underneath the spinning platform. I almost took fall damage getting back to where the Star spawns: that would also disqualify the attempt, as you also need to collect the Star itself before the challenge is over.
Exasperometer: 3.
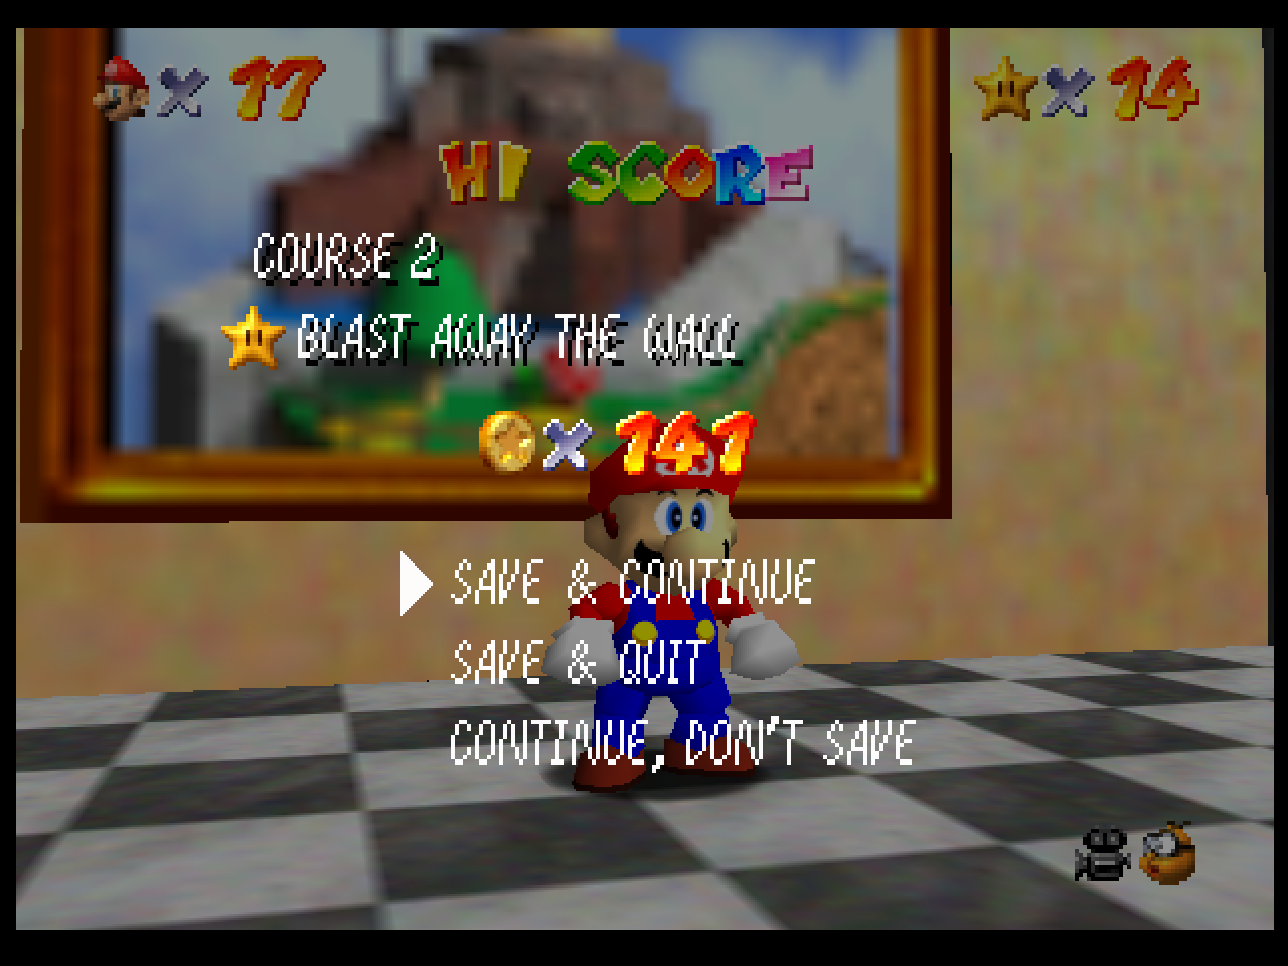
Treasure II
I couldn't put off the Treasure achievement series forever. Most of the achievements for this game either require a high level of skill or some secret arcane knowledge to crack, but the Treasure series—which has you collecting all the coins on a course, not just the hundred needed for the Star—are the only ones that require both. There's 141 coins on Whomp's Fortress, a good portion of which come from defeating enemies (five each for the plants and Whomps) and running around the course normally. There's a blue coin switch, but you only get twenty coins total from it. The most elusive ones involve having to "milk" the Whomps (man, the sentences I come up with) by jumping on their backs a few times in a non-lethal way, each hop producing one coin for a total of five, before finishing them off with a ground pound for another five. Future Treasure achievements will be much harder than this.
Exasperometer: 3.
Full Course in the Fortress
The Full Course achievements simply involve collecting all seven Stars in a course. Popped this one for Whomp's Fortress almost immediately after the previous.
Exasperometer: 1.
Lifesaver II
Last achievement to clear up in Whomp's Fortress, as far as I'm aware. This is for the 1Ups again, and they're considerably more elusive here than in Bob-Omb Battlefield. There's four in total, two of which I knew about: climbing to the top of the tall flagpole and collecting the coins around the spinning platform (hard to miss either). The two extra I didn't previously know about included a morphing butterfly you can punch in the garden area at the start of the course and a secret niche behind the base of the tower at the course's top. In fairness, there's no sign that the niche exists anywhere until you break it open, but I've gone some twenty-plus years never knowing about it. (I also confirmed here that you need to get all the 1Ups in a single visit.)
Exasperometer: 3.
Fly Baby Fly
Red Switch. Wing Caps. Into it. Though now there's nothing stopping me from finishing Bob-Omb Battlefield with another all-coins run. Pray for Mojo.
Exasperometer: 1.
Jump to the Island in the Sky
Another technical challenge, this time you need to get the Star on the floating island without using the cannons. I guess you could theoretically jump to the island from the top of the mountain but it's not a small distance and I'm not sure how you could pull that off without using some weird speed glitch. The alternative, which I took, is to get a Wing Cap from a red block around ground level and just hoof it up the mountain as quickly as you can and fly over from there. You have longer than you think with the Wing Cap's duration (about a minute?) so it's just about doable.
Exasperometer: 2.
Full Course in the Battlefield
Self-explanatory. Earned on the way to getting the following...
Exasperometer: 1.
Treasure I
I already mentioned the tough part, or really just the slow and annoying part, of getting all the coins here is the five rings you need to fly through for the sixth Star of this stage. Each ring is eight coins in a circle with a coin in the middle to direct your way, making 45 total of the 146 needed for this achievement. This course doesn't have a blue coin switch but is otherwise packed with lucre, most of which come from a trick where you run around wooden posts three times to make five coins pop out. This also applies to the one the Chain Chomp is tied to, which is a precarious five coins to earn to say the least. It's also an example of a course where you need to enter at the right Star to get every coin: there's a koopa troopa that only appears after you beat Koopa the Quick (not sure if it's the same guy) that's worth another five if you squash it.
Exasperometer: 3.
Mario Speedrun in the Plains
You gotta beat Koopa the Quick in under 34 seconds for this one, which you're not going to do by playing fair. Sadly, the achievement only activates once Koopa has congratulated you, which he won't if he catches you cheating: warps are OK, provided you aren't in his line of sight, but he can hear a cannon from anywhere. I sort of knew how to cheat this one because of how many SM64 speedruns I've seen, but it's not a reliable strat for a dirty casul like me: there's a slope far to the right of the Chain Chomp enclosure that, if you can get up with a triple jump and a bit of extra running, plops you halfway up the mountain in a flash. From there, you can get to the top in just over 30 seconds if you also take the alcove warp. Not easy, but then I didn't expect these achievements to be a walk in the park. Or even a sprint up the mountain.
Exasperometer: 4.

Lifesaver Aquarium
If only they could all be this easy. This would be the achievement for picking up the solitary 1Up from the Secret Aquarium bonus area in the castle, same room as the Jolly Roger Bay painting. If you're wondering where the 1Up is, it pops up after collecting the ring of coins above where the Star appears. It also swims away from you which isn't ideal, but it's pretty slow at least.
Exasperometer: 1.
Show Me Your Moves
I got this one while working through Jolly Roger Bay. Earned after performing all fifteen actions Mario can do. The only one that might be obscure is the sliding tackle; the rest are the usual mix of jumps and attacks you'll findself using at various points regardless. For whatever reason, the last one I needed was crawling around.
Exasperometer: 1.
Jump onto the Stone Cliff
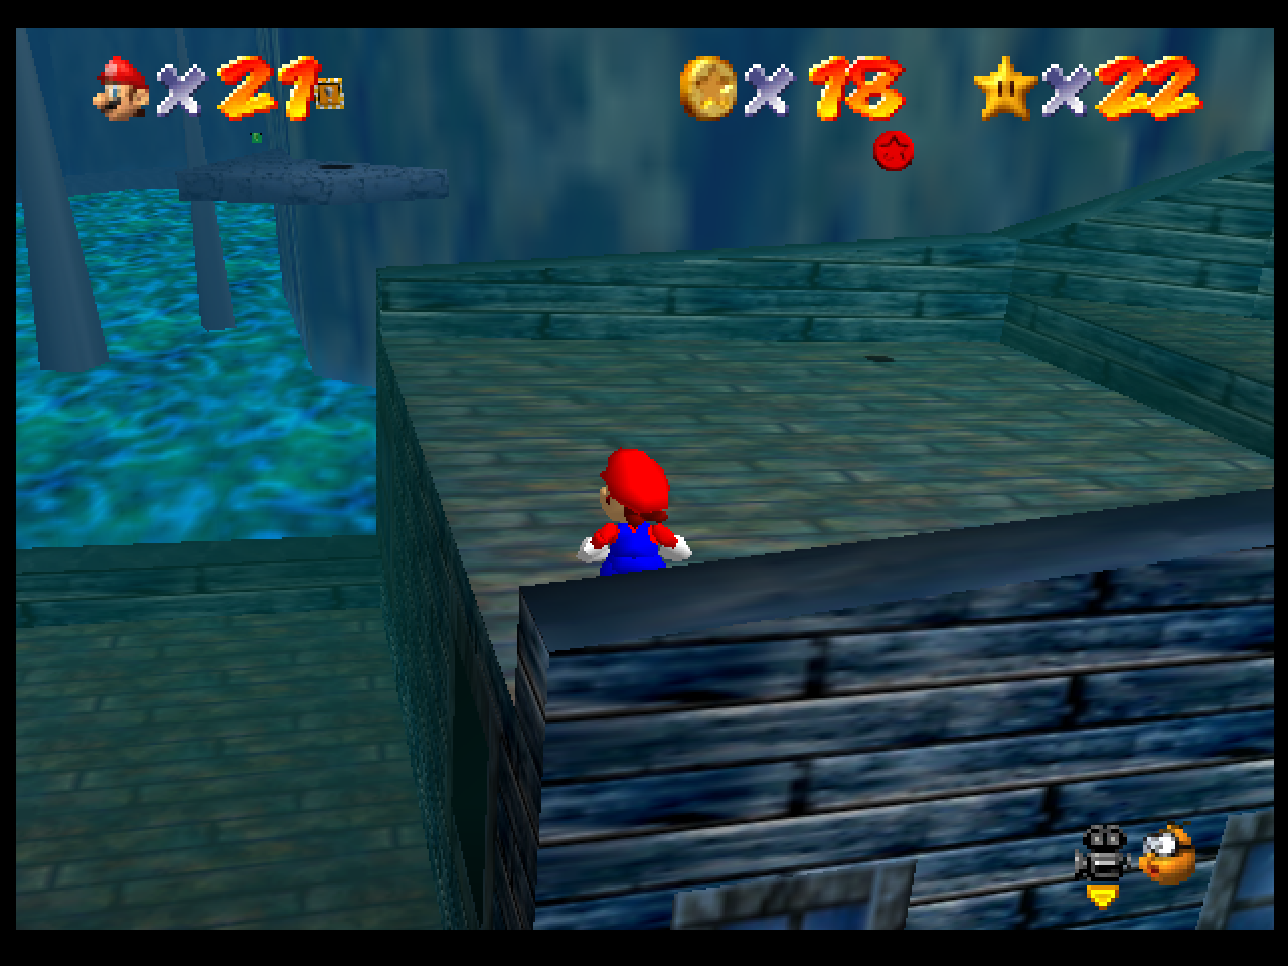
Jolly Roger Bay, like all water courses, doesn't have a no-damage Red Challenge I guess because there's no way for those looking at the game's code to distinguish between damage-damage and "losing health while underwater to represent running out of oxygen" damage. To make up for that, it has two tough technical challenges. The first of which has you reaching the Stone Cliff area without the cannon: the normal way is to use the cannon to shoot to a set of pillars, which you can then grab onto and use to reach the Star. Instead, you have to pull off an insane long jump from the ship's stern and wall-jump off the wall right next to the platform to reach it. Not only does the angle have to be perfect, but so does the timing as the ship is constantly swaying back and forth. Took more than a couple of tries, this.
Exasperometer: 5.
Treasure III
Jolly Roger Bay is notorious for having a very low coin count, and at 104 you can barely scrape together enough for the coin Star when playing 100% normally. Since all the coins are in clumps of five or eight (excepting a small handful like the red coins) this is one of the few all-coins achievements I would've earned just incidentally.
Exasperometer: 2.
Swim through the Jet Stream
This is another trick I knew from back in the day, again because it would've otherwise meant leaving Jolly Roger Bay incomplete until after unlocking the Metal Cap in Hazy Maze Cave. I don't recall when I learned this and how, much like the off-accelerator zipper trick in Diddy Kong Racing (I'm guessing I read both in some game magazine's tips section), but if you hit the swim button at the same rhythm that Mario swims you'll move a lot faster. Saved me a heck of a lot of time in underwater courses over the years, and made Stars like this one and another just like it in Dire Dire Docks accessible. Of course, it's still a lot easier to just go grab the Metal Cap first.
Exasperometer: 2.
Full Course in the Bay
Third of the all-Stars achievements and my penultimate for Jolly Roger Bay. Just need to figure out where the other 1Up is here...
Exasperometer: 1.

Lifesaver III
Yeah, I'm a dummy. There's only two 1Ups here and they're both fairly obvious: one appears as you head towards where the chests are in the underwater cave, and the second is on top of one of the pillars you gotta blast to with the cannon (when playing like a non-idiot).
Exasperometer: 1.
Secrets of the Snowy Mountain
This is the one warp in this game everyone knows about, right? The one that connects the broken bridge at the top of Cool, Cool Mountain with the one at the bottom? If you didn't know about it you'd have no way of returning to the top of the course which would be a real pain for a few of the Stars, especially the Red Coins. It's the only warp here, so this is probably the most straightforward warp achievement.
Exasperometer: 1.
Treasure IV
Ah, here we go. True pain has arrived. Cool, Cool Mountain has 156 coins in total, which of course includes all 80+ found on the cabin slide. There's a few other awkward coins too, including all the Reds and the coins that fly out from defeated enemies in unpredictable trajectories. You need to have the cannon open to the wall kick area for the last of them (or take the quick route, see below) and the course's blue coin switch can be a little tough to reach (it only has two blue coins, but you need them both regardless).
Exasperometer: 5.
Ready to Rematch Bowser
Got this while sweeping up Stars in Cool, Cool Mountain. It's for getting the thirty Stars you need to take on the second Bowser course. Jumping the gun a little, perhaps.
Exasperometer: 1.
Wall Kicks Will Work but Flying Too
Normally, you need to use the cannon to cross a perilous gorge to reach the wall-kicks Star area, but you can just hop down there too using a similar technique for reaching the platform underneath the flagpole in Whomp's Fortress. Jump facing backwards, then mid-air kick while falling for enough forward momentum to reach the wall-kick area. For this achievement you also cannot land on the bottom slope area where the spinning heart is—which requires a much tighter jump to reach—and then not mess up when heading to the Star (if you miss the wall-kick here, you'll fall to where the heart is).
Exasperometer: 3.
Red Challenge on the Snowy Mountain
Another one of these. It's easy to avoid harm on Cool, Cool Mountain because there's only a few enemies and the snow tends to absorb fall damage. Just takes a little while to gather them all, and of course anything can happen in the meantime.
Exasperometer: 3.

Lifesaver IV
There are six extra lives in Cool, Cool Mountain but only five are needed for this achievement. This is because there's a second 1Up in the secret tunnel during the slide that appears to vanish when you get close, glitching through the side of the narrow passageway. I guess none of the group who conceived this achievement set had a reliable way of getting it either. Besides that, there's the first and eminently attainable 1Up in that same secret tunnel, another for reaching the end of the slide, one up a random tree, and two more found in ?-boxes (well, except they're !-boxes in SM64) across the course. Fortunate thing about these 1Up runs is that if you mess up and un-alive yourself to reset the course, you'll still have more lives than when you started.
Exasperometer: 3.
Full Course in the Cool Mountain
Earned right after doing everything else. There's one more Star to get on Cool, Cool Mountain but I won't be getting it for a while (it's post-game only).
Exasperometer: 1.
Poltergust 25500
Another no-damage boss attack, only you have to defeat two of the Big Boos in Big Boo's Haunt. There's actually three in the course but I think the first two might be mutually exclusive. There's the one on the ground floor after defeating five normal Boos, one in the carousel in the basement, and one on the exterior balcony on the top floor. The Big Boos can be unexpectedly quick at times if you don't just combo them to death (re-death?), so fighting two without making an error is tough.
Exasperometer: 2.

Secret Way Around the Books
There's a Star earned for solving a puzzle in the library on the second floor where you have to hit books in the right order. There's a much faster way to get it, where you jump from a balcony above the piano room to a second one where the Star is waiting. This is another "cheat" I'd do out of laziness in regular runs so I didn't have to stretch too much to earn this.
Exasperometer: 2.
Red Challenge in the Horror Mansion
Besides getting smushed under the moving coffins or getting too close to the possessed piano there's nothing too demanding about the Red Challenge here. At least all the coins are close enough together.
Exasperometer: 2.
Treasure V
Relatively painless all-coins achievement too. There are no instant-death pits or traps in Big Boo's Haunt for as much as those spooks talk a big game so it's a matter of killing everything without getting beat up too much. The three monster books disappear quick if you don't bop them fast enough but besides that it's a leisurely stroll compared to the other Treasure achievements.
Exasperometer: 2.
Lifesaver V
Nice and easy one of these too. There's a 1Up in a !-box on the top of the mansion and another on top of the shed that contains the elevator to the basement. The second's a bit tougher to reach because of the slippery roof but nothing like some of these other skips (for one, you're actually meant to be able to get up there).
Exasperometer: 2.
Flawless Victory Round 1
We've done everything we can in Big Boo's Haunt for now so it's time for the first Bowser course, Bowser in the Dark World. First task is to beat the course and defeat Bowser without getting hit. Easier than it sounds, since you only need to worry about pitfalls and the two flamethrowers at the start. Bowser's not particularly aggressive just yet; he'll gain more attacks in subsequent fights.
Exasperometer: 3.
Treasure Bowser's Round 1
After getting the no-damage clear I can focus on grabbing the eight Red Coins for the Star and the rest of the coins for this achievement. Only issue here is that sometimes the goombas will just wander off the course and take their coins with them. So stupid. Given these Bowser courses are all linear gauntlets, the difficulty is staying alive rather than worrying about missing anything. Not sure if you can fill up on the coins Bowser's fire breath produces if you skip any in the course, but I wasn't about to risk it. (Incidentally, I had to look up how to get the Lifesaver achievement here, and it turns out the last 1Up only appears after you've completed the next Bowser course? Weird, but then I don't think I ever returned to an earlier Bowser course after defeating the later ones so I'm not sure what changes.)
Exasperometer: 3.

And with that, I'm poised to head down into the basement for the four courses contained within, as well as the Vanish and Metal Cap zones and the next Bowser gauntlet. The Kobayashi Mario is about to get so much more nightmarish to deal with as we head into noted troll courses Lethal Lava Land and Shifting Sand Land, and we'll also have the game's one and only missable achievement to potentially screw up. I'm giving myself a month to mentally prepare, and I'll see you all then for more Sisyphean suffering. Sisuphering. We'll workshop that for next time.
- Final Star Count: 39 (32.5%)
- Final Achievement Count: 45 (34%)
(Part 2 is now up!)


Log in to comment