Something went wrong. Try again later
    Follow

    The Legend of Zelda: A Link to the Past

    Game » consists of 18 releases. Released Nov 21, 1991

    The third installment in the Zelda series makes a return to the top-down 2D gameplay of the original. Link must travel between the Light and Dark Worlds in order to set things right in the kingdom of Hyrule.

    A Randomized Link to the Past - Episode VI: To Fat Knight Zone: Help Delete Salad

    Avatar image for mento
    Mento

    4966

    Forum Posts

    551636

    Wiki Points

    0

    Followers

    Reviews: 39

    User Lists: 212

    Edited By Mento  Moderator
    No Caption Provided

    It's another Monday, so it's time to see how Garflink is getting along on this increasingly forlorn The Legend of Zelda: A Link to the Past randomizer playthrough. If you want to know what a randomizer is and what it entails, I'd highly recommend starting with the first episode and working your way back to here, through all the highs and the lows. Mostly the latter right now.

    Let's not split hairs: we are in dire straits here. There are no more accessible dungeons as of last episode and very few places in the overworld left to check. Unless I find a progress-enabling item in this last sweep of the map, I could be scrapping this whole exercise as folly. I'll guess we'll see which way the cat jumps. Drama!
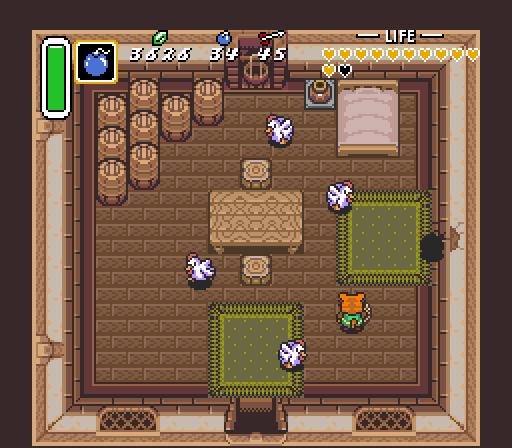
    I'd somehow managed to miss this chicken house in Kakariko Village. This one's totally on me.
    I'd somehow managed to miss this chicken house in Kakariko Village. This one's totally on me.
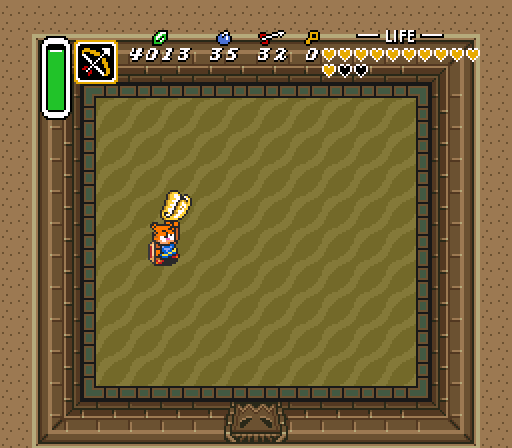
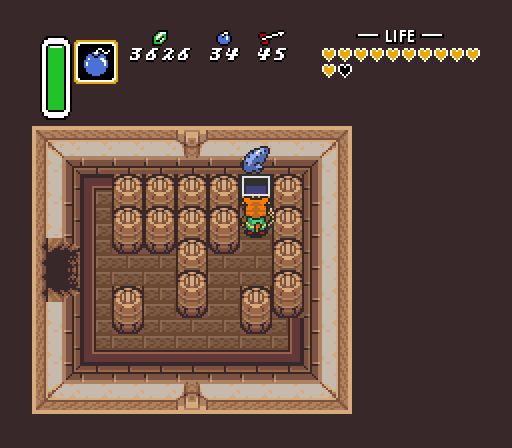
    Well... let's just say it would've been nice to have this before scouring the overworld for missed items.
    Well... let's just say it would've been nice to have this before scouring the overworld for missed items.

    Side-Note: The Ocarina, or the Flute, is a musical instrument that is normally found after completing the sub-story (and sob story) of the flute kid. It allows the player to awaken the fast travel bird in the middle of Kakariko Village, who will take Garflink to one of a number of locations across the Light World. We'll also need it to access Misery Mire eventually, but we'll also need a few other items for that dungeon too. For now, I'm just going to appreciate that I don't have to walk everywhere from the three respawn locations alone.
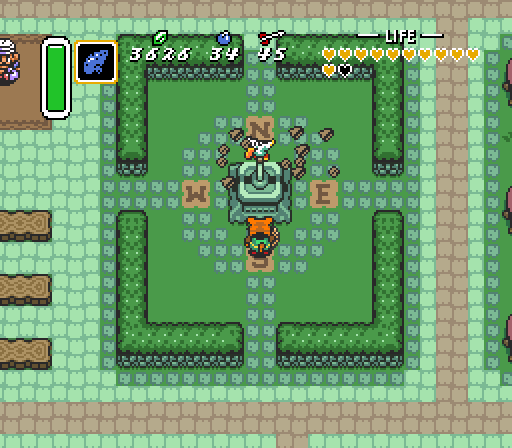
    "The old Pied Piper ploy." Also, can you tell this strip came from the 1980s?
    Garflink is no doubt pleased that he's cut down on the amount of exercise he has to do. And also for the convenient source of fowl meat.
    Garflink is no doubt pleased that he's cut down on the amount of exercise he has to do. And also for the convenient source of fowl meat.
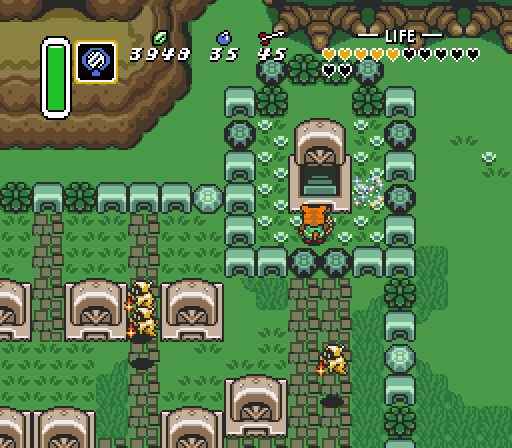
    This took some smarts to uncover, and a little bit of random luck. You can't access this tomb in the Light World due to all the black rocks surrounding it, but you can get here by warping in from the Dark World. I thought you might need the Titan's Mitt to push the gravestone as well, but it just needs a Pegasus charge (like the other moveable grave).
    This took some smarts to uncover, and a little bit of random luck. You can't access this tomb in the Light World due to all the black rocks surrounding it, but you can get here by warping in from the Dark World. I thought you might need the Titan's Mitt to push the gravestone as well, but it just needs a Pegasus charge (like the other moveable grave).
    Sweet Baby Jesus, we're back! The run is saved!
    Sweet Baby Jesus, we're back! The run is saved!

    Side-Note: The Titan's Mitt is an upgraded Power Glove, capable of picking up the dark-tinted rocks across the overworld. It's normally found in the Thieves' Town dungeon, which is instead where we found the Bow, the Tempered Sword, and the Cane of Somaria last episode (so no complaints here).

    I'm not kidding when I say this is probably the most useful progress-related item left to find in this run: not only can I now access the rest of the Dark Overworld, including Misery Mire and the other half of Death Mountain, but there's a number of hidden locations to find and side-quests to complete with this thing, including reuniting the blacksmith brothers and recovering the special blue chest. For the first time in a while, this playthrough has some darn momentum.

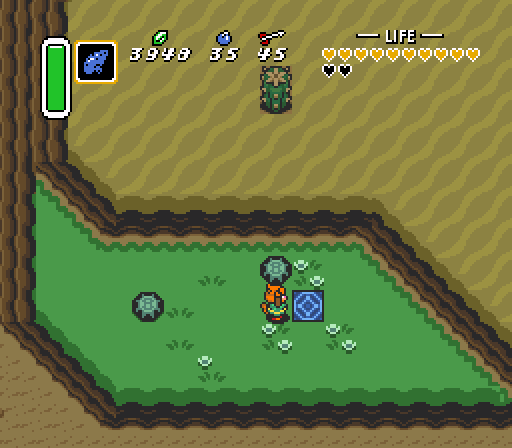
    The Titan Mitt has landed. Celebrate with me by enjoying this Garfield comic where he cosplays his Glover OC.
    The Titan Mitt has landed. Celebrate with me by enjoying this Garfield comic where he cosplays his Glover OC.
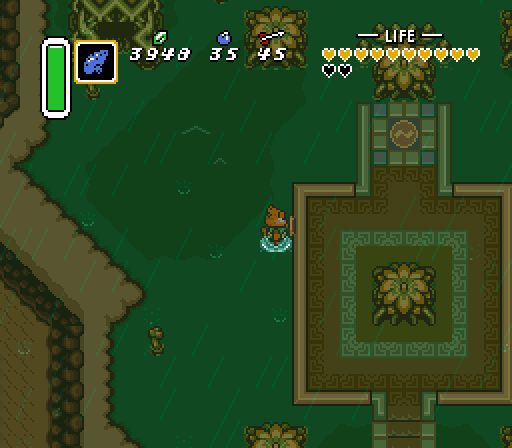
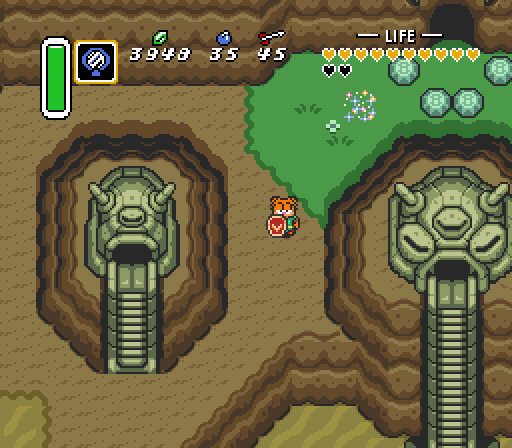
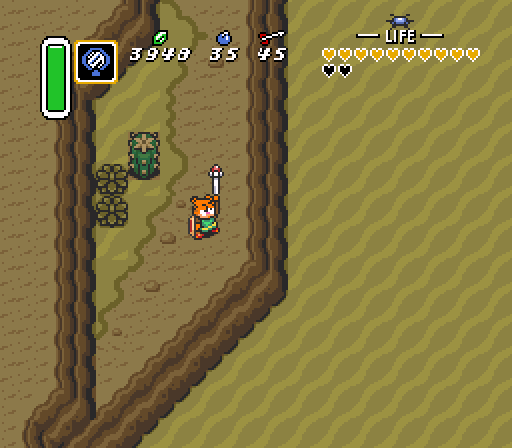
    Half the remaining Dark World portals are hidden below black rocks, which can now be lifted. I've opted to come to the Desert first (via the bird, which is the only way to get on this ledge) for a few reasons.
    Half the remaining Dark World portals are hidden below black rocks, which can now be lifted. I've opted to come to the Desert first (via the bird, which is the only way to get on this ledge) for a few reasons.
    The first of those reasons: I needed to check what is required to get into Misery Mire. Not only are the Medallion's locations randomized, but so are the spots where you need to use one to enter a dungeon. Misery Mire is going to stay sealed without the Quake Medallion, so I'll have to make a note of that.
    The first of those reasons: I needed to check what is required to get into Misery Mire. Not only are the Medallion's locations randomized, but so are the spots where you need to use one to enter a dungeon. Misery Mire is going to stay sealed without the Quake Medallion, so I'll have to make a note of that.
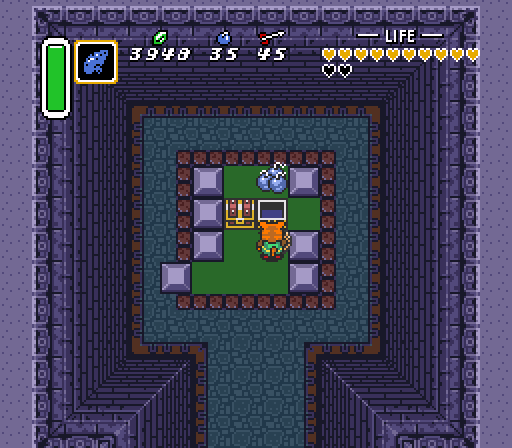
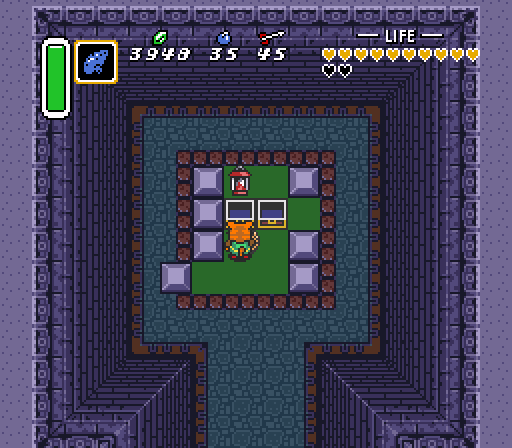
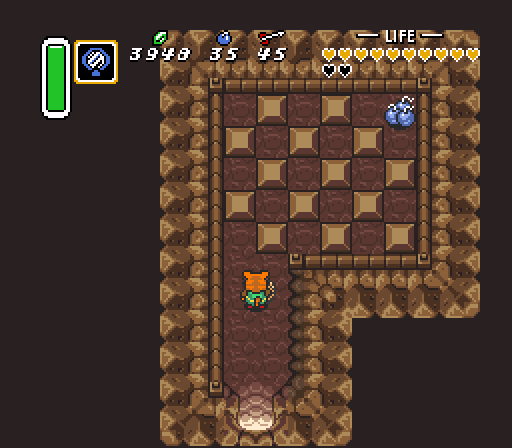
    There's also a smaller dungeon to the northwest of Misery Mire's entrance, and with it two more rolls of the dice. Not much I can do with these bombs, though.
    There's also a smaller dungeon to the northwest of Misery Mire's entrance, and with it two more rolls of the dice. Not much I can do with these bombs, though.
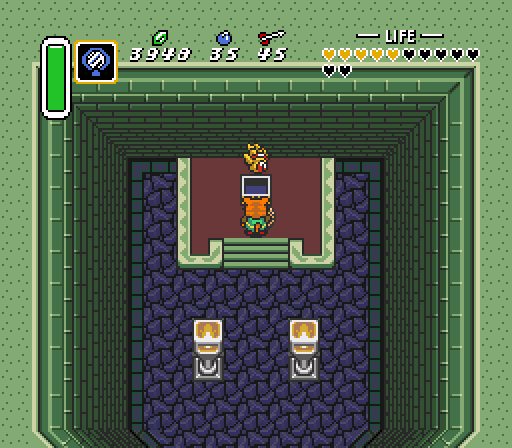
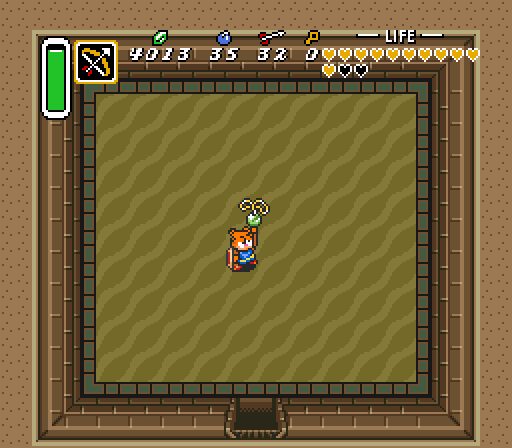
    Huh. So that's where you were. Talk about hiding one's light under a bushel.
    Huh. So that's where you were. Talk about hiding one's light under a bushel.

    Side-Note: The Lantern is used to provide a small cone of light in dark areas, and can also be used to ignite torches. It's normally the first item you find in the game, all the way back in Link's house during the intro. Figures it'd take half the game before I found it, and after I already painstakingly traversed the most dangerous pitch-black areas of the game.

    Pro-tip for others playing this particular randomizer: there are no dark areas that you are forced to pass through before you can find the Lantern. Kinda wish I knew that before starting.

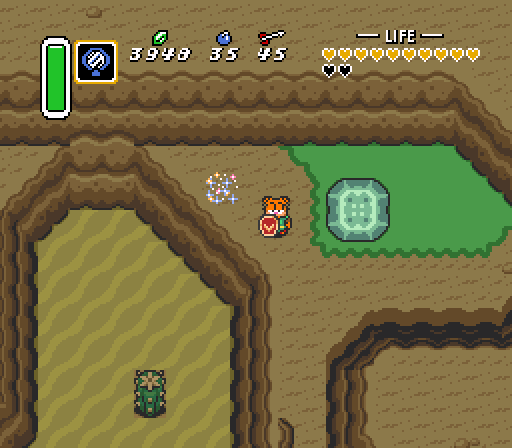
    Screw you, Jon. You know how long I've been searching for this thing? Also, how the hell is it producing that circle of light in that position? Does Jim Davis know how lights work?
    Screw you, Jon. You know how long I've been searching for this thing? Also, how the hell is it producing that circle of light in that position? Does Jim Davis know how lights work?

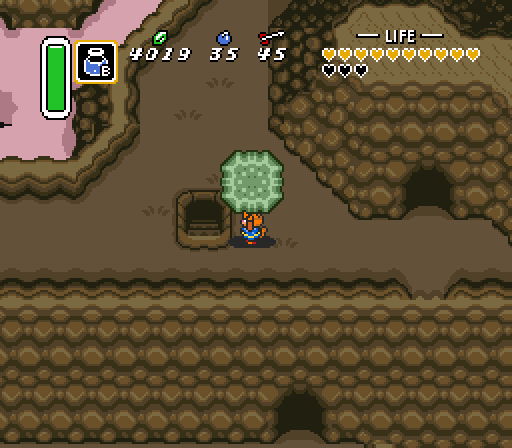
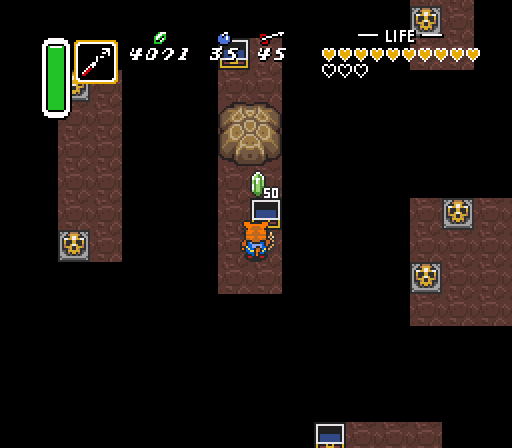
    We're not quite done in the desert outskirts yet. There's another item beneath this big rock.
    We're not quite done in the desert outskirts yet. There's another item beneath this big rock.
    I mean... I could figure out how to reach it, but... why bother?
    I mean... I could figure out how to reach it, but... why bother?
    So besides finding some junk and checking on Misery Mire, the big reason I came to the desert first was to complete the Desert Palace by sneaking in the back entrance. I still don't have the Book of Mudora, but at this point it's no longer required for this dungeon.
    So besides finding some junk and checking on Misery Mire, the big reason I came to the desert first was to complete the Desert Palace by sneaking in the back entrance. I still don't have the Book of Mudora, but at this point it's no longer required for this dungeon.
    I said I'd be back for this thing. Just took a little longer than expected.
    I said I'd be back for this thing. Just took a little longer than expected.

    Side-Note: The Fire Rod is a weapon that can be used both for offense and for lighting distant torches. It's normally found in Skull Woods, and is required to access the second half of that dungeon. If I hadn't found the Lantern just moments earlier, I might say that the light-producing effects might be more use to me than roasting enemies. I'm kind of set in the weapons department, to put it lightly (and silvery).

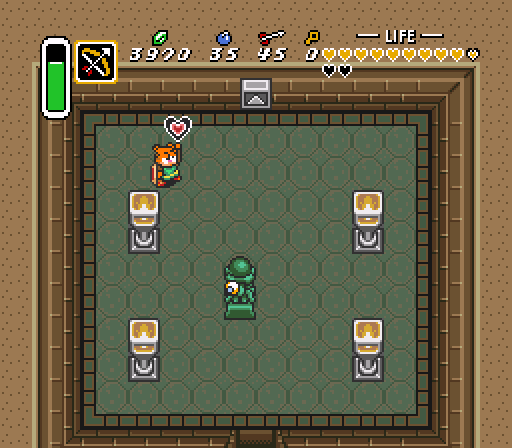
    Well, we now have the full arsonist kit. Let's get to burnin'!
    Well, we now have the full arsonist kit. Let's get to burnin'!
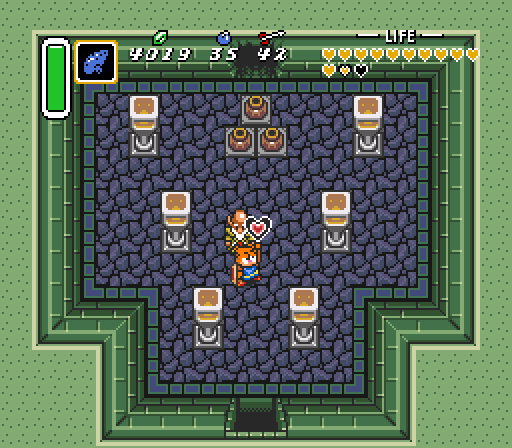
    As always, the dungeon is half full of randomized dungeon items - the map, compass, and various keys - and the rest are part of the global randomized pool. I was lucky enough to find this fourth heart piece, which brings us up to thirteen containers. Somehow, I feel a little overequipped for the second boss of the game...
    As always, the dungeon is half full of randomized dungeon items - the map, compass, and various keys - and the rest are part of the global randomized pool. I was lucky enough to find this fourth heart piece, which brings us up to thirteen containers. Somehow, I feel a little overequipped for the second boss of the game...
    Even more so, now.
    Even more so, now.

    Side-Note: The Blue Mail is the first armor upgrade in the game, and reduces all damage by half. It's usually found in the Ice Palace. Unlike the blue suits of later games, it doesn't afford me any extra protection against ice magic or make swimming any easier. Speaking of easier, I'm far more confident about the rest of the game's bosses wearing this thing - until now, I was a little apprehensive about some of the Dark World's latter dungeons.

    Oh no, Odie was an incel this whole time. (Also, it was not easy finding a picture of Garfield in a blue suit.)
    Oh no, Odie was an incel this whole time. (Also, it was not easy finding a picture of Garfield in a blue suit.)
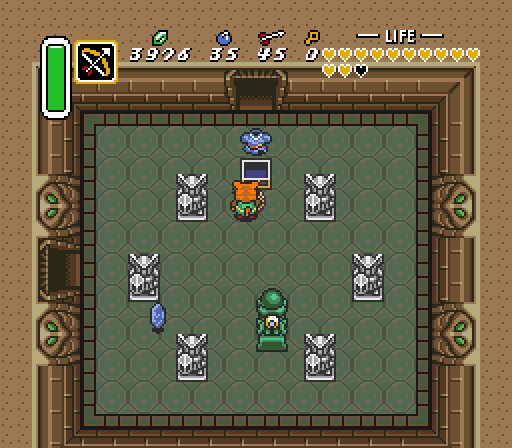
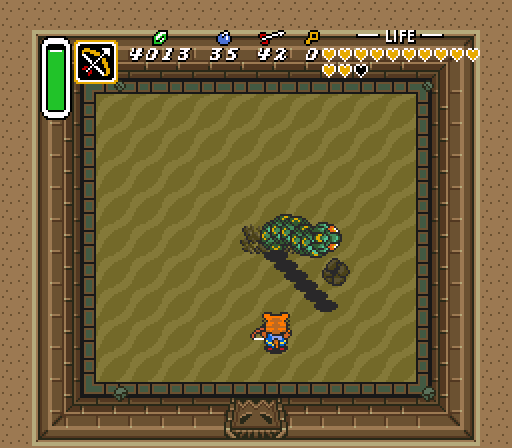
    The Lanmolas bosses, unsurprisingly, didn't appreciate getting shot at with silver arrows - all three died in one hit. Look, I'm not going to NOT use them.
    The Lanmolas bosses, unsurprisingly, didn't appreciate getting shot at with silver arrows - all three died in one hit. Look, I'm not going to NOT use them.
    OK, I'll admit, that's a pretty funny reward.
    OK, I'll admit, that's a pretty funny reward.
    Hooray, we have another pendant! And this one in particular has a certain secondary use...
    Hooray, we have another pendant! And this one in particular has a certain secondary use...
    Sahasrahla promised us an item if we found the Pendant of Courage. It's normally found in the Eastern Palace next door, but we had to search a little further afield for it. Alas, it just gets us another heart piece.
    Sahasrahla promised us an item if we found the Pendant of Courage. It's normally found in the Eastern Palace next door, but we had to search a little further afield for it. Alas, it just gets us another heart piece.
    All right, I've got a couple of places still to check out. I've decided to go to the Turtle Rock because I couldn't be bothered going all the way through Skull Woods again - I've revisited that dungeon two or three times while searching for missed items, and I'm getting tired of its stupid pits.
    All right, I've got a couple of places still to check out. I've decided to go to the Turtle Rock because I couldn't be bothered going all the way through Skull Woods again - I've revisited that dungeon two or three times while searching for missed items, and I'm getting tired of its stupid pits.
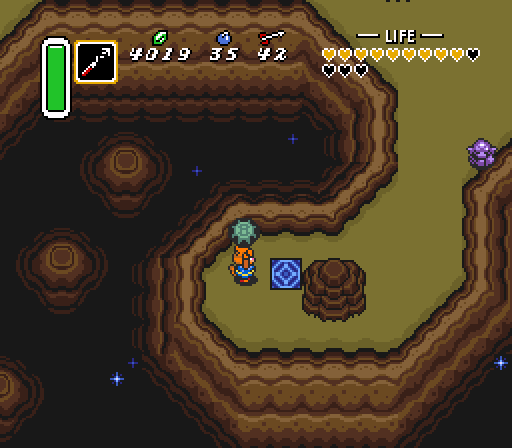
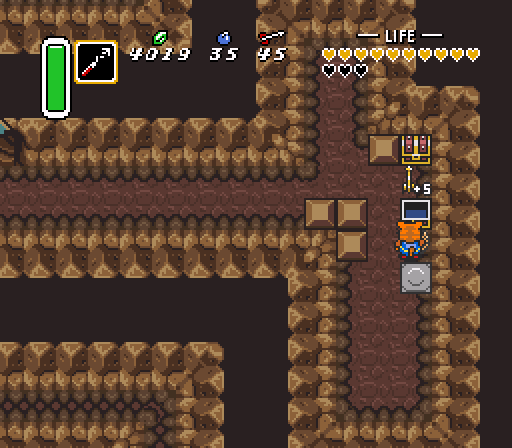
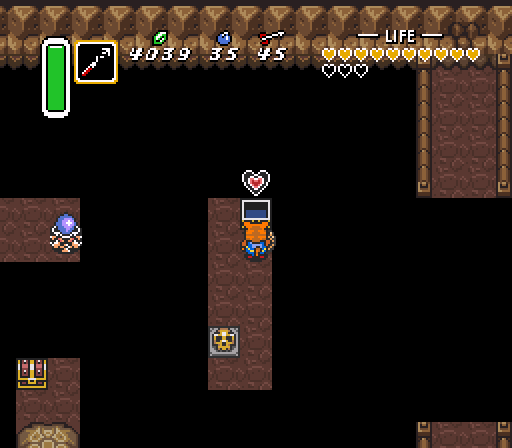
    First, there's a few chests scattered around this part of Dark Death Mountain (man, that's a name). These two are found on the way up, so they're hard to miss. More instant death missiles? Don't mind if I do.
    First, there's a few chests scattered around this part of Dark Death Mountain (man, that's a name). These two are found on the way up, so they're hard to miss. More instant death missiles? Don't mind if I do.
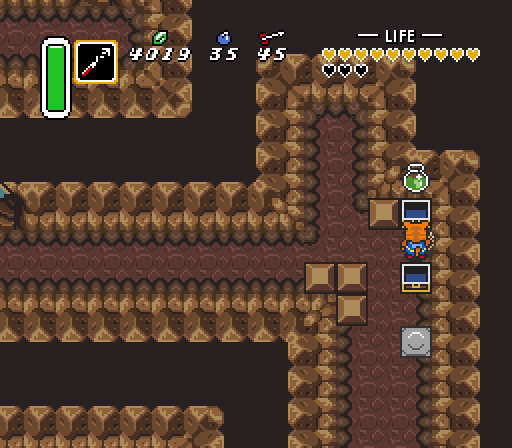
    Hmm, a green potion. But wait, this also includes the bottle, which means we now have a total of two jars for fairy subjugation. BYOB, my droogs.
    Hmm, a green potion. But wait, this also includes the bottle, which means we now have a total of two jars for fairy subjugation. BYOB, my droogs.
    Finally, there's this little hole in the ground full of riches for the more hookshot-endowed among us. Eww, phrasing.
    Finally, there's this little hole in the ground full of riches for the more hookshot-endowed among us. Eww, phrasing.
    Well, I'll be. We finally have one of the three Medallions. Better late than never.
    Well, I'll be. We finally have one of the three Medallions. Better late than never.

    Side-Note: The Bombos Medallion is one of three powerful screen-clearing magical weapons, each requiring a large fraction of the magic gauge. Normally, you'd have to travel to just outside the desert in the Dark World and Magic Mirror onto a ledge in the Light World, then use the Book of Mudora on the tablet up there. The randomizer took a shortcut.

    In the original game, the Bombos Medallion was the only one of the trio you didn't need in order to access a dungeon, but there's no guarantees in a randomizer run.
    No Caption Provided
    No Caption Provided
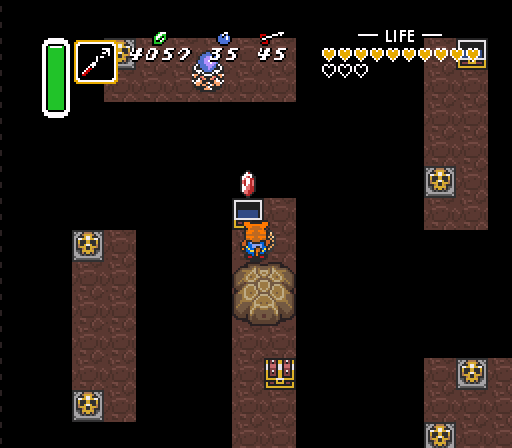
    The other three chests in here proved less fruitful, but at least we're halfway to another heart container.
    The other three chests in here proved less fruitful, but at least we're halfway to another heart container.
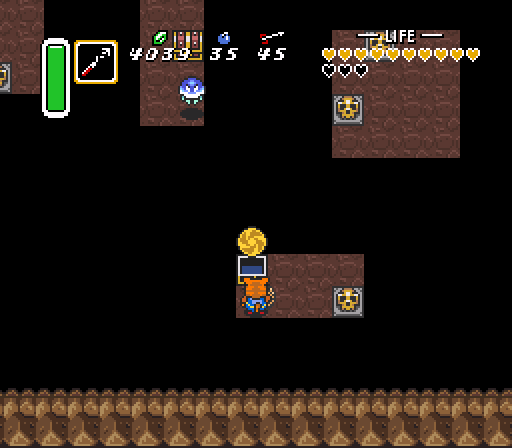
    The hookshot cave culminates on a floating island, which grants another item after warping to the Light World. I guess I'll be adding this to the pile... (Why does the game even let you carry this many rupees?)
    The hookshot cave culminates on a floating island, which grants another item after warping to the Light World. I guess I'll be adding this to the pile... (Why does the game even let you carry this many rupees?)
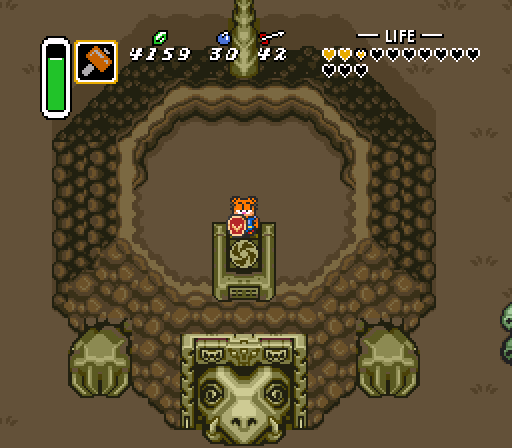
    Well, look at this. The medallion needed to open Turtle Rock just so happens to be the Bombos Medallion. Convenient, that.
    Well, look at this. The medallion needed to open Turtle Rock just so happens to be the Bombos Medallion. Convenient, that.
    And here is where we're going to end it for this week's sole update. But man, what a kick in the pants this episode has been.
    And here is where we're going to end it for this week's sole update. But man, what a kick in the pants this episode has been.
    No Caption Provided

    Plenty to review here:

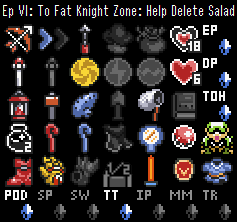
    • A veritable treasure trove this time: the Lantern, the Flute/Ocarina, the Blue Mail, the Bombos Medallion, the Fire Rod, and - most importantly - the Titan's Mitt. We're also another heart up, we have another bottle to rely on, and we can now fit a few more Silver Arrows in our quiver.
    • We're done with all the Light World dungeons too! Let's do our now customary dungeon check-in:
    1. The Swamp Palace (Dark 2): I can walk inside, but I can't get past the first room without the Zora Flippers. (Which now replace the Titan's Mitt as the MVP of the remaining items.)
    2. Skull Woods (Dark 3): The second half of Skull Woods is now accessible. I'll probably head straight there after Turtle Rock.
    3. Ice Palace (Dark 5): Inaccessible without the Zora Flippers. It's in the middle of a big lake, after all.
    4. Misery Mire (Dark 6): We've solved the problem of reaching the dungeon, but we still need the Quake Medallion to actually get inside.
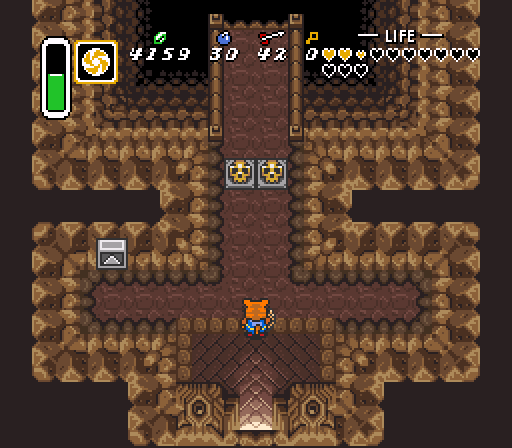
    5. Turtle Rock (Dark 7): It's now accessible. We're inside and ready to go for the next episode.
    • Also worth following up: The blacksmith brothers and the locked chest. There's a secret cave in the Dark World close to the Blacksmith's home too.

    Next Time, on A Randomized Link to the Past: We have some breathing room now. The second half of Skull Woods and the entirety of Turtle Rock is now open to us, so that's a whole bunch of possible new items to find in addition to moving the main game progression forward. The run doesn't look quite as doomed as it once did; in fact, I'd probably go so far as to suggest that it's all downhill from here. But like in a good way.
    Episode I: Lasagna Kitten: The Fell Depth Oozed
    Episode II: Pasta Fiend Tale: Hell-Zonked Ghetto
    Episode III: Lazed Feline Goal: Pet the Dank Thots!
    Episode IV: Odie the Dog: Last Theft? Kennel Plaza!
    Episode V: Egad!, PhD: Little Fez Hat on a Skeleton
    Episode VI: To Fat Knight Zone: Help Delete Salad <- You Are Here
    Episode VII: Please, God, No: The Zealand Kilt Theft
    Episode VIII: TalkFleet: An Elephant-Sized Hotdog
    Episode IX: The Fattened Ilk: A Gonzo Death Spell
    Episode X: Old Hazing Poll: Taste the Naked Feet
    Episode Ys: Fleshpot Glitz: Needed a Tenth Koala
    Avatar image for cubidog
    cubidog

    165

    Forum Posts

    0

    Wiki Points

    0

    Followers

    Reviews: 0

    User Lists: 0

    Well I'm glad to see you got a lot of necessary items this episode. Since you started this series I've downloaded and now beaten a randomized game. I beat the game with all the inventory items and max hearts in 15 hours, which I think is pretty good considering I haven't played this game in like eight years, and even then I never beat the game. I'm proud of myself even though I did watch a couple videos for help.

    Also, this is weirdly enough the first Zelda game I've ever beaten, even though I consider myself a Zelda fan. I've watched let's plays of most of the Zelda games, but it was nice to beat one myself for a change. Now it's time to get back to Breath of the Wild, which I'm still nowhere close to completing at over 130 hours.

    Avatar image for generic_username
    generic_username

    943

    Forum Posts

    1494

    Wiki Points

    0

    Followers

    Reviews: 2

    User Lists: 7

    Awesome, glad the Titan's Mitt finally showed up. Totally forgot it was possible to get to that gravestone without it; there's a nice sort of irony to it being hidden in a place it's easy to think is inaccessible without it.

    Avatar image for mento
    Mento

    4966

    Forum Posts

    551636

    Wiki Points

    0

    Followers

    Reviews: 39

    User Lists: 212

    #3 Mento  Moderator

    @cubidog: It's a hell of a thing to beat Link to the Past for the first time with a randomizer run, but then the core game is very "traditional Zelda". If you've played enough of its sequels, the original game probably won't throw too many surprises at you. Still, getting through without knowing where half the secrets are sounds like it would be challenging. Kudos.

    @generic_username:Yeah, I'd written that one off a few times before realizing I'd already figured out a way past the rocks to get to that item on the ledge behind the graveyard. There's so many weird cases I'm finding - like getting into Desert Palace via the back door - where I think I need a specific item but actually don't. I'm slightly worried that the Zora Flippers might be somewhere weird that would normally require swimming but perhaps doesn't.

    At any rate, thanks for your brainstorming ideas. Hopefully I won't get as close to stuck again for the rest of the run, even if it will mute the drama somewhat.

    This edit will also create new pages on Giant Bomb for:

    Beware, you are proposing to add brand new pages to the wiki along with your edits. Make sure this is what you intended. This will likely increase the time it takes for your changes to go live.

    Comment and Save

    Until you earn 1000 points all your submissions need to be vetted by other Giant Bomb users. This process takes no more than a few hours and we'll send you an email once approved.