
Well, here we are at the end. Our goal today is nothing short of 100% completion of the Retro Achievements set for Super Mario 64. Once we hit all 132 achievements (Part 3 left us with 23 to go) I'll be moving onto a bonus section and then wrapping up this feature for some other retro-gaming shenanigans. For those just joining us at the conclusion here, the Kobayashi Mario is this potentially unwinnable challenge to complete Super Mario 64 harder than I've ever completed it before; not just stopping at all 120 Stars but going out of my way for some of the most arduous challenges I've ever attempted with this game. If the below achievement descriptions alone aren't indication enough, I've once again included an "Exasperometer" score to give you some idea of where my patience levels were at.
This final part sees us face the top floor of Peach's Castle, wherein lies Tick Tock Clock, Rainbow Ride, the Wing Cap Mario over the Rainbow bonus course, and the final Bowser gauntlet Bowser in the Sky. There'll be some additional clean-up after that as well. Tiny-Huge Island nearly killed me, but while Rainbow Ride and Bowser in the Sky will definitely have their hurdles I'm sincerely crossing my fingers that the hump has been passed. You'll have to read on to see how that slim glimmer of hope panned out.
In the meanwhile, feel free to get refreshed (or read for the first time) the prior three parts to this series: Part 1 (the ground floor), Part 2 (the basement), and Part 3 (the second floor).
[Disclaimer 1: Might help if you're already familiar with this game, as the tricky nuances of some of its more insidious achievements might whizz over your head like so many cameramen Lakitu.]
[Disclaimer 2: If Grubb, Tolkien-Miyamoto, or Ryckert wants to attempt this same challenge in lieu of a bad game for your weekly punishment series Blight Club or for a Hyrule Hustle type race, have at it. I could use the healing scha-Dan-freude after all this.]
Lifesaver Inside
This one had been bothering me for a while, so I just looked up where to get it. The idea is to get the two 1Ups inside the castle grounds, which means they could be anywhere in the enormous hub area. The first is simple enough—the Jolly Roger Bay room has two holes in the wall, one of which takes you to the Secret Aquarium bonus course while the other spawns a 1Up—but I never knew about the second. Like some other elusive 1Ups it spawns when you touch all four corners of a certain room, in this case the water area just before where you pound the two pillars to empty the moat. How anyone figured this out naturally is beyond me. I have a feeling I'm going to need these extra 1Ups...
Exasperometer: 3.
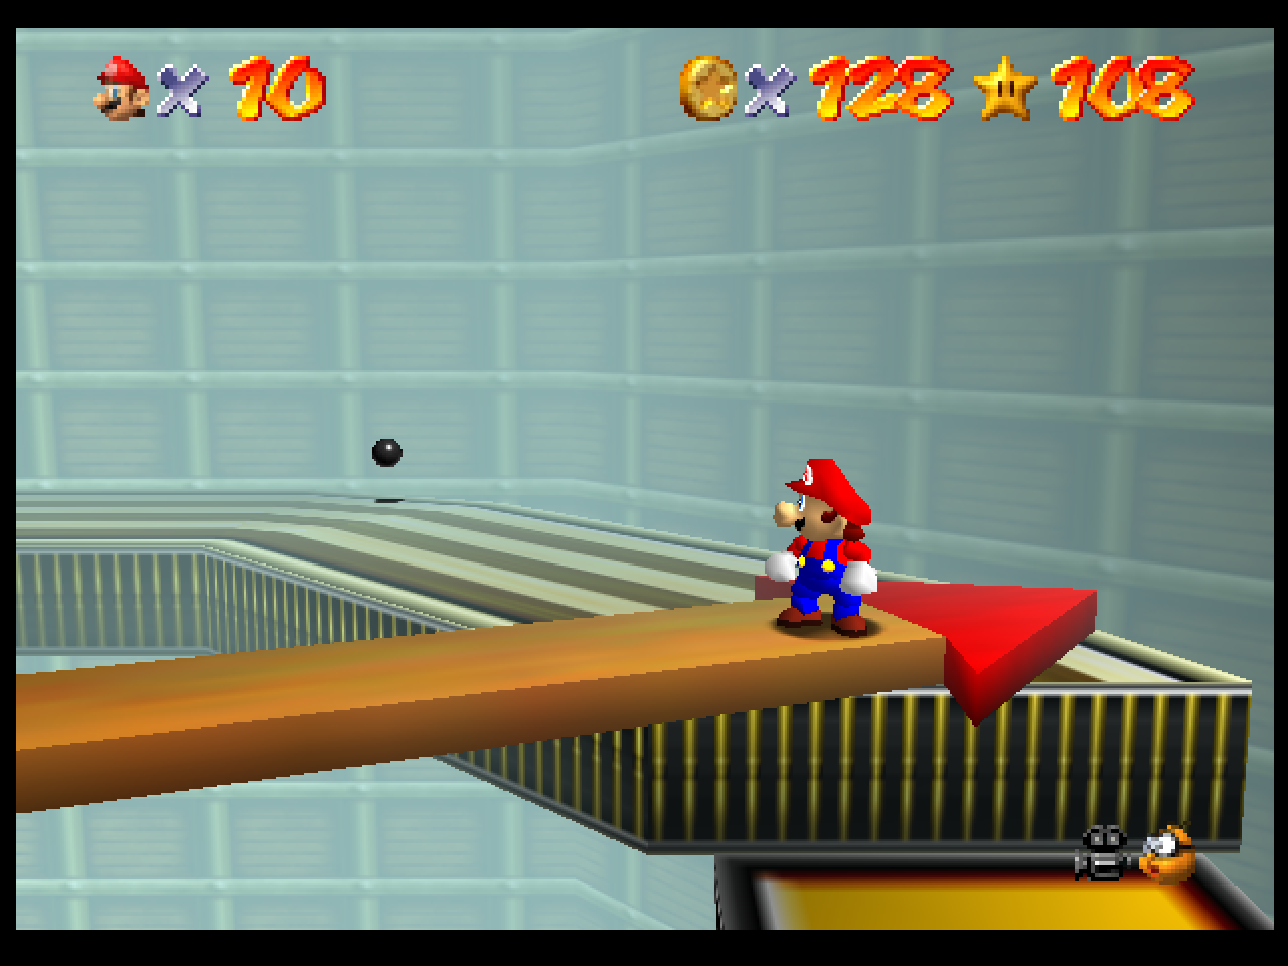
The Clock is Ticking
Simple achievement here, and like Wet-Dry World one that relies on knowing the entry trick behind Tick Tock Clock and its moving parts. By entering the course while the minute hand points in a particular cardinal direction you can change the speed of its platforms: 3 o'clock is low-speed, ideal for most of the Stars; 9 o'clock is high-speed, which is less ideal if you don't want to be thrown off but is suited for getting to where you wanna be faster since there's less waiting involved (such as the clock hand Star); 6 o'clock will randomly flip between low and high speeds, making it the worst choice in any circumstance; and 12 o'clock will freeze everything, which does help with some of the Stars lower down the course but makes it harder to ascend to the top without some careful platforming due to halting some useful elevator platforms. I rely mostly on 12 and 3 for most of the Stars in a casual run but this time will be a little different, as you'll soon see.
Exasperometer: 1.
Treasure XIV
I'm as surprised as you all that I was able to get this one so quickly. Deciding on doubling up the Thwomp Star with my all-coins run, since that Star culminates at the very top of the course and the whole progression here is just one vertical straight line upwards, I shockingly didn't run into too much trouble finding all 128 coins on Tick Tock Clock. Since I was at 3 o'clock, the Red Coins were a bit tricky on their spinning platforms but there's solid ground beneath them and a heart to recoup damage so it's no big deal if you fall while aiming for them. The rest were just a mix of coin boxes and a generous Blue Coin block. Also, this course only has two defeatable enemies in it—a pair of bob-ombs at ground level that are easy enough to dispatch—so no unpredictable enemy coins flying out of reach. I guess it's a relief that the antepenultimate Treasure achievement was also one of the more anti-climactic.
Exasperometer: 3.
Red Challenge in the Clock
Ah, those wacky achievement writer jokers. The trend with these Red Challenges—which usually task you with finding all eight Red Coins on a course without getting hurt—is that whenever the Red Challenge would otherwise be too easy they throw in some extra wrinkle. All of the Red Coins here are right behind where you start and are simple enough to collect without harm if you're playing on 12 o'clock speed (that is, when everything's completely still) like the Star hint suggests, so instead the goal here is to collect all eight while the speed is at its highest (9 o'clock). You cannot rely on the spinning platforms at all since they're whirring around at GPU fan speeds, so to get all the Red Coins you have to fall on top of them from above; that means playing the first part of the course at full speed several times over, getting maybe one Red Coin per attempt. Easy to lose patience and die here, as I did a few times, but with enough perseverance it's not too taxing. At least they waive the "no damage" clause this time.
Exasperometer: 4.
Full Course in the Tick Tock Clock
The Red Coin Star is the last one to get in Tick Tock Clock, so this achievement popped the same time as the previous. Honestly? More painless than I was expecting. Just need one more achievement here to wrap up and then it's off to the dark mirror of a Pride parade that is Rainbow Ride.
Exasperometer: 1.
Lifesaver XIV
Pretty nice Lifesaver here too. Was Tick Tock Clock always this accommodating? Just four 1Ups to collect for this achievement: the first you can pick up almost accidentally, since it spawns at the top of a pole you need to climb up anyway; the second and third are in !-blocks so they're not impossible to find; and the fourth has you jump across three wall-plunger platforms to spawn the 1Up on an empty platform right after, creating the minor issue of quickly having to run after it before it falls off. You do need to climb pretty much to the top to get all four but they're not super well-hidden at least.
Exasperometer: 2.

Lifesaver Rainbow
And right into another Lifesaver achievement, this time for the bonus course Wing Cap Mario over the Rainbow. Collecting the four 1Ups here is probably easier than collecting the eight Red Coins for the Star, since there's half as many and they're just about as conspicuous. That said, for as relatively simple as this final bonus course is it can be annoying if you fall since it dumps you back outside the castle. Some things are worse than death in the Mario universe, and one of those is being mildly inconvenienced.
Exasperometer: 1.
Cannoneer
An achievement for activating all ten cannons across the fifteen main courses. Almost unavoidable since you need those cannons for other achievements and Stars. For the record, the ten cannons are in: Bob-omb Battlefield, needed for the "flying through the rings" Star; Whomp's Fortress, needed for the Star where you blast open the wall; Jolly Roger Bay, where you don't technically need it for the columns Star but it'd help on a normal playthrough; Cool, Cool Mountain, where you don't technically need it for the wall-jumps Star but it certainly helps; Shifting Sand Land, one of the few courses where the cannon isn't necessary (but, again, useful); Snowman's Land, where it's needed for the all-coins achievement; Wet-Dry World, since you can't (easily) access the town area without it; Tall, Tall Mountain where you're supposed to use it for the lonely mushroom Star; Tiny-Huge Island where it can very helpful for Wiggler's Red Coins; and finally Rainbow Ride, the current course, where it's needed for the "Somewhere Over the Rainbow" Star.
Exasperometer: 1.
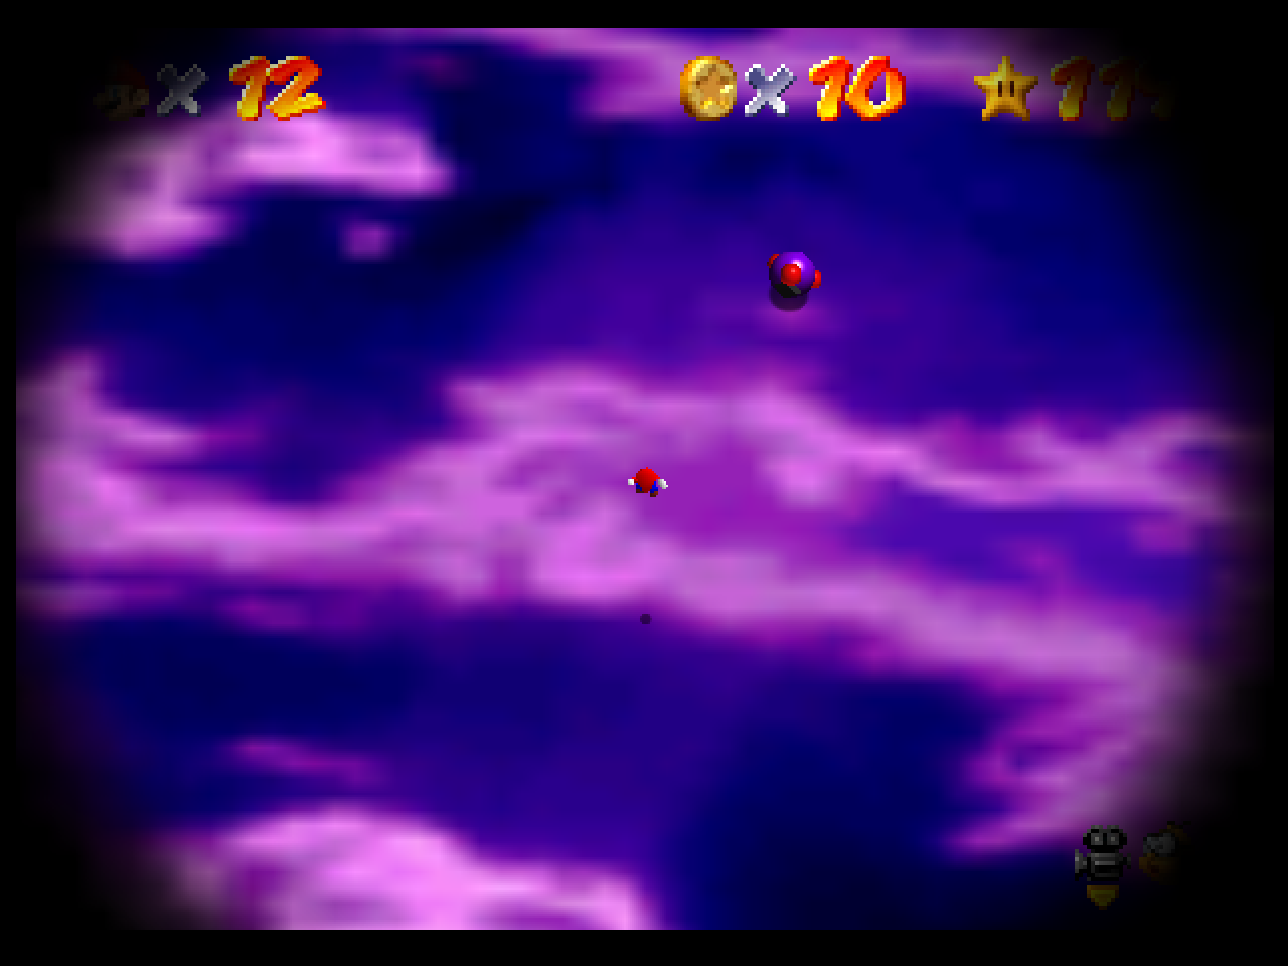
Secret of the Rainbows
This warp connects the top of the Red Coin maze (usually inaccessible otherwise but you can actually wall-jump up here) to the balcony of the castle. It's meant to connect you from the castle back to the main hub area to make it easier to backtrack for coins or if you get stuck, but you can use it to go the other way if you want to... except there's nothing to do at the castle, since everywhere is out of reach without a carpet.
Exasperometer: 2.
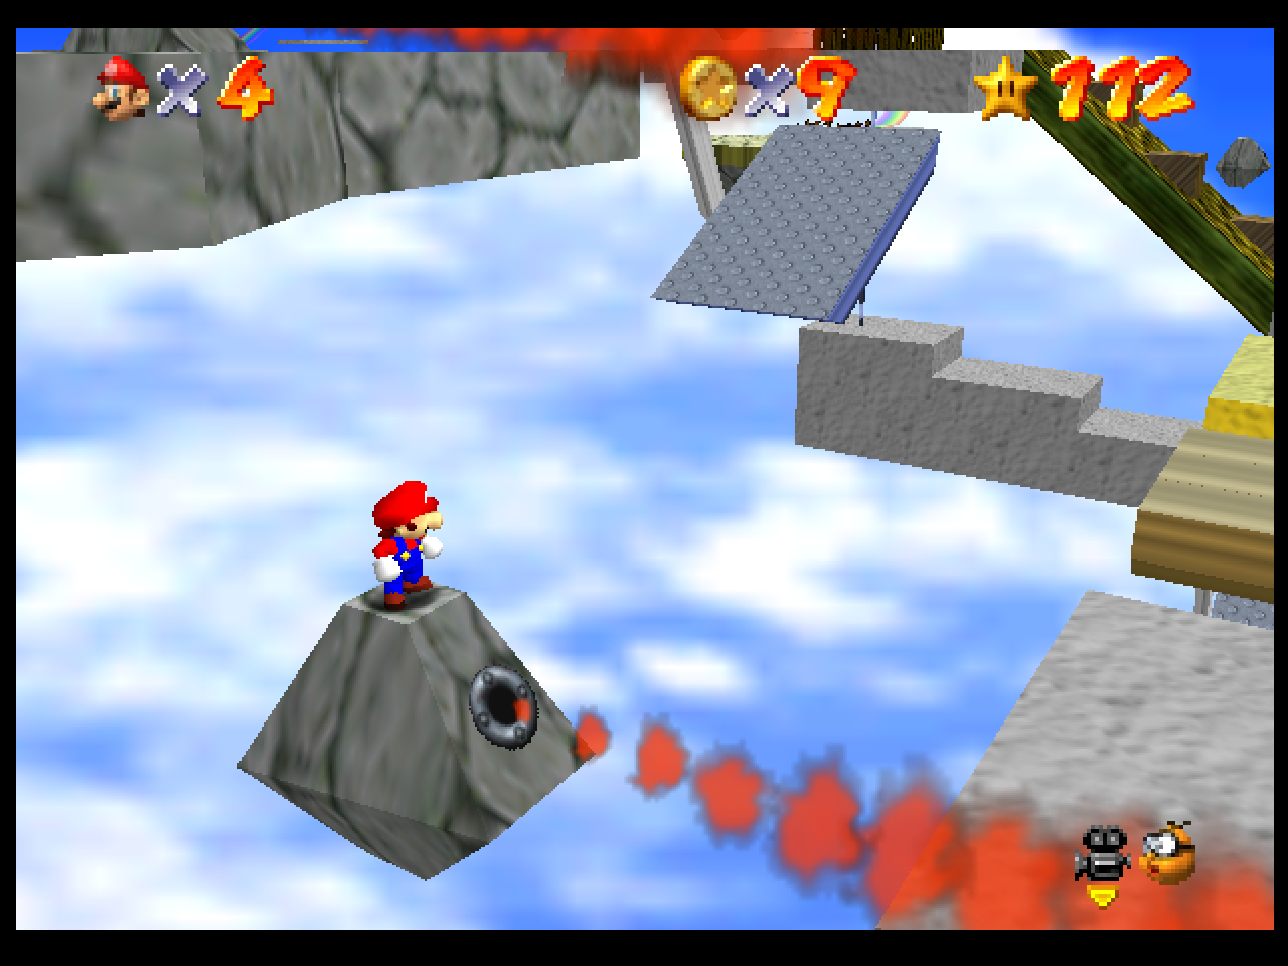
Board the Cruiser in the Sky
The last of the technical challenge achievements and quite the doozy. Goal here is to get the "Cruiser Crossing the Rainbow" Star, on the deck of the airship, without using a carpet once. You can skip the first carpet sequence easily enough by making a long-jump from the starting platform to a nearby pole, but the next requires a multi-step process that I had to look up. It's... intense. First, you wall-jump to the top of the Red Coin maze (as mentioned above), use that to leap across to the glass platforms that the second carpet sequence passes through, do another crazy long-jump to a pole some distance away, use that to get up to another set of platforms you're meant to navigate while on the carpet, and then from there do a 180 flip on a tiny platform to leap to where the airship is waiting. Not quite the craziness of the Dire Dire Docks no-poles Red Coins Star but much more dangerous, since missing half those jumps will kill you.
Exasperometer: 6.
Treasure XV
Absolute Hell on Earth. This was debatably the most difficult achievement in the run so far, in part due to the usual headaches (certain enemies vindictively hucking their coins into the abyss with their dying breath) combined with an already challenging course that splits in multiple places. Unlike Tick Tock Clock, which was as linear as any course gets in this game, Rainbow Road has four terminal points and you need to visit all of them for the full coin total of 146. I eventually worked out a system that had me collect the coins from, in order, a shyguy, a lakitu, a pair of bob-ombs, and the Blue Coin block. I missed any one of those about 40% of the time due to how unpredictable they could be (and the Blue Coins had some very tight timing). After that, it was simply a matter of amassing every other coin on the course without dying, which got harder the more coins I found due to my frayed nerves. Dying at 131 coins was damn near heartbreaking. Tiny-Huge was more of an ordeal due its massive 191 coins and all those tiny goombas, and I'll still never forgive Lethal Lava Land for its volcano bullies, but Rainbow Ride has a primo spot in my ongoing nightmares too now.
Exasperometer: 9.
Lifesaver XV
Also a giant hassle, but compared to the Treasure achievement this was a tropical vacation. Same issue here, in that the nine 1Ups there were to find were often only found at terminal points: one on top of the castle, two on the airship, and one hovering over those pyramid platforms. The others tended to be in weird spots that invited their own peril and of course I needed to get all nine without leaving or dying. Still, with a quest like this you never have to worry about premature game overs. They're like the BlueChew of achievements.
Exasperometer: 5.

Full Course in the Rainbow
I didn't even need this achievement for completing Rainbow Ride's seven Stars. Just being done with it was reward enough.
Exasperometer: 1.
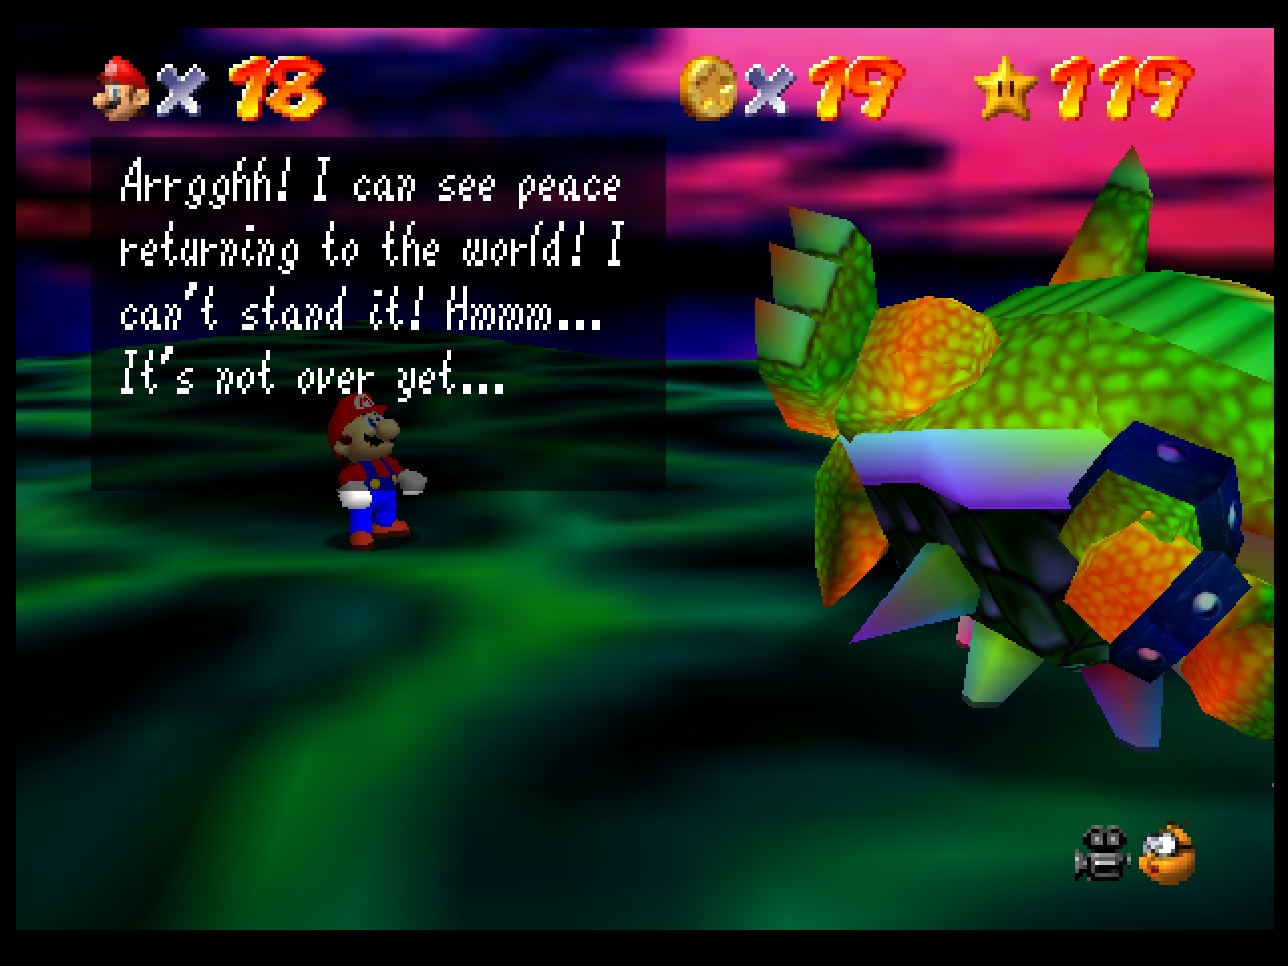
Flawless Victory Round 3
Here we are at the final gauntlet, Bowser in the Sky. Not with diamonds, sadly, but then we might've had one if I stuck a piece of coal up my butt before starting this session: the frustrations of Rainbow Ride plus the ordeals here made for one whole clenchilada. There's a few achievements to earn in this smaller course and the only one that isn't really mutually compatible with the rest is getting through all the platforming and defeating Bowser without getting hit once. The course is... a lot longer than I remembered, but it's not the main point of failure: that would be the Bowser fight itself, since you need to explode him three times and avoid all the fireballs and shockwaves and shoulder charges in the meanwhile. With my terrible aim it took a while but at least I was breezing through the course and keeping track of where the 1Ups and tougher coins were for later. Or so I thought.
Exasperometer: 5.
Lifesaver Sky
Just six 1Ups to get here and, thankfully since there's no more game left, I won't have to come back here way later to make the last one spawn (check out what that business is about in earlier Kobayashi Mario updates). Most are directly in the path with the exception of one sneaky guy who turns up after collecting three coins on a spinning platform.
Exasperometer: 2.
Treasure Bowser's Round 3
I consider myself a patient sort. At least, I try to be now that I'm getting closer to an age where blowing one's top might then lead to unpleasant medical misadventures, especially if you then have to explain to the doctors what caused the issue ("Agh, it's just this tiny little Italian man with a moustache who won't do what I tell him!"). This achievement almost broke me. I thought the hardest challenges were behind me with the Tiny-Huge Island and Rainbow Ride Treasure achievements done and dusted but I couldn't account for just how irritating the Bowser in the Sky all-coins run would be. It's not so much a case of volume—there's only 76 coins to collect here, which is a far smaller total than any of the main courses—but it's absolutely jam-packed with what I called points of failure earlier: enemies and their coins with unpredictable behaviors that boils down to a largely RNG-dependent run. There are six goombas, four bob-ombs, a whomp (which you also need to "milk", see Whomp's Fortress from Part One for the sordid details), and a chuckya and absolutely any of those could walk off the edge of their platforms on their own and completely ruin your day. Any of them. And even if they haven't suddenly become suicidal, their coins are just as bad. I don't even want to think about how many runs I blew here praying to whatever ancient gods still listen that the RNG would behave itself for once. It's not the hardest challenge in the game—the course is considerably shorter than the main ones after all—but it is by far the most exasperating. In fact...
Exasperometer: 10. (Congrats, Super Mario 64 Retro Achievements set. You did it.)
Full Power
The 120 Stars achievement. Acquired right after the last all-coins one. This would normally be the most difficult challenge in the standard game, at least of those the game actually tracks, but really compared to some of these achievements it was like floating softly on a gentle summer breeze. What would normally be cause for celebration barely even registered this time.
Exasperometer: 1.
Full Course around the Castle
Acquired at the same time as the above. This is for fully clearing Peach's Castle, which is to say collecting all fifteen hidden Stars. That's two from the slide, three from the cap courses, three from helpful Toads, three from the Bowser courses, two from MIPS the rabbit, and one each from the Secret Aquarium and Wing Cap Mario Over the Rainbow bonus courses. You'll be gunning for all of these in a normal 120 Stars run but it's sometimes easy to forget where they all are.
Exasperometer: 1.
The Power of all 120 Stars
If you defeat Bowser with all the Stars he'll actually comment on it. You'll also see a few surprising appearances in the ending sequence, hinting at some places to check out post-game if you've gotten this far. Since both these "secret characters" are required for achievements, we'll be visiting them to wrap things up here.
Exasperometer: 1.
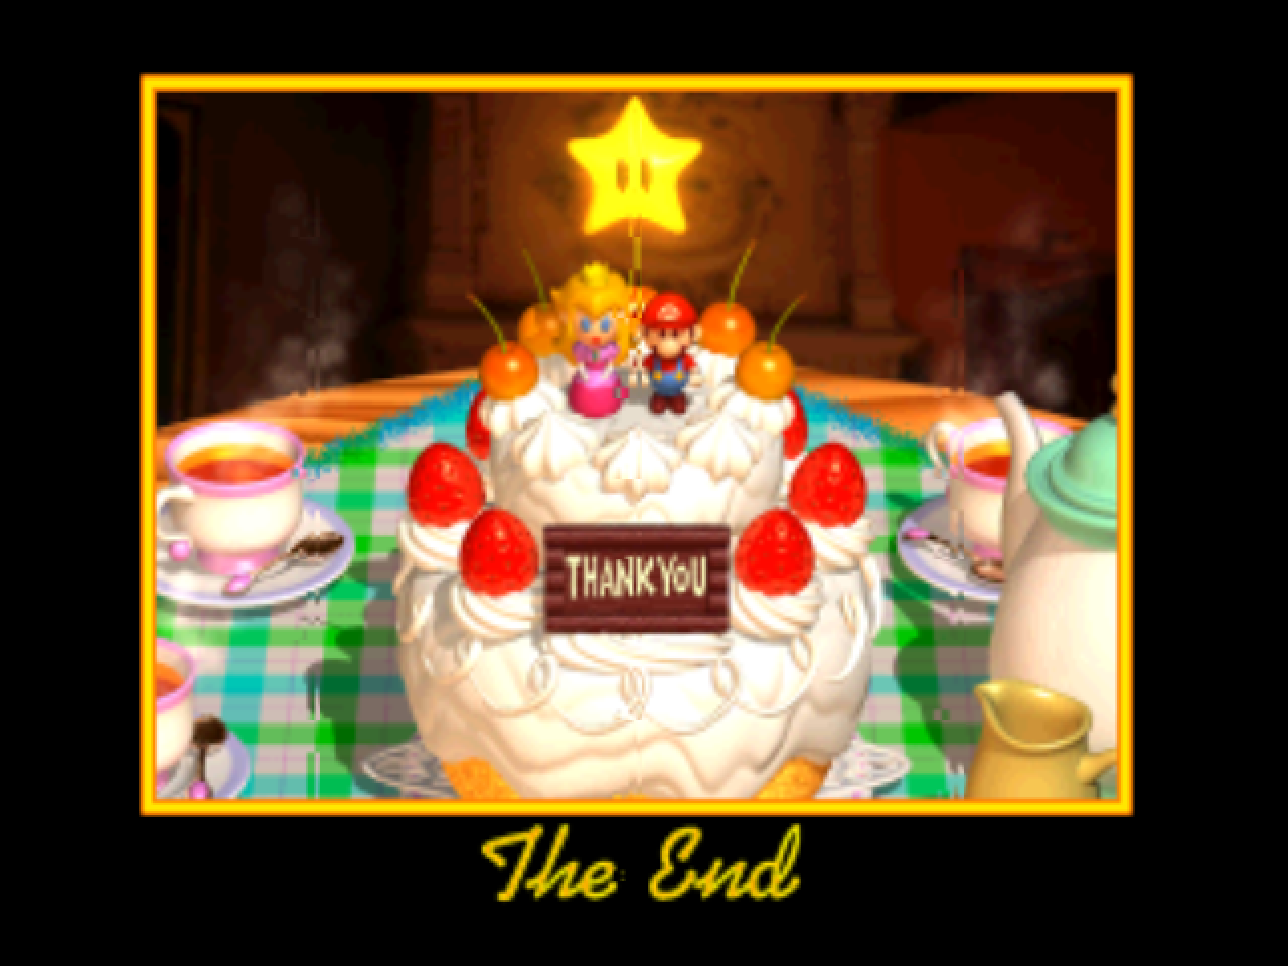
Thanks for Playing
I can't begin to describe the feelings of relief that washed over me once I was able to enjoy the credits (I reset immediately upon defeating the last Bowser fight for the no-damage clear, insisting on doing things properly by collecting the last Star first). It's a degree of tired satisfaction that is so precious in life and so often the result of beating a game that has presented nothing short of a harrowing (but ultimately enjoyable) challenge level. However, we're not quite done here yet.
Exasperometer: 1.
It's-a Me, Yoshi
It's Yoshi! He shows up on top of Peach's castle if you have all 120 Stars in all his polygonal glory. Talking to him maxes out your extra life total which will actually screw up the Lifesaver achievements, so it's best to pull a Gerstmann and just avoid him.
Exasperometer: 2.

Lifesaver Outside
The last achievement on my list that requires any special effort. It's possible to get three 1Ups outside the castle by climbing trees and spooking kaleidoscopes of butterflies, but that's all you can do for most of the game. It's only when you have access to the cannon with all 120 Stars that you can get the last four: three are on top of the castle next to Yoshi, while the seventh and last requires collecting the two coins underneath the drawbridge which causes the 1Up to spawn. Yoshi can hook me up with infinite lives now so I'm not sure what purpose these serve, but all the same it's great to finally be done with these Lifesaver achievements.
Exasperometer: 2.
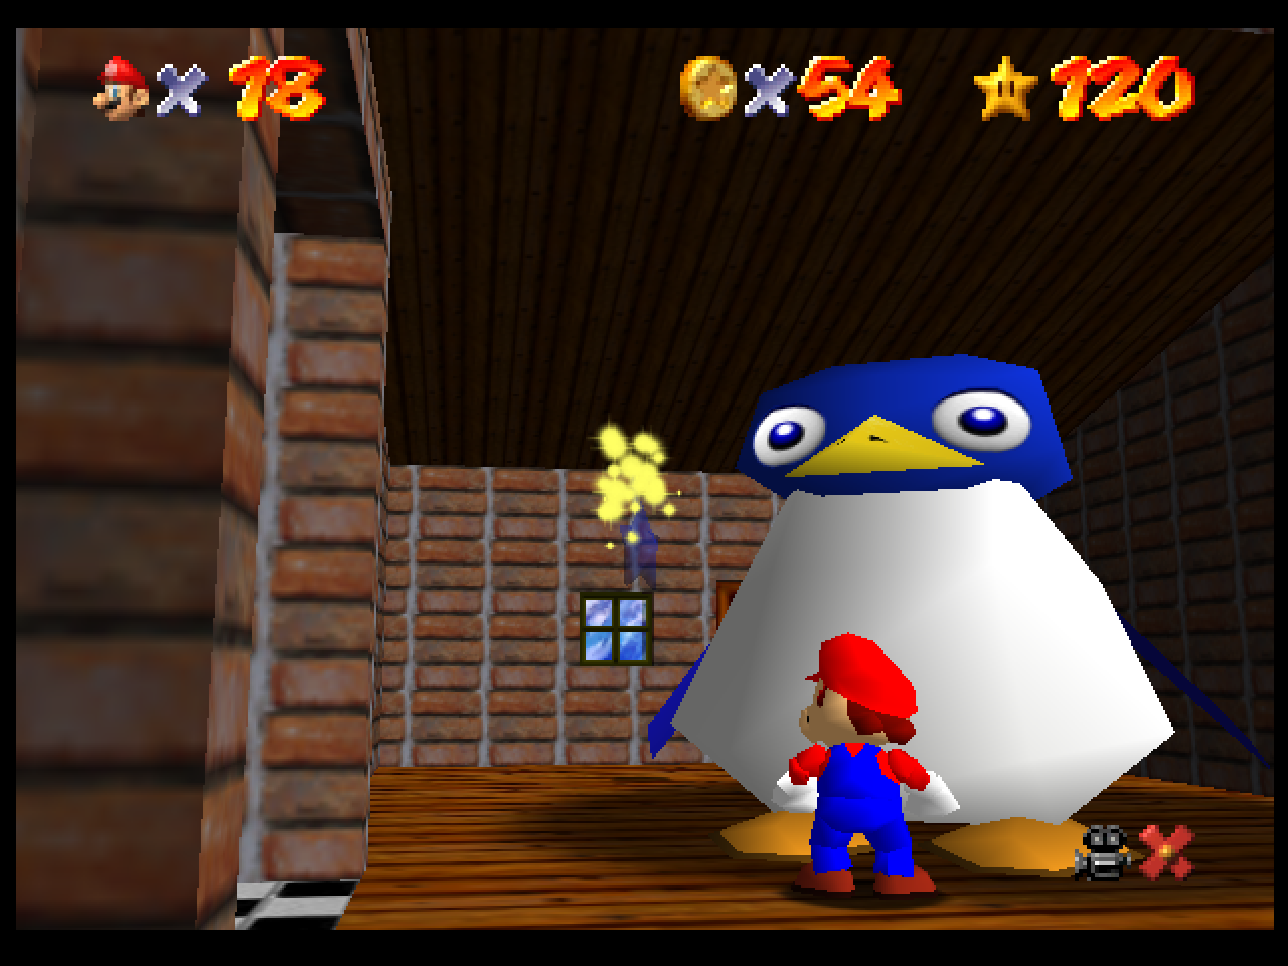
Out of Shape
The very last achievement is this one, defeating the now gargantuan penguin on Cool, Cool Mountain in a sliding race. He's not only larger but faster which makes this rematch a bit challenging. But, uh, nowhere near as challenging as most of the above.
Exasperometer: 2.
- Final Star Count: 120 (100%)
- Final Achievement Count: 132 (100%)
- Hardest Achievement: "Treasure XIII".
- Most Annoying Achievement: "Treasure Bowser's Round 3".
And with that I've collected all 132 achievements and "mastered" the game according to the fine folks running Retro Achievements. Nice to finally have that in writing, I suppose. But am I really finished yet? Well, yes and no...
Bonus: The Subset of the Damned
All right, before we're all done here we need to address the Super Mario 64 Retro Achievements Subset. These are the achievements considered too hardcore for the standard assortment and you need to download a special patch for the ROM to make these the active set instead. These are where all the ludicrously tough achievements live; the ones that require speedrun tech or more patience than a saint.
For the record, I'm not touching these with a ten-foot pole but I'll spend some time going over the highlights at least:
The Green Demon Challenges (nine of 'em!)
I love these things but they are stupid hard. These pertain to the 1Ups that automatically home in on you once spawned, which include most of the ones that appear from climbing trees or poles. If you can trigger them and then manage to keep your distance until you acquire a specific Star on the course, that's completing the Green Demon Challenge. Those things are more relentless than the Terminator though so you need to maintain your top speed and never falter once.
Collect a Secret Coin in Snowman's Land
This one apparently needs some glitching to reach so that's why, unlike Tiny-Huge Island's invisible coin that is still causing me PTSD, it's not part of the all-coin achievement in the normal set.
Beat Koopa the Quick while also collecting all eight Red Coins in Bob-Omb Battlefield
When you absolutely have to flex on an obnoxious reptile.
Collect all eight Red Coins in Shifting Sand Land without the Wing Cap
I've no idea how you'd even go about this. Extreme long-jumping from the towers? How would you avoid all the quicksand, though? Since it requires some expert tech to pull off I'm almost too afraid to watch how it's done.
Starless - Beat Bowser in the Dark World with zero Stars
These are the glitches people know about if they've seen any Super Mario 64 any% speedrun. There's one for every Star door as far as I know, including the infinite staircase.
Damageless I and II - Collect 10 (and 30) Stars without taking damage
Undying I and II - Collect 16 (and 70) Stars without dying in one session
Unstoppable - Collect all 120 Stars and beat the game in one session
NASA thought they discovered two new moons orbiting Earth, but they just turned out to be the balls of the guy who tried all these no-miss challenges.
Yumping
Dunno what yumping refers to but this is for hitting all three Cap switches while using a glitch to skip the text. I imagine both the tech involved and the term for it are speedrunner-related.
Reach the very top of Peach's Castle without the cannon
I'd love to know how they did this. (I saw the video. They used a wall to the right of the castle to get up there. Very impressive stuff.)
Bath Challenges
Four of these. Only goal is to glitch through a wall while swimming in four different courses. Not sure why you'd want to do that but here's some achievements for it.
No Coin, No 1-UP, No Damage Challenges
A set of challenges for the three Bowser courses. In addition to not getting hit you also can't collect anything. Doesn't seem that much harder than the usual no-damage ones but I'd suppose those narrow courses make avoiding all the coins a little tricky.
Too Tired (Let Mario Sleep)
This Set is too hot to wear a Cap (Exploit the Warp Glitch so Mario is holding his hat)
The only two achievements in this set I'm certain I could acquire with no help.
In addition to those there's a whole bunch of others that have similar set-ups as the technical challenges throughout the normal set. Some are very doable and were probably conceived after the normal set had been finalized (if I had to guess, anyway—for example, getting the waterfall Star on Tall, Tall Mountain without hitting the switch ain't exactly rocket science) or otherwise required some speedrun/glitch exploitation. Either way, I know I'll never be able to earn half of these so I'm not even going to download the patch and attempt it. Instead, I'll try to be happy with what I've managed to pull off here and leave the true horrors to the professionals. I still want to hold onto some positive feelings towards this game at the end of the day.
And that's going to be it for the Kobayashi Mario. It turned out to be not quite as unwinnable as I thought, retroactively rendering the name a falsehood. It's the price I pay for my terrible puns though, so I'll accept it and instead say how thankful I am y'all decided to follow this mini-series to its conclusion. Absolutely feel free to try this achievement set at home, though with the caveat that it's not for the weak-hearted nor the easily disgruntled. If I ever embark on another one of these Retro Achievement full completions it'll be too soon but I'll let you know if it happens with another blog series. Until then, stomp a goomba or two for me; those wandering jerks deserve it.


Log in to comment