
Last month I embarked on what might prove to be my final, merciful undoing: acquiring a full slate of Retro Achievements for Super Mario 64, evidently designed by a team of contributors who know the game far better than I did or ever will. I've always held the N64 launch game in very high regard, of course, but it wasn't until I revisited it for the equally foolish undertaking that is 64 in 64 that I noticed just how involved and diabolical its Retro Achievements were; I immediately lost any confidence I had in my former belief that I was an expert in the game, just because I've done something as pedestrian as collect all 120 Power Stars several times over. To rectify that, and to give some amount of begrudging recognition to the achievement-creators, I've decided I'm going to get every single one of these achievements or die trying (though realistically I'll probably give up first). Hence, the potential no-win situation that is the Kobayashi Mario.
You can see how I got on by perusing the following achievement rundowns and my difficulties—if any! (maaaan, starting off this cocky definitely won't come back to haunt me later)—as I ran and jumped and slid and mostly fell off things or got badly burned in their pursuit. You can check out the set here yourself: there's some obviously horrible ones like those that require collecting every coin on a course and not just the 100 you need for a Star, but the more subtle cases might demand you collect a Star out of order or without using certain buttons. As before, I've included an "Exasperometer" to indicate how many years off my dwindling lifespan the stress of these achievements have incurred, with 1 being no change from a normal playthrough and 10 being the sort of endeavor that would get a court-mandated therapist involved.
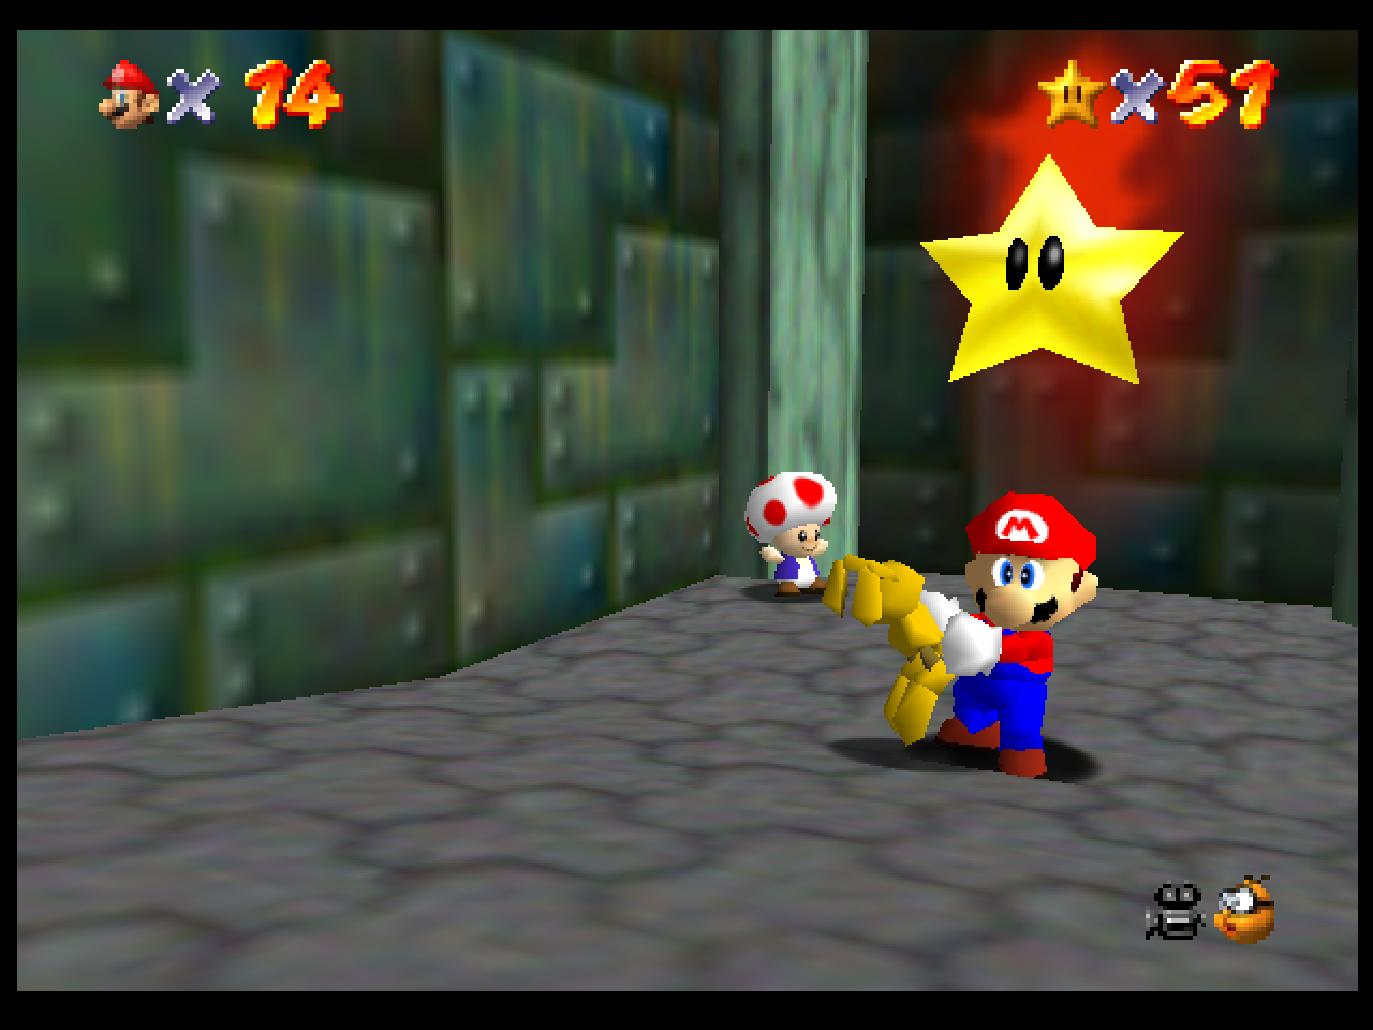
Before we begin, here's a brief recap of The Kobayashi Mario so far (and it's all here if you need something more than a refresher): I've thoroughly plundered the ground floor of Peach's castle (not a euphemism) and completed (almost) all five of the initial courses. I've also acquired the Wing Cap, defeated Bowser for the first time, and found five of the castle's hidden Stars. Next will be the basement, the last two Caps, and the next Bowser fight (and a few more bonus Stars, courtesy of a certain annoying rabbit). We finished last time with roughly a third of the Stars and achievements both, but I imagine my completion rate will slow down markedly as the difficulty curve trends upwards.
Invisible
Finish the Vanish Cap course and unlock the Vanish Cap. Pretty straightforward stage of the core progression, and the last remaining obstacle in the way of completing Big Boo's Haunt.
Exasperometer: 1.
Lifesaver Vanish
As with the other Lifesaver achievements the intent here is to get all the 1Ups from a single course, in this case the Vanish Cap course. There's four total but three are pretty obvious, since they're sitting on that initial slope out in the open. The fourth and last is in that little cage at the end with the Red Coin Star and you need to collect the three regular coins in there to pop it. The Red Coins are probably harder to get overall, and you need those for a Star.
Exasperometer: 1.
Full Course Haunted House
Just the achievement for getting all seven Stars on Big Boo's Haunt. Wasn't possible without the Vanish Cap but now with this Star all of the ground floor courses are fully complete. Sadly, that means I can't put off the basement any longer.
Exasperometer: 1.

Lifesaver VI
The first of the four basement courses, at least the full ones, is Hazy Maze Cave. I've never liked this place. Even for as scattershot as Super Mario 64's level design could be there's no real rhyme or reason to this gaggle of random subterranean rooms and the titular maze is only a small yet annoying part of it. The four 1Ups are at least pretty easy to get here: two are in boxes heading towards different Stars and the other two you can mine by killing moles over and over. (Did you know the Nessie creature is a dude? The things you learn from reading signs. Of course, that didn't stop Nintendo Power and Prima Guides referring to him as female, but it's not like anyone there pays attention.)
Exasperometer: 2.
Treasure VI
If I didn't care for Hazy Maze Cave before, chasing the all-coins achievement for it cemented my antipathy. There is so much horseshit at play here, though I suspect the same will be true for many courses going forward. The worst are the two enemies shown below, though there's also staying alive in the hazy maze while getting some very ephemeral blue coins and the two eyeballs in the red coin area that you essentially need to damage boost to defeat since there's little room to run around them. There's 139 coins total here, so it's much easier to get the 100 needed for the Star. No pit bats to worry about for the casuls.
Exasperometer: 6.
A-Maze-Ing Jumps to the Exit
For this technical challenge, you have to get the Star that can be found by exiting the Hazy Maze part of the course to an area above the pit room that requires some American Gladiator-style hang-swinging across an overhead metal grate, but the twist is that you have to do so without touching any of the toxic gas in the maze. I totally got the wrong idea about this one for like half an hour, thinking I had to carefully jump through the maze to avoid the gas (it's nigh-impossible), before I realized there was a much easier path: just leap up to the top area of the pit room using a wall jump. Takes like thirty seconds from starting the course.
Exasperometer: 3. (Though I did it to myself.)

Full Course in the Maze Cave
All seven Stars earned on Hazy Maze Cave. Honestly glad to leave this place behind. That said, I still need to go back in there for the Metal Cap course.
Exasperometer: 1
Lobby at the Top
The 50 Star achievement, which is the milestone you need to hit to access the last two courses on the top floor (plus a bonus area). I'll cross that rainbow bridge when I get to it. Either way, there's nothing special needed for this (and it's unmissable, unless you're using glitches).
Exasperometer: 1
Falling Like an Ironbar
The first technical challenge of Part Two of the Kobayashi Mario is this one, obtained on the Metal Cap course. Goal here is to collect all eight Red Coins and the subsequent Star without picking up a Metal Cap—essentially, you have to make do with the Metal Cap state you start the course in. The two tough parts of this challenge are quickly collecting the four submerged Red Coins since the current is too strong without the Metal Cap form to weigh you down, and then the Star itself which also appears underwater. It's not actually all that tough though: you can quickly run into the four underwater Red Coins well before the cap wears off, and then you just need to ground pound above the Star to grab it before getting dragged off by the current. Fun idea though.
Exasperometer: 2.
Lifesaver Metal
Maybe the easiest one of these? There's a 1Up in a !-block close to the end of the river (you need to be Metal to reach it, otherwise you'll get dragged out of there) and one more near some Red Coins that's hard to miss.
Exasperometer: 1
Metal Head
And, of course, the last of the three Cap achievements. However, given there's a few achievements for getting Metal Cap Stars without the Metal Cap, I doubt I'll be using it much (Hazy Maze Cave would be the place to use it and I've already cleared it out).
Exasperometer: 1
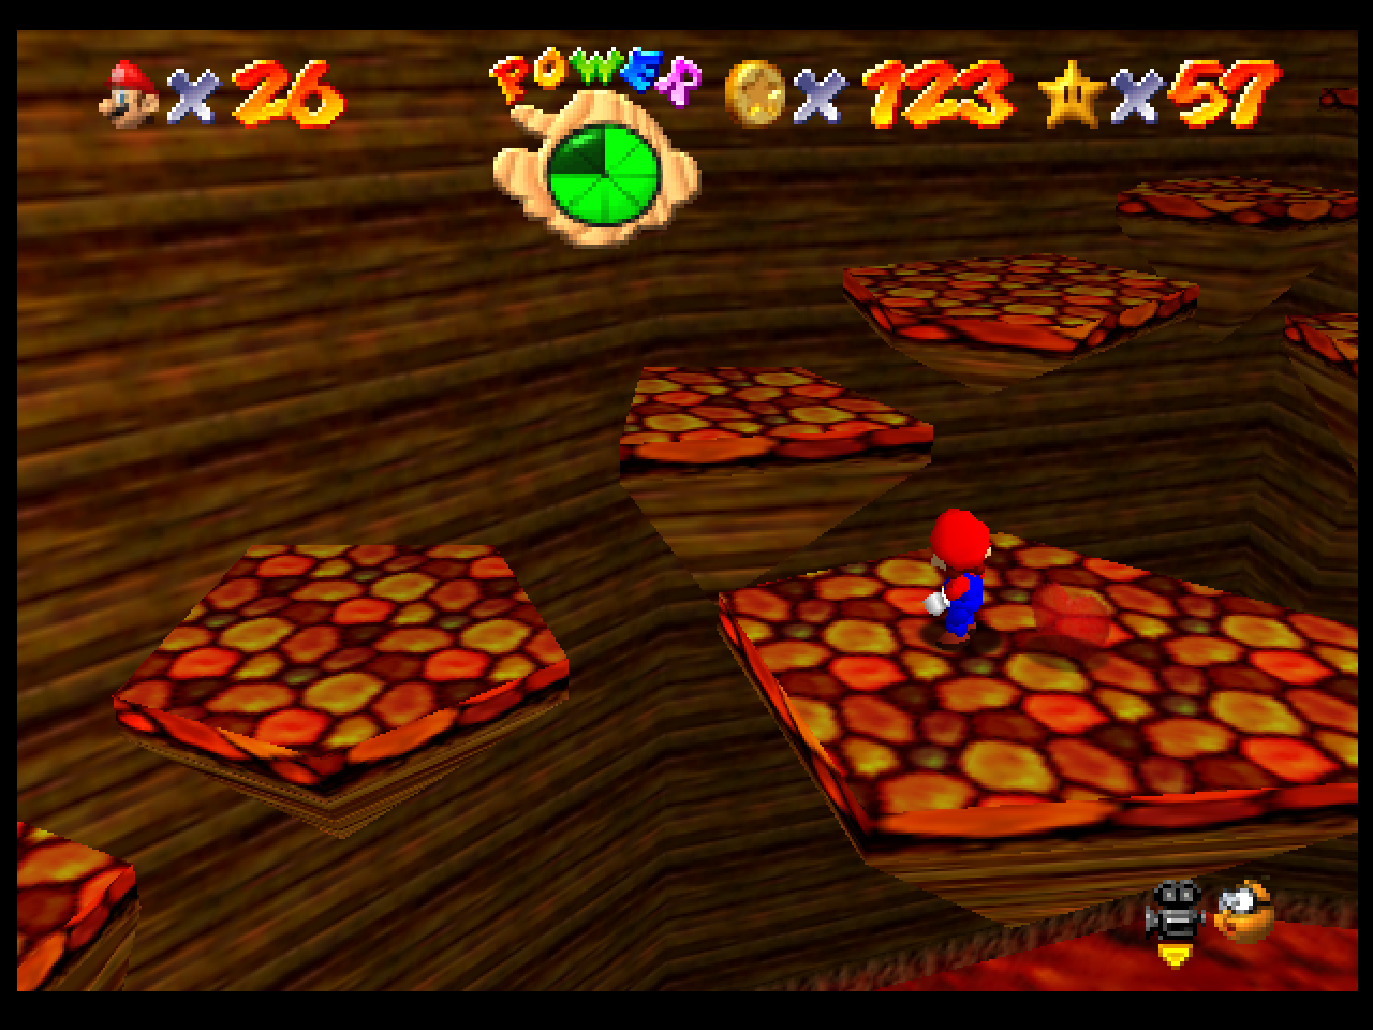
Red Challenge in the Molten Area
The Red Challenges task you with getting all the Red Coins in a course without taking damage. In Lethal Lava Land's case, since that would be too easy given all the Red Coins are concentrated in one area (the Bowser sliding puzzle), you're also not allowed to press A (i.e. the jump button). Thing is, there's four places where you kinda need some air to pass over them: a gap across the lava from the starting position, the stairs up to where the first little bully enemy is, another hop to a low platform that is tilting in and out the lava, and finally one last hop from that low platform to the Bowser puzzle area. Damage-boosting by jumping in the lava is obviously out, since the no-damage rule still applies. The trick is to use Mario's front dive, used whenever you hit B while running, and then the small recovery somersault that occurs when B is hit again. That recovery move provides just enough height to get over the first two jumps, while the dive itself can manage the next two. It's real tough to pull off but, like that long jump from the ship in Jolly Roger Bay, it takes very little time to set up again.
Exasperometer: 5.

Secrets of the Molten Area
There's only one warp in Lethal Lava Land and it's underneath the eyeball enemy and it teleports you about twenty yards away to the island with a Wing Cap. It's honestly the most pointless warp in the game, since you can long jump to that same island from the starting position. A little less pointless now, perhaps, since it earned me an achievement.
Exasperometer: 1.
Hot Bully
Goal here is to defeat both of the Big Bully mini-bosses without getting hurt, similar to the other no-damage boss runs. However, an extra wrinkle here is that the bully's attacks—which don't cause health loss but still stun Mario briefly—count as damage in this scenario, so you really need to be careful when fighting the two big ones or the three small ones that summon a big one once defeated. There's also the fact that you have to make it all the way over to them without getting hurt in the process, and they're at the opposite side of the course from where you start. Aggravating, perhaps, but otherwise not so tough if you're careful and fast.
Exasperometer: 4.
Hot Shell Ride for Golden Coins
I knew I was going to hate Lethal Lava Land, and this isn't even the worst challenge this course has to offer. The goal here is to use the green shell that shows up five Stars in to surf around collecting 90 coins from across the surface portion of this map. There's a little amount of leeway—it doesn't expect you to get the bullies' coins while on the shell, and obviously the bouncing crate is out—but 90's a lot considering all it takes to defeat the shell is a single raised surface or a stiff breeze and it's not like you can summon another one without resetting the course and your coin count alike. Biggest failure point is the eyeball above the warp zone pit, since once its Blue Coin falls in there you're not going to reach it with the shell.
Exasperometer: 6.

Full Course in the Lava Land
Pretty much the only other achievement besides the warp in this course that isn't hateful. Naturally, I got the 100-coin Star easily while chasing the two other coin-related achievements.
Exasperometer: 1.
Lifesaver VII
You know there are 8 1Ups in Lethal Lava Land? Seems like a lot, but I guess the developers were aware of the difficulty hike around this part of the game and made sure players weren't running out of lives any time soon. Seven of them are on the surface area—most of these are on ramps you should probably use the shell to reach, while one's behind the Big Bully Star platform (you definitely need the shell for that one), and the seventh requires running around a pair of rotating flamethrowers—and the last is inside the volcano, which just requires you climb up to the top of one of its poles. Finding those last two took the longest, but honestly this achievement was a cakewalk compared to the next one.
Exasperometer: 3.
Treasure VII
This was maybe my first indication of just how much of my meager talents I'd have to summon if I wanted a full slate of these achievements. Getting all 133 coins on Lethal Lava Land was straight up torturous, for multiple reasons:
- The first is the bullies in the surface area, which drop coins when defeated but with no certainty will those coins deign to make their way over to you. I found that defeating bullies further away from the edge made it less likely for coins to bounce away and into the lava, but there were still a few times I had to leap into the lava to grab them before they vanished and hope I could damage-boost my roasted ass back to safe ground. Diving into the lava for the sake of sparklies is Gollum league horseplay, and I should have more respect for myself.
- The second is the shell-only coins. This annoyed me because I kept forgetting to re-enter the course on one of the last two Stars: any of the earlier ones and the green shell won't spawn. Instant magma bath if that happens.
- The third is the fact that I couldn't leave the volcano once I entered, so I was never 100% sure if I had all the surface ones going in. Real fun to have that doubt hanging over your head. (For the sake of any fellow lunatics trying this, there's 107 coins up top and 26 inside.)
- The fourth and easily the worst are the two bullies inside the volcano. They're both placed high up on the spiral path you take to reach a Star, which means there's no way to get their coins unless you push them all the way back down the path to the bottom of the volcano or you leap in after them and pray to Yoshi Jesus that you get their coins and not die in the process. Reiterating here that before you even get a shot at those two, you have to collect everything on the surface first.
Perhaps redundant to say in a lava course but, man, was I sweating bullets throughout this one.
Exasperometer: 8. (It's not 10 only because I know there are worse all-coin challenges to come.)
Red Challenge in the Desert
Leaving Lethal Lava Land now, flipping both birds to the portrait as I depart, and taking on the (debatably worse) Saharan mysteries of Shifting Sand Land. Notorious for its high concentration of instant-death traps (the ubiquitous quicksand), Shifting Sand Land's unique achievement challenges might overall be a little easier to cope with than Lethal Lava Land's shell-riding and bully-bashing but I'm still not confident about its all-coin challenge. For the no-damage Red Coin challenge at least, they're a little spread out but otherwise not too hard to wrangle and with no ridiculous "don't jump" conditions like Lethal Lava Land's. The four you need the Wing Cap to reach are the least dangerous since there's no enemies up there to fly into besides that dumb hat-snatching buzzard.
Exasperometer: 2.
Delivery for the Ancient Pharaoh
This was a fun one. Reminded me of escorting the gnome in Half-Life 2: Episode 2 (and its homages). The task is to take the small crate from the pavilion area near the course's starting point and carry it all the way to the top of the pyramid where the Star awaits. Holding the crate greatly reduces your walking speed though you are still allowed to make normal jumps (no long jumps, flip jumps, or triple jumps however). The first big obstacle are those rotating boxes that like to smash you, since you're limited in your speed to get away from them. Next is the tornado that picks you up near the pyramid entrance; as long as you're somewhere safe, the crate will wait for you to drift back down. The third and hardest step is the pyramid climb itself, since there's some precarious ledges you need to be careful about. The Shyguy that ambushes you up here ruined so many delivery runs that I eventually switched my strategy to flying over there and punting him before I ever touched the crate, giving myself a much easier climb. Definitely not easy, but an interesting challenge.
Exasperometer: 3.
Secret Passage to the Temple Treasure
This one required a little ratiocination. The idea is to get the "Inside the Ancient Pyramid" Star, the one where you slowly climb the inside of the pyramid to the top, but without touching any part of the pyramid besides the top floor. The solution is to open up the pyramid's top via a different Star, "Stand Tall on the Four Pillars", and immediately jump from the elevator that takes you to the boss fight while it's still near the top in order to grab the Star you're looking for. Needs some very careful timing, but the game is nice enough to reset you from where you entered the pyramid if you should die.
Exasperometer: 3.

Handbreaker
It's that aforementioned pyramid boss fight, the dead dude with the stone hands. Just gotta reach him and defeat him without getting hurt. Not that much tougher than fighting him normally since the greater danger is him pushing you off the platform for an instant kill than him smashing you.
Exasperometer: 2.
Treasure VIII
I was dreading this but it turned out to be not so bad. There's very little chance of dying inside the pyramid, since the few quicksand areas in there are easy to avoid and damage can be quickly healed with the amount of coins to be found, so that was a lot of pressure off. Biggest difficulty was getting all 74 coins from the desert portion of the course: the Shyguys were the worst, since they fly around and are hard to corral into a spot where I can collect their coins without dying from the quicksand (the one orbiting the pyramid was the hardest) but that's really it for troublesome enemy drops. Not nearly the nightmare Lethal Lava Land was. (For the record, there's 74 outside the pyramid and 62 within, for a total of 136.)
Exasperometer: 4.
Full Course in the Desert Land
Grabbed this shortly after the all-coins achievement. Not quite done in the desert yet though, I've still got to dig around for some 1Ups.
Exasperometer: 1.

Secrets of the Desert
Shifting Sand Land has two warps, one inside the pyramid and one outside. I knew about the outside one: you stand under the only palm tree in the course (which is suspicious enough) and it takes you to the cannon close to where the stompy boxes are. That cannon, which has a Wing Cap right next to it, is the best way to quickly sweep up the aerial Red Coins but it's almost more trouble than it's worth to reach. The interior warp was one I had no idea existed: if you stand near the top of one of the poles it'll warp you to an area on top of one of the metal grates you're supposed to hang-swing across. There's a 1Up on top of that grate too, which leads me to...
Exasperometer: 2.
Lifesaver VIII
Shifting Sand Land has a mighty total of nine 1Ups, which if we consider that the number of 1Ups available on a course roughly corresponds to its casual playthrough difficulty, is about accurate if Lethal Lava Land has eight. Again, the trouble here is once you enter the pyramid you can't leave, and for these Lifesaver achievements you need to find all the 1Ups on a course in a single run without leaving. After some investigation, there's four on the surface—one spawned from climbing that sole palm tree, one nestled near some quicksand spirals, one hanging above another spiral you need a long jump to reach, and one in a !-block just outside the pyramid entrance—and five inside the pyramid: two in !-blocks on the ground floor, the one on the grate I mentioned, one for playing hopscotch on a series of tiles in the sand area in the middle, and one you can only reach by riding one of those mummified Thwomps. At least I won't have to worry about game overs for a while...
Exasperometer: 4.
Submarine Jumps for Red Coins
Ahh, so here it is. The only missable achievement in the entire set. Once you beat the next Bowser course, the submarine in the main area vanishes forever so this is the only opportunity to get this one. As the name suggests, you have to get all eight Red Coins and the Red Coin Star while the submarine is still around. Thing is, the poles you jump between to get all the Red Coins don't spawn while the sub's there, so instead you have to pull off a bunch of increasingly ludicrous jumps to get them all. I won't lie; I've spent almost an hour trying to nail the crazy long-jump + wall-jump and triple-jump + dive combos needed to reach two in particular. Very hard to die here, given there's nothing in the sub area that can hurt you (besides a few clams you have no reason to go near) and the water lets you restore health whenever, but as a missable achievement it has its own sort of peril.
Exasperometer: 7.

Treasure IX
Another all-coins achievement that doesn't require that much more effort than getting the 100-coin Star since there's only 106 coins total in Dire, Dire Docks. Actually got this while aiming for the above, since it already meant collecting all eight Red Coins (and passing the Blue Coin switch in the process), but it made more sense to mention it after. Some inside baseball as to how we do things around here.
Exasperometer: 1.
Lifesaver IX
Only one 1Up in Dire, Dire Docks and one of the clams is hiding it. Took a while to find—you have to enter the empty clam's, uh, mouth space(?) to make it spawn, then chase after it—but not a huge challenge to acquire.
Exasperometer: 2.
Swim through the Jet Stream II
Same deal as the jetstream Star in Jolly Roger Bay: the game wants you to use the Metal Cap to neuter the strong current, but you can swim hard enough to beat it without the cap too. Just a case of keeping up the rhythm and not letting the current push you around. (I might've had The Only Thing I Know For Real playing while I did this.)
Exasperometer: 2.

Ready for the Final Match
Got this the same time as the Jet Stream II achievement. It's just the freebie for getting 70 Stars, which you need to beat the infinite staircase to reach the last Bowser course. Won't be anything I need to worry about for a while.
Exasperometer: 1.
Full Course in the Dire Docks
No sweat. Not finished here yet, but I gotta go have a talk with Bowser before I can get the last achievement here.
Exasperometer: 1.
Flawless Victory Round 2
The second one of these no-damage Bowser course clears is a lot harder than the first, mostly due to all the lava traps throughout Bowser in the Fire Sea. The last gauntlet with the dipping platforms, two flamethrowers, and one of those orbital sparky guys is a real pain, and of course it showing up at the end means losing a lot of progress if any of the above messes you up. Bowser's not too bad since he's still a one-hit wonder here: his new moves including tilting the playing field with his jumps and a teleport if you aren't fast enough to grab his tail. If anything's going to get you in that boss battle it's nerves from making it that far without a scratch.
Exasperometer: 4.

Treasure Bowser's Round 2
The last Star for today, though not the last achievement, this is for getting all 80 coins in Bowser in the Fire Sea (I got the Red Coin Star here along the way). As with Lethal Lava Land, the issue here are the temperamental bullies, at least one of which is annoyingly high up. So, again, you either have to carefully knock him down to a lower area before dropping him in the lava or try to jump after his coin and not die getting back to dry land. Shit sucks. Maybe not the ideal way to play this game, in retrospect. Well, too late now.
Exasperometer: 5.
Lifesaver Fire
There's seven 1Ups in Bowser in the Fire Sea, at least one of which only appears after defeating Bowser here once. Another manifests at the top of those rising and lowering platforms after triggering a bunch of secret flags, so I've no idea how that worked. Besides a hidden pole 1Up early on, the rest are all visible on the path so they're hard to miss.
Exasperometer: 3.
Pole Jumping for a Vanished Star
We're done with all the courses down in the basement, but there's a little bit of clean-up before I put Part Two to bed. The first is this Dire, Dire Docks Star which requires essentially the inverse of the "Submarine Jumps for Red Coins" achievement: you have to get the submarine Star without the submarine being present. It's just a matter of leaping off one of the now-active moving poles at the right time, made a little harder by how difficult it is to see the faded blue Star against the blue water. Only took a few attempts, and there was no danger of having to restart the whole playthrough from scratch this time.
Exasperometer: 2.

Lifesaver Dark
Last one for today. I mentioned at the end of the last Kobayashi Mario that the sixth and final 1Up in Bowser in the Dark World (the first Bowser course) only appears after defeating Bowser in the Fire Sea, and that's something I'll admit to having looked up because how else are you supposed to intuit that? It's a slightly easier course than Bowser in the Fire Sea, so I wrapped this up quick and can now take another month-long sabbatical before I attempt the second floor courses, including my least favorite (and the hardest) course in the game. That's going to take a lot of psyching up...
Exasperometer: 2.
- Final Star Count: 74 (61.6*%)
- Final Achievement Count: 82 (62.1%)
- Hardest Achievement So Far: "Submarine Jumps for Red Coins" & "Treasure VII" (joint).
(Continue the fun(?) in Part 3!)

Log in to comment