Welcome back to the third installment in my series documenting my attempts to speedrun Mario 64. If you're joining us for the first time, the first entry can be found here, and the second one here. Or you can just go to my blog and look at my older posts. Whatever works. If you'd rather jump in here, I'll give you the quick rundown: I'm not trying to have competitive times here. I just want to learn how it's done, and then do it. This game is way, way too competitive for me to try to get serious about anyway.
In the last entry, I beat Bowser in the Dark World and made my way into the basement, where some tough stars await me. This is also the place where I'll be performing the first major trick that will allow me to break sequence, the "Mips Clip". I won't be covering that today, but I will be going over everything leading up to it.
Our first stop is Shifting Sand Land, and it's a pretty daunting one. The first star we're going after is In the Talons of the Big Bird, but we're not going to get it the way everyone does on their first run through. That would take too long! Instead, we're going to jump over the dunes here, skip across the quicksand, and run up the pillar. Then we're going to long jump onto the nearby Shy Guy right into the vulture's claws.
The issue I ran into here was how quickly I needed to do this. Unlike the other stars, this one requires the level to be in a specific state for it to work, and if I take too long doing this, the vulture will have flown somewhere else, losing me a lot of time. I can hang out on one of the pillars and wait for him if I screw up, but really, if I don't nail this trick, I lose a ton of time. Not to mention style points.
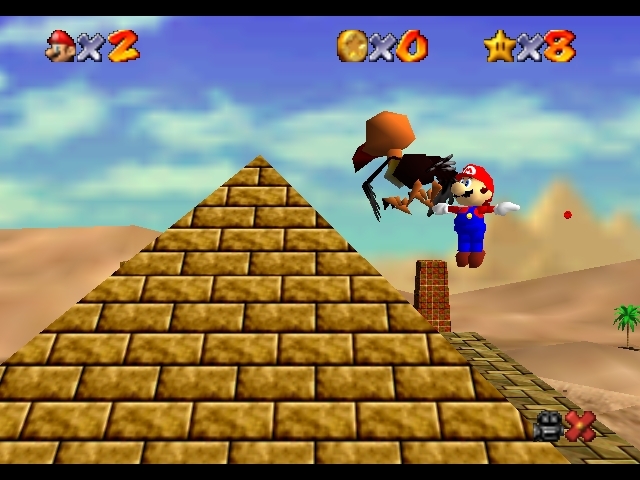
After a fair number of deaths and save state reloads, I nailed it. Once you hit the star, it jets away from the bird's talons, so the next step is to continue your descent using the momentum from the Shy Guy to land on the pyramid. From there, it's a few easy jumps to the star.
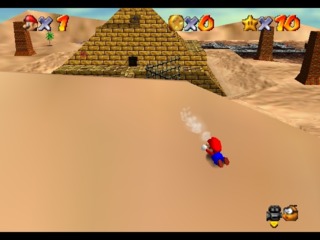
While the last star had complications of its own, this next one gave me much more trouble. We're shooting for the star on the pyramid this time, but once again, we don't want to get there the normal way. Instead, we change the camera angle when we land in the level. This is so the next part can be done by holding the analog stick directly left instead of finding an exact angle to move at. We jump up and over this dune, which requires both a triple jump and a dive, and any mistakes will see you sliding down the hill. This is bad because the setup for this trick involves you moving from exactly where the level starts you at.
It took me a lot of tries to finally get right. It's probably easier than I'm making it out to be, but my hands just couldn't pull this one off very easily. I can't even imagine trying to learn this one without save states. The thing is, once you make it over the dune, it's not over. You're meant to use the momentum from sliding down the dune towards the pyramid to your advantage. Once you slide down, you use the speed from sliding to triple jump up the slope of the pyramid to the star. I… I couldn't really nail this. It required me being consistent, which is something I've yet to really do in this learning run. I needed to be able to get over the hill, then jump straight to the star without any stops in between.
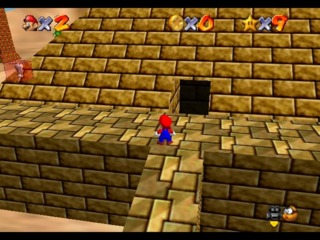
Instead, I ran down the pyramid's entrance ramp and used that as a runway for a triple jump, getting the star a lot slower than I was supposed to. This is another one that is going to take a lot of practice, I think.
Once we jump out of the false wall for the second time, we make our way towards the giant painting of fire hanging a short ways down the hall. That's not ominous at all. Thankfully, we don't need to spend a lot of time in Lethal Lava Land, as we only need one star here.
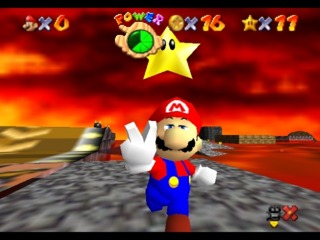
It's one of the easiest stars in the game, if you know what you're doing at all. The first step is to long jump to the left onto an island with a red block on it. Well, it would have a red block on it, but we never hit any switches in this run, so all we see is an intangible cube hanging in the air. It's fine though, since we can get to where we need to go with a few more long jumps. Once we get to the sliding block puzzle, we can run across it, quickly collecting 8 red coins, making a star appear. Conveniently, it's right next to us, and we can easily collect our prize and get out of this nightmare hellscape.
Next up is the dreaded Hazy Maze Cave. This is maybe one of the most frustrating levels to do on a normal run, but it's actually pretty fun and not too challenging in a speedrun context. The first star is one we'd normally only gain access to after making our way through the titular hazy maze, but we can reach it without that. There's a very fast way to pull this off, but it requires a pretty precise triple jump followed by another precise wall jump to do successfully. I figured I'd stick with what works, getting the star the way I already was getting it in my casual runs. I make a much easier wall jump onto a platform that is only a long jump away from the star. Take that, hazy maze.
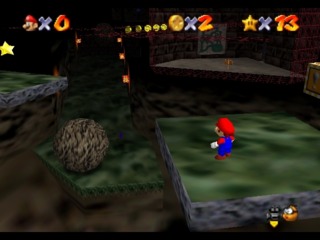
Once we get spit out of the level, we rush over to the excited Toad waiting in the corner of the room. He gives us a star, and all we had to do was button through text! Once that's in our pocket, we jump back into the metallic pool for our second star in Hazy Maze Cave. We do this one exactly as intended, only moving more efficiently. I still need to work on that. This star asks us to do a wall jump to reach its hiding place above a slope where boulders rush down to crush Mario to death. The boulders are a bit random where they fall, so this one can be a bit tough to nail consistently, since it asks the player to react rather than memorize. Fortunately, I don't have much trouble with that part, and can get the star without too much hassle.
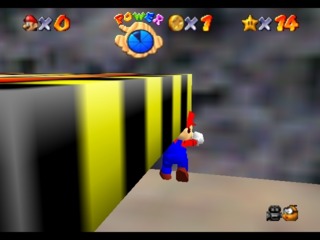
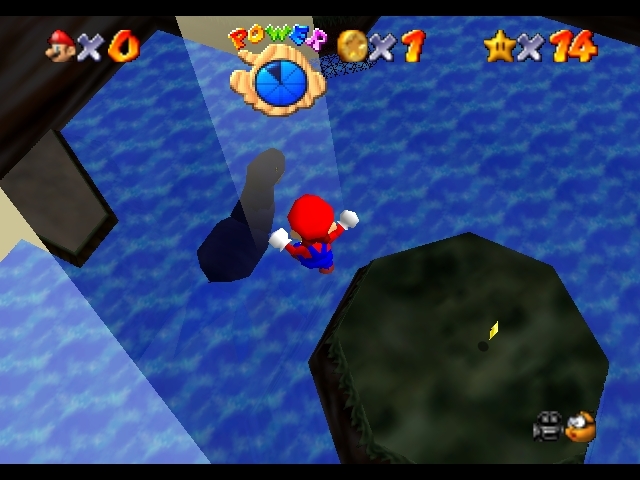
The last star we get before we sequence break is waiting on an island in the middle of an underground lake that sits deep below the rest of the hazy cave. Normally, you'd have to maneuver your way onto a Nessie-like dinosaur in order to get the height required to jump onto this island, but we don't need to do that at all. Instead, we make our way over to an elevator and step on it to trigger it heading down. We immediately go off the side of the elevator, falling to where it would have taken us. Here's the cool part. We start pushing up against the wall in just the right spot here and wait for the elevator to come down and crush us. When it presses down on Mario, though, we actually clip through the wall (and the floor) and start falling towards the underground lake from above. It's quite simple to angle your fall directly onto the island from here, and we can collect the star without even getting our clothes wet. This is a glitch that looks cool. It's super flashy, and impresses people who see it. It's actually super easy to do! I'd honestly recommend anyone replaying the game to try this one out, it feels very cool and it does skip an otherwise tedious part of the level.
At 15 stars, the hero of the 16-star run finally makes an appearance: the yellow rabbit, Mips. By catching him and carrying him to a door, you can use him to clip Mario through a door that he would normally be unable to pass through without 30 stars. We'll go over this in more detail next time. For now, we can stare at him uncomfortably as we wait for my next entry.
Log in to comment