In this series I am attempting to play through every game made by FromSoftware in a journey to discover why all of them are bad and identify the specific ways in which they are bad. I recommend doing what I did and start from the beginning.
**This post is also available on my site fifthgengaming.blog and can be found here**
The World After King's Field
As we saw in the last entry, the first King's Field landed on Japanese shelves in December 1994 with a dull thud. Sony had low confidence in what was an obviously janky game and the marketing for it was practically non-existent. From what I can tell, Naotoshi Zin and his crew of developers had come off most of a year working under crunch conditions without any expectation to break even on their project. The time from finalizing the game code to the end of 1994 was spent working on their slapdash game engine for potential non-game 3D rendering uses. The idea was likely that they expected to immediately bounce out of the game industry. Yet, it looks like FromSoft and Sony noticed the slow burn of consumer interest sometime in late December or early January, and that would have been when Zin made the call to rapidly push forward with a follow-up to King's Field.
We can only guess why Zin chose to have his team crank out a sequel with only six months of dev time. Maybe there were concerns that word of mouth would die out if they waited too long for a follow-up, or maybe the need to quickly recoup the costs sunk into standing up a game development team was more dire than anyone knows. Regardless, King's Field II was released a little over seven months after the original with seemingly as little fanfare. Like with the original, I haven't been able to find any kind of marketing materials for this thing from the Summer of '95. FromSoft would have almost certainly attended the Tokyo Toy Show in June, showcasing alongside the rest of the second wave Playstation and Saturn games, but they weren't a big enough deal for any surviving documentation to float over to the English-speaking internet. The upshot is that the game and some third-hand translations of interviews conducted well after the fact are all we have to go on for this period.

What we can discern is that the creative team at the company had become a bit more structured and formalized by this point. For all I can tell, the main creative direction of the two King's Field sequels fell to Shinichiro Nishida, at least according to him. I would go so far as to say Nishida, Yasuyoshi Karasawa, and Hiroyuki Arai are the key players in guiding early FromSoft's design philosophy, but only time will prove that out. Really, all we can solidly take away from what few details we have is that the first half of 1995 was probably a living hell for the development team at FromSoft. Let's see what got produced under those conditions.
----------------------------------------------------------------------------------------------------

King's Field II
Release Date:
(JP) 7/21/1995
(NA) 2/14/1996 or 10/11/1996 how the hell should I know
(EU) December 1996
Time to Completion: 13 Hours 18 Minutes
Credits
Executive Producer: Naotoshi Zin
Main Programmer: Eiichi Hasegawa
Programmers: Toshio Shimada, Hiroyuki Arai, Akinori Kaneko
CG Animation Supervisor: Yasuyoshi Karasawa
CG Animation Designer: Mitsuhiro Okamura
Map Organizers: Hiroyuki Arai, Shinichiro Nishida
Character Designer: Sakumi Watanabe
Texture Coordinator: Masahiro Kajita
Scenario Writers: Toshiya Kimura, Shinichiro Nishida
Music & Sound Effects: SOUND KID'S, Corp. (Koji Endo, Kaoru Kono, Yasushi Kawakami)?
Office Staff: Minako Gotoh, Noriko Ozaki
The Game
Going off the minimal plot from the first game and the few paragraphs in the instruction manual, the story so far is that the kingdom of Verdite has had a persistent monster and magic problem, leading to the assassination of a good king by his evil brother and the excavation of a graveyard built on ancient elven ruins. That led to the events of King's Field, where our boy John Alfred descended that excavated cave of horrors within human comprehension only to find the good dragon god Seath, the OP Moonlight Sword, and the now dead evil king's eviler son who had gone and turned himself into the evilest tree. John takes the most sensible course of action and kills everything, thus ending the game. The backstory for this sequel fills in that John got proclaimed king upon returning to the Verdite capital, because why not, and ruled as a super good and cool king for some number of years. Now, the Moonlight Sword has been stolen and monsters are pouring out of a cursed island sitting in the middle of a giant lake bordering the kingdom. This isn't a mystery, though, because everyone knows the evil wizard Necron stole the sword and is on that island, named Melanet. After a Verdite military expedition ends in the expected "never seen or heard from again", John has tasked his bestest friend in the whole wide world, our player character named Alexander, to go to the evil island and sort everything out. Alex gets shipwrecked by sea beasts enroute to Melanet and washes up on its shore possessing nothing but his wits, which is where the game kicks off.
That's more plot than matters for the game experience itself. Also, the writing in the manual, events of the previous game, and opening text crawl of this game contradict on a few points. That can very easily be due to shoddy translation, intentional mysteriousness, or both. Knowing FromSoft, it's likely both. Regardless, we start the game on a dark beach with no idea what anything is or where we are. Unlike the first game which starts the player in a straight hallway, we start here in an open area with a wall in front, instant death behind, a midgame boss to the left, and the main path to the right. With this we can already see the beginnings of FromSoft's house style.
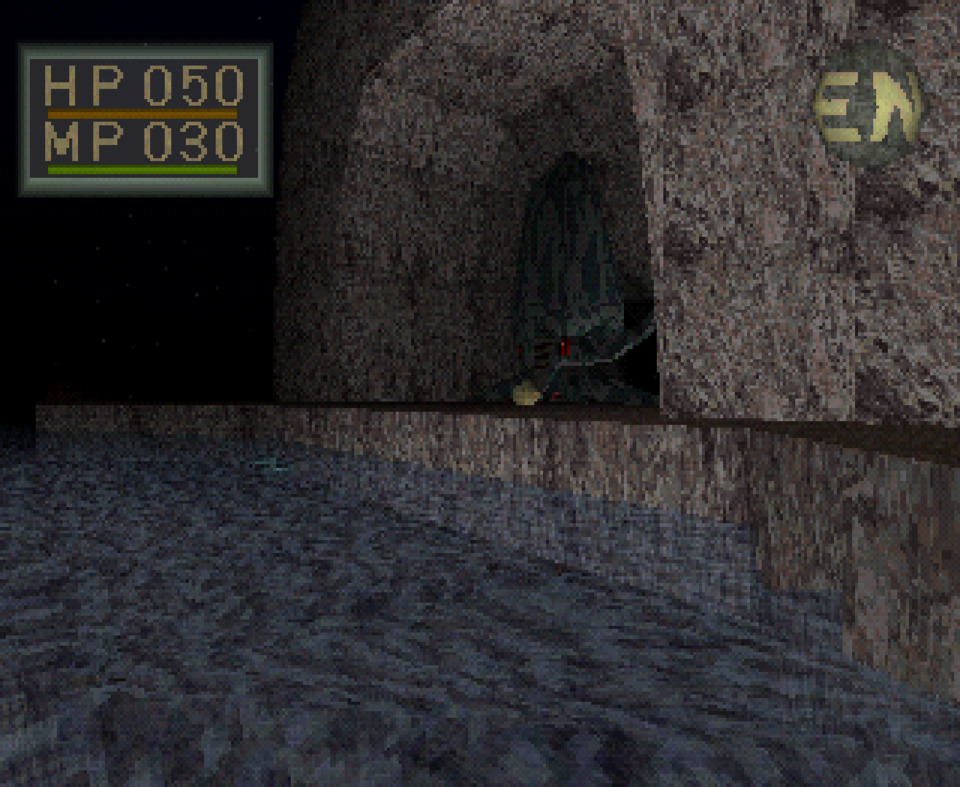
The entire starting area, which we eventually learn is the Western Beach, is here to introduce us to the various technical and design changes in this game. First, you're technically in an outdoor environment with a skybox and everything, so I guess good on the dev team for figuring that out. Next, the paths available for the player branch early and often. This thing was designed with non-linearity in mind, and it throws you in immediately. This zone also feels big and open, even though the walkable area is limited, which will be a running theme. You will also find some verticality to the environment within the first few minutes, which seems to have been a point of pride among the devs. That discovery will likely coincide with learning about the relatively strict fall damage. The boys at FromSoft got a bit carried away with this, though we'll touch on that more later. Some players might see the giant squid guy a few paces to the left of the starting point and try to fight him, which invariably leads to instant death. That big guy is the Giant Kraken and he's a midgame boss that kills low level players. Unlike the last game, there is more than one boss fight here, though all but two are just inflated versions of regular enemies. Remember the weird room last time with the big enemies? Imagine if their health inflated with their polygon count. There are six of those big chunguses (chungi?) in this game with two being reused. Finally, if you go in the correct direction from the start, you'll encounter a random old guy fishing in the monster infested waters; talking to him will give some much needed context for what's going on. There are significantly more NPCs on this island than were in the royal graveyard. They're also more spread out and talking to them is actually important for progress.
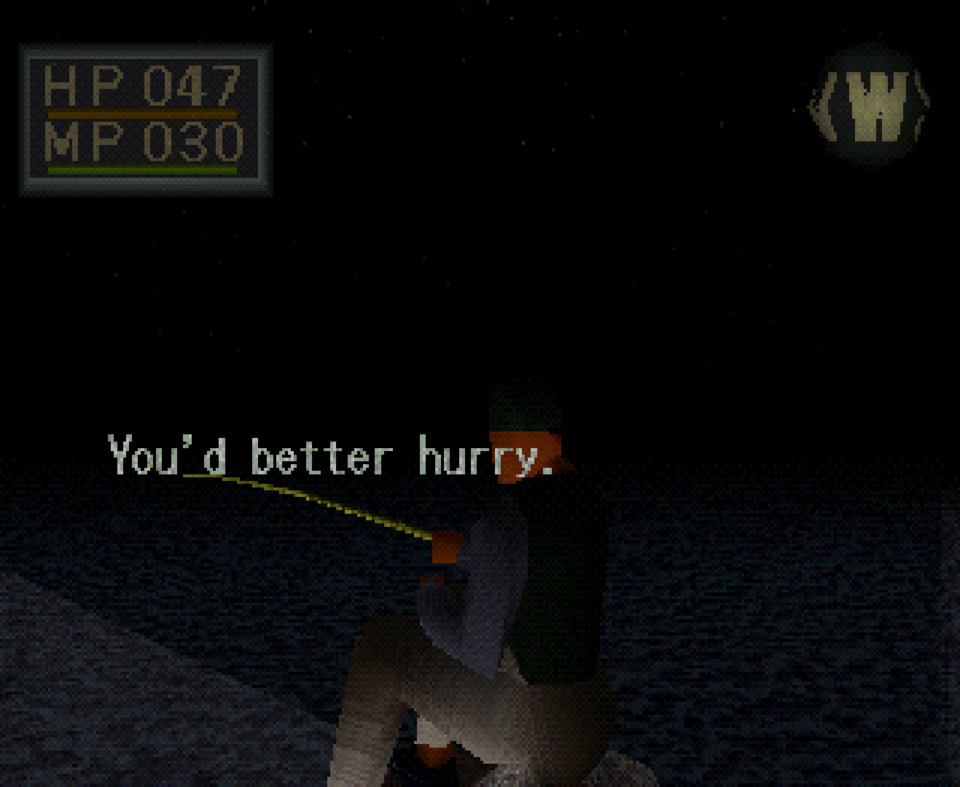
In addition to using the same game engine, the combat, menus, magic system, inventory, equipment, and levelling all work the same as last time. The difference being in quantity, with about three times as many spells and roughly 50% more equipment. The movement is still pretty bad due to framerate issues, which we'll talk aboutlater, but the addition of a run button adds both faster traversal through the levels and fun new ways to die horribly. While we're on the subject of dying horribly, the first major landmark in the Western Shore is a big Minecraft looking lighthouse across the instant death water from where you start. There are a couple of harrying paths you can take to it, and once you get there the first elemental crystal is waiting at the top. Here's the thing, remember that fall damage I mentioned? The stairs up the lighthouse are narrow and spiral around the sides without any railing. In addition to that being a clear OSHA violation, it's extremely easy to accidentally fall off with the imprecise movement. That wouldn't be an issue if the fall damage wasn't severe enough to immediately kill a low-level player after the 1/3 point up the stairs. That's a bit absurd, and from what I can find the team was disappointed with how the handful of drop points in the first game worked out. I suppose they thought that if they were going to add more verticality than it should be more realistic. The result is the game teaching the player very early on to not fall off anything at any point, which turns out to be something that you very much should do at several points throughout the game. We will return to the topic of needing to throw oneself down various holes.
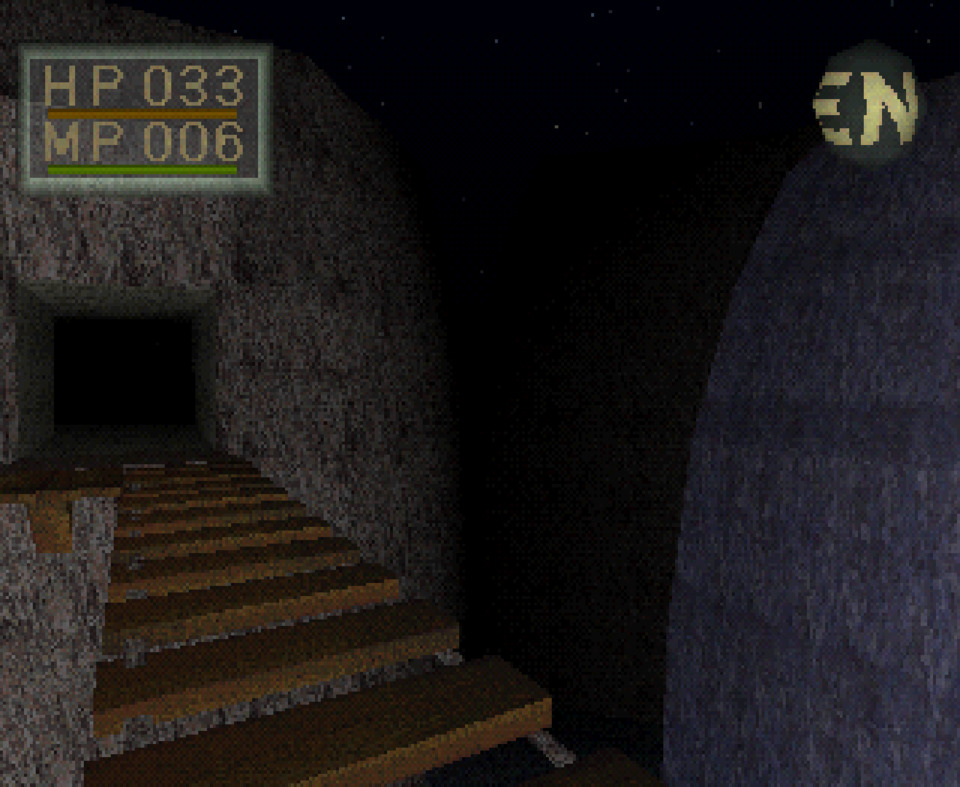
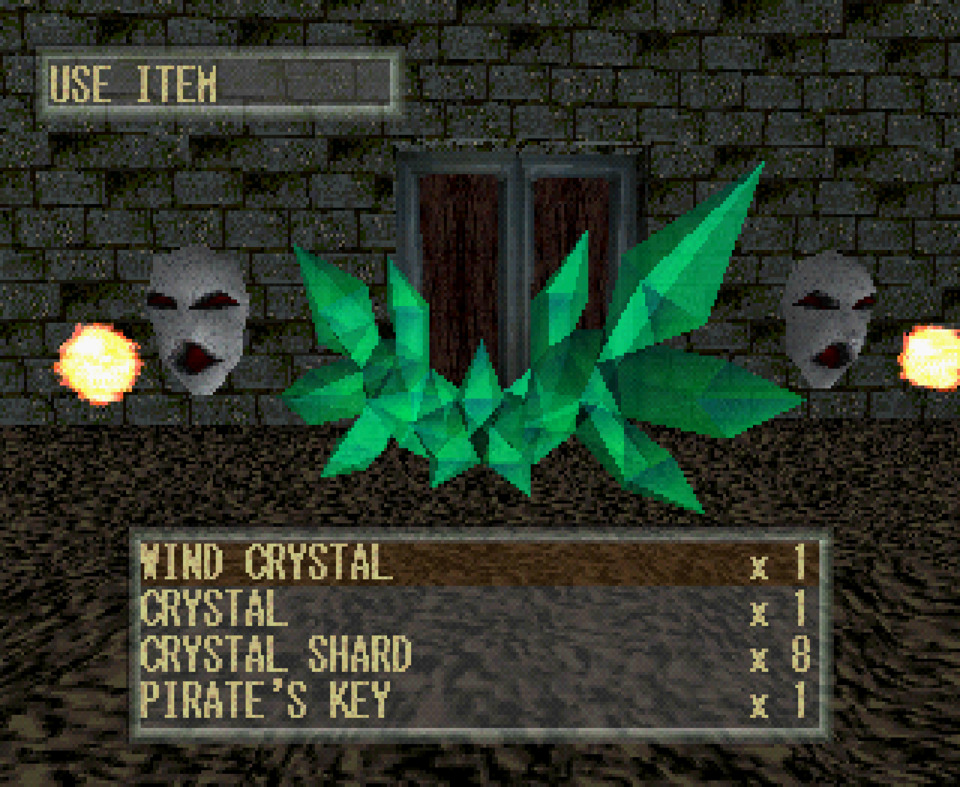
Now to address what you find at the top of that lighthouse. The method of acquiring magic has been altered from the first game. Before, an NPC would teach you a type of magic and you would get new spells as you levelled up. There were eight spells in total and the whole system was sloppily implemented. Here, you learn magic by finding unique elemental crystals across five flavors. Each elemental flavor has four spells of increasing severity, with 20 total, and only one can be equipped at any given moment. You start this game with the same low-level light spell as the first, and the other 19 spells are learned through using those crystals which are either squirrelled away in various corners of the island or rewarded from boss fights. The fire crystal at the top of the lighthouse is likely to be the first one you find in the game, giving you the basic Fireball spell. Remember that you didn't get that until halfway through the first game. This is much more fleshed out with a higher variety of spells providing more gameplay options in the late game, though gating that core mechanic behind hidden collectibles has its own problems. I played this thing using a guide and maps and still somehow missed a couple of crystals.
Notice how I tempered my praise of the improved magic system by including the phrase 'late game'? Do you also remember how magic wasn't useful for the first half of the last game because of the limited MP restoration? Well, good news first: in this one, magic isn't useful for only the first third or so of the game. The bad news is that while magic could be used in a limited capacity during the first half of KF1, there is just about zero way to restore MP for the first third of KF2. I ran through my initial MP while in the starting zone and didn't use magic at all for three or four hours afterwards. That's very poorly balanced resource availability and is also why I'm not going to mention magic again for a while.
Anyway, the western beach introduces some new MoBs, such as bastard dragonflies, bastard fish, normal krakens, and innocent slimes alongside our old friend the maneating plant. There are a couple of side areas you can potentially find your way into containing midgame enemies who will, as always, kill you instantly. I should also mention that the first secret room you can reach (this time you have to press X to go through the hidden doors) contains a skeleton that kills you. I guess it's going to end up as a running gag for FromSoft to put midgame skeletons next to the starting area. After being murdered a sufficient amount, you can make your way through a hallway and up a staircase to reach the next section of the map. This is where we get to talk about the main gimmick of this thing.
After the initial load, there are no other loading screens in the game. The core idea underpinning the design of KF2 is that it takes place in a seamless, intricately interconnected game world where you have immediate theoretical access to 80% of the environments. You would recognize the concept from Dark Souls. In fact, this game is where the idea came from. Though, this being an early PS1 game, there are significant trade-offs that FromSoft had to make to implement the concept. Instead of having distinct and separate floors in a dungeon, there are distinct and internally complete zones which are connected to each other by hallways, stairwells, and slow-moving doors. It struck me as being like Tony Hawk's American Wasteland or an early Dynasty Warriors map. Yes, you don't have the loading screen, but you spend an equivalent amount of time travelling through featureless corridors. This has been a common technique in 3D games even to this day, though the connecting sections are shorter now to match reduced load times. You know how games will have you do a bespoke animation to squeeze through tight spaces to reach the next area, or when you need to wait for an NPC to open a door? Those are more elegant implementations of this type of design. I'll have more to say later regarding the actual layout of the world, so for now keep in mind that playing the game involves backtracking and fast travelling (I'll explain later) quite a lot.
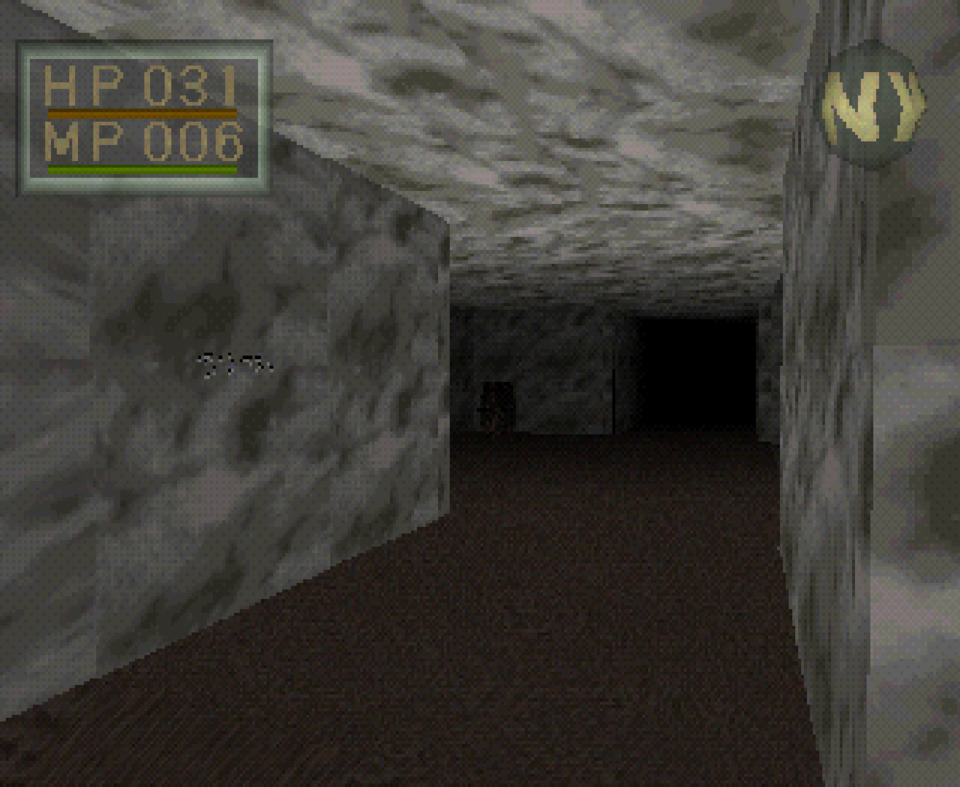
After exiting the starting zone, two village areas, one north and one south, become available. The north village is somewhat of a dead end at this point, but it's the closest and the combination of an accessible shop and low-level graveyard areas makes it the most reasonable place for new players to get their bearings. There are more or less four villages in the game and most of the NPCs are found in them. Most of these idiots aren't important for progression, but they add more flavor to the world than what we saw in the previous game. A couple of them also provide some of the only humor in the series, such as our boy Al who loves him some soup. The game progresses a bit more in the south village, where you can find the key vendor and the small mine. That area is called such because it's the smaller of two mines in the game, in case you couldn't guess. That area is mostly there for early levelling and to house a weird wizard guy who is used for some late game item swaps. The NPCs in these areas provide a little bit of unimportant world-building, letting you know that Necron controls the island, they're all stuck there for reasons, and the only way to earn a living is to mine Verdite ore, which is becoming increasingly scarce.

The main thing to note for this side of the map is the introduction of two new enemy types: soldiers and termites. There are humanoid enemies with spears or bows littered all over the island, and I guess they're part of Necron's army or something. They're also extremely annoying to deal with in the early game, as they short-circuit the standard combat loop by having semi-random attack patterns and much longer range than the player. You might think this provides variety and challenge, but the randomness of it all combined with their having a possible attack pattern that instantly kills you makes them an annoyance more than anything else. Next, the termites. The special thing about these little jerks is that their hitboxes are very close to the ground, which forces the player to fumble with the awkward down/up camera controls to fight them. Both of these enemies are obnoxious, and they are the most prevalent MoBs in the game.
After some wandering and dying you'll eventually reach the prison area, where you unknowingly need to find the jail key, free an NPC, talk to him until he gives you an extremely important item, and then find a secret door in an otherwise inconspicuous wall to gain access to the fountain area. This place serves a similar role to the fountain in the first game, and it's the closest thing to a hub area you're going to find. I'll go into how this is poorly done later, but for the moment know that when you first arrive there are three canals feeding into it, with only one activated. This is feeding blue water, which restores HP, and the other two canals can send red water, which refills MP, and green water, which cures status ailments. If you get all three going at the same time the fountain fills with gold water, which does all three. The canals are each activated by having a specific item inserted into a corresponding pedestal, and that item locks in once placed. Conveniently, the mysterious item the prisoner gave us is one of those, with the last one found in a random hidey-hole later on. The fun part is that the canals aren't labelled or visually differentiated in any way, so I activated the status cure canal instead of the MP canal that I desperately needed. This whole thing is an obscure pain, and yet it is the single most important thing in the game. That importance stems from the crystal flask items you acquire throughout the journey, which can be infinitely refilled at water sources. These are the conceptual origins for Estus Flasks. You need to have a dozen gold potion flasks on you going into the endgame, so you're going to have an extremely bad time if you never figure out this mechanic. This continues the trend in these games of the most important content and mechanics hidden away while the critical path is littered with dead ends and junk.
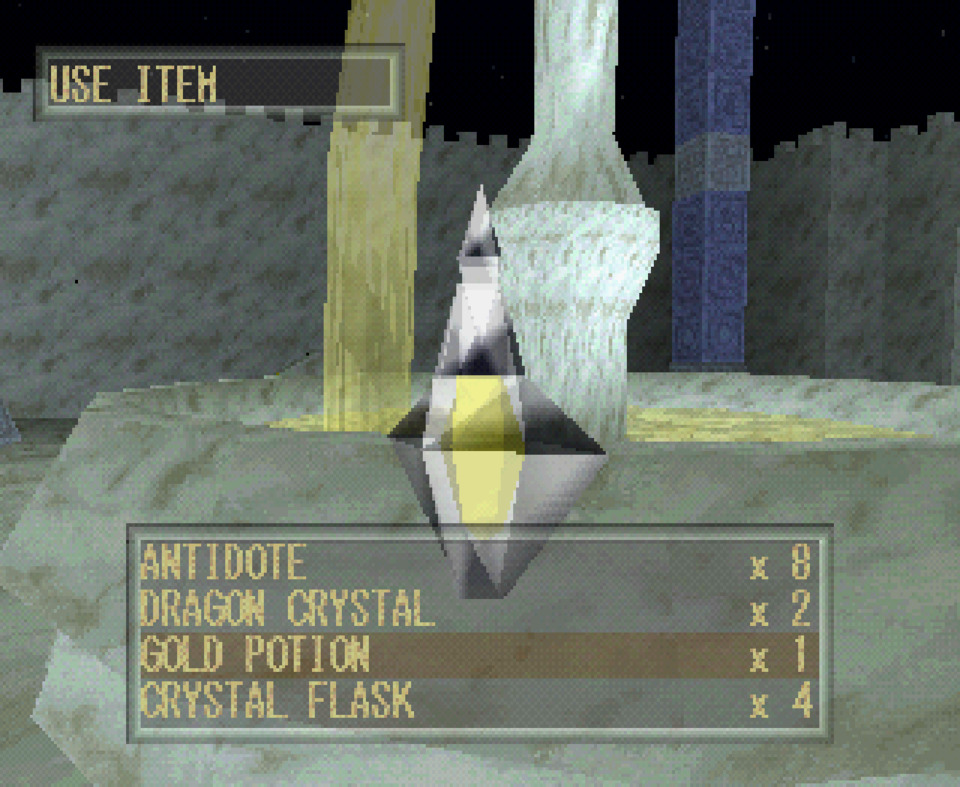
Back to the prison, the door just beyond that leads to a branching intersection. One path leads to the central village and the other to the Big Mine. The Big Mine is a mid/late game area that will kill you at this point. There's no in-world signposting and you choose the path while under fire from two archer enemies on raised platforms. It shouldn't surprise you that I initially chose the wrong path. After a soldier gauntlet you can eventually get to the central village containing a much-needed shop and crystal vendor, but you can't get in until you find a young boy who has wandered off somewhere. You're told that he probably went into the termite nest, which sounds ominous. Because the shop is blocked off, you'll have to go into the termite dungeon and first boss fight only with what you looted or brought from the South village, which is a considerable walk back the way you came. That termite nest is conveniently nearby but inconveniently is only entered through a one way drop. Even more inconveniently still, it's structured as a disorienting loop and filled with a crap ton of termites.
This is likely the point where casual players hard bounce off the game because the Termite Queen boss isn't possible to defeat if you don't use the specific cheese strat of wedging yourself between her and the wall while wailing away like there's no tomorrow. You need to do this because the boss, who's just a giant termite, is stationary in an alcove with only her head sticking out like our boy Giant Kraken. The room in front of the alcove features infinitely spawning termites who'll harass you while she slaps you around with her mandibles. Wedging yourself in the nook between her head and wall puts you outside the small termites' patrol radius and keeps you away from most of her attacks. Once she's dead, you find the lost kid just kinda vibing in the alcove behind her. I guess the monsters are cool with everyone but you, so I don't know why the kid needed rescuing.
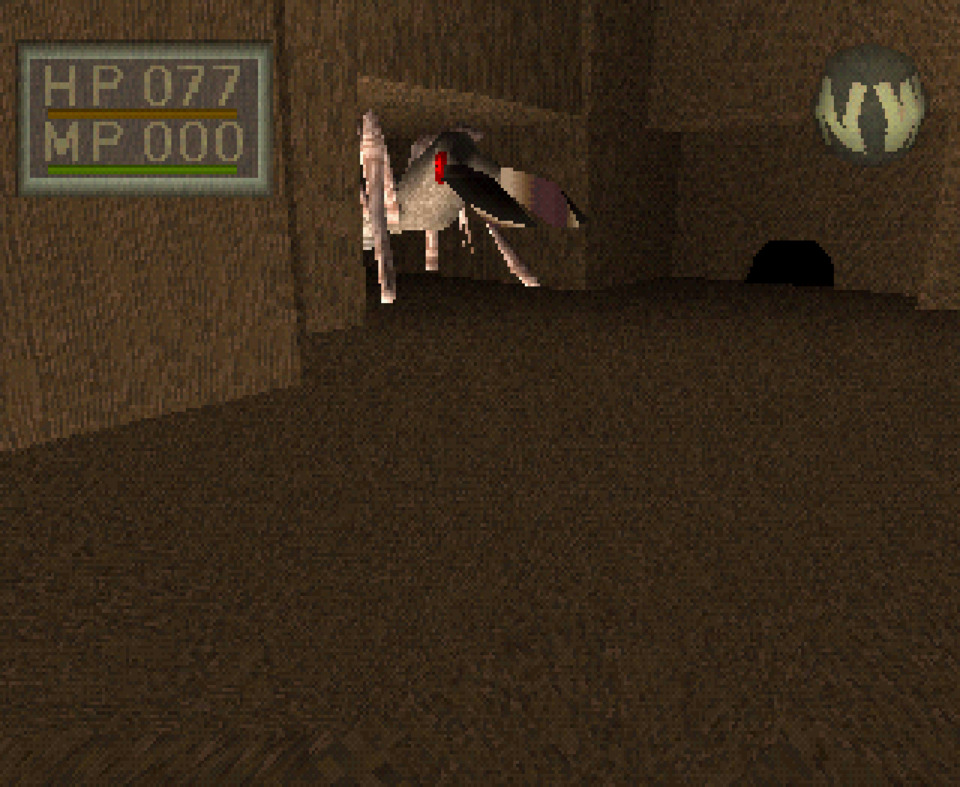
Up to this point, the game has used locked doors and encounter design to funnel the player along a critical path. The character and equipment level needed to kill the Termite Queen is high enough that afterwards most of the island becomes accessible without incurring the penalty of instant annihilation. That means there are several things that become feasible, opening the game world and achieving some of Nishida's intended non-linearity. With the kid back home, the vendors in the central village open up, letting you finally convert crystals that are found in random chests around the island into flasks which, again, are absolutely necessary. The termite nest also contains the second fountain activation item, so that can now be dealt with. The combination of flasks and an operational fountain means this is where magic comes back into play. You should have also picked up enough gold along the way to start affording keys from back in the south village, which makes some previously inaccessible chests lootable. This is all supposed to subtly encourage the player to schlep back to the western shore and explore the mid-level areas that had been bypassed. This is also where I took the opportunity to smack around our Giant Kraken buddy and loot the cave behind him. One of those areas is a small skeleton base, accessible by throwing yourself off a specific catwalk. Remember what I said about fall damage? This is the point where you need to unlearn the painful lessons from the beginning of the game and start yeeting yourself off anything that doesn't send you to a bottomless pit. Technically the critical path doesn't require it, but you're gonna have a real bad time if you don't get the items found at the bottom of various drops.

I was being overly generous saying that the game opens at this point. While it is possible to get to the Big Mine and temple area, you're probably not going to make it to the bosses of those zones. The actual correct route at this point goes through Harvine's Castle and the eastern shore. So, Harvine was apparently the ancient king who tried to lay claim to the island and was responsible for most of the ruins, including a big castle at the center of the map. That castle is now overrun with way too many fire demons and skeleton wizards, but it has to be navigated to lower the bridge connecting the central village to the eastern shore. That eastern shore zone contains what is technically supposed to be the east village, a ton of graveyard areas, an obnoxious central canyon, and Leon Shore's house. "Who's Leon Shore?" you might ask, "he's the only important NPC in the game," is the answer you won't figure out until it's likely too late. He's necessary to craft the game's ultimate weapon in a process that is very poorly signposted during the late game. He's not home on the first visit, though you can talk to his spooky ghost mom for incoherent lore. The only person who is home can be found in the east village, a small girl who tells you that all the adults went to work in the Big Mine, including her father who she hopes returns safe. Like with the lost boy, I assumed the father was extremely dead.
This area has the most instances of needing to throw yourself off things, as there are plenty of useful items to be found. This is also the first area where most of those places you fall into have no exit back to the main area. This creates a soft-lock situation if you have not already engaged with the fast travel system, so now I need to explain how that works. Every save point has a pedestal next to it in which you can slot one of three different keys, labeled Moon, Star, and Sun. Each key corresponds to items you can acquire called Gates, which are labeled in the same way, and using those items will teleport you to the save point with the corresponding key. So, you can have three save points with keys and teleport to any of them from anywhere with a moderate MP cost. If you're poking everywhere and talking to the right NPCs at the right times, you'll end up gaining the Moon Key/Gate during the early game, Star in the mid game, and Sun in the late game. Of course, this thing is incredibly oblique about how any of it works, but it is absolutely necessary to have available when adventuring down holes and off ledges.
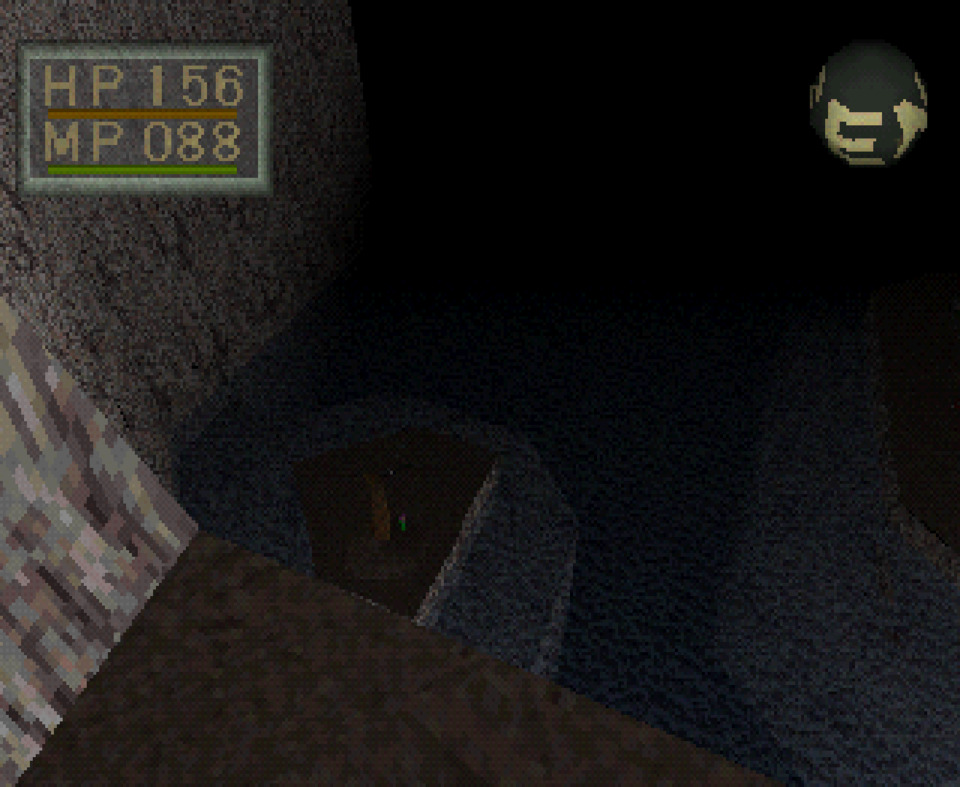
After all the running around and looting in Harvine's Castle and the eastern shore, it isn't immediately suicidal to tackle the Big Mine. The special thing about this zone, other than the poison cave and bastard Earth Elementals, is the bifurcated nature of the level. FromSoft has now caught up to the design skills of T&E Soft by adding poorly implemented mine cart rides to the experience. The first half of the level contains the entrance from the prison area and the exit to the temple zone, with two different minecart tracks connecting to the mine system itself. Fast travel is handy here, as there is no convenient way to leave the mine once you enter. Also, even though it isn't technically on the critical path, it's still necessary to loot the mine for everything it's worth. Aside from being dark and confusing to navigate, there are the two previously mentioned points of interest. You can check off the 'Poisoned Area' space on your FromSoft bingo card, because like a fifth of the mines deal constant poison damage when you exist in them. You can visually distinguish these areas by the worst wall texture imaginable. Second, at the bottom of the mine is an area filled with the second worst enemy type in the game. The Earth Elementals are big ol' dinosaur dirtbags who have too much health, deal too much damage, and like to gang up on you while blocking narrow passages. I ran past most of them trying to get to the items at the end of the caves, only to run into the third boss of the game, who is a Giant Earth Elemental. Because those creeps are already pretty big and hard to handle, I didn't initially realize I was fighting a boss until after I killed the thing. So, the most out of nowhere difficulty spike in the game is accompanied by the boss fight with the lowest increase in difficulty compared to the surroundings. Fantastic.
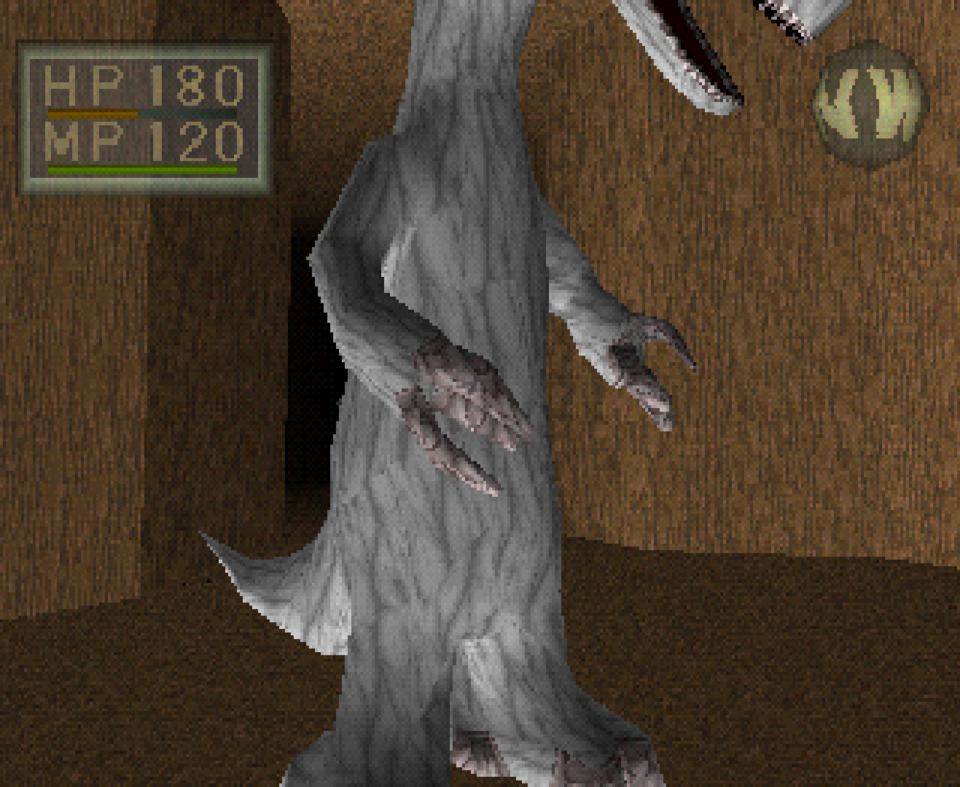
For as much as the Big Mine sucks, going through it powers up the player character sufficiently to deal with the third to last zone of the game and all the nonsense accompanying it. This zone has three main areas, a fire mini-dungeon, an ice mini-dungeon, and the elf shrine. I've seen these areas referred to in a couple different ways, so for the sake of consistency I'll call them all temples. You enter this zone through a standard soldier lobby spiced up with our old friend, the egregious swinging blade trap. Even though you can technically weave your way through the blades, you aren't supposed to, and the resulting sequence skip provides no benefit whatsoever. You're supposed to meander your way through the fire temple, find the small prison area, get poked and prodded down a central hallway, and go through the ice temple to defeat the boss at the end. The fire temple is a hassle reminiscent of Harvine's Castle and isn't worth writing home about. Though, the small prison area is extremely important because that's where you find Leon Shore. If you free him he'll head back to his house, and you should talk to him after dealing with this zone. In the central hallway there's an eccentric endgame vendor just kind of hanging out in a random side room for some reason, and I mention him because doing business there is kinda essential for equipping up in the late game. The ice temple contains some yeti-shaped ice elemental enemies who aren't particularly hard to deal with at this point and the boss is of course a big one of those. The whole reason to go through this is because the hallway leading to the endgame is frozen over and that ice wall only melts by killing the Big Ice Elemental. Not that the game has any signposting for this.
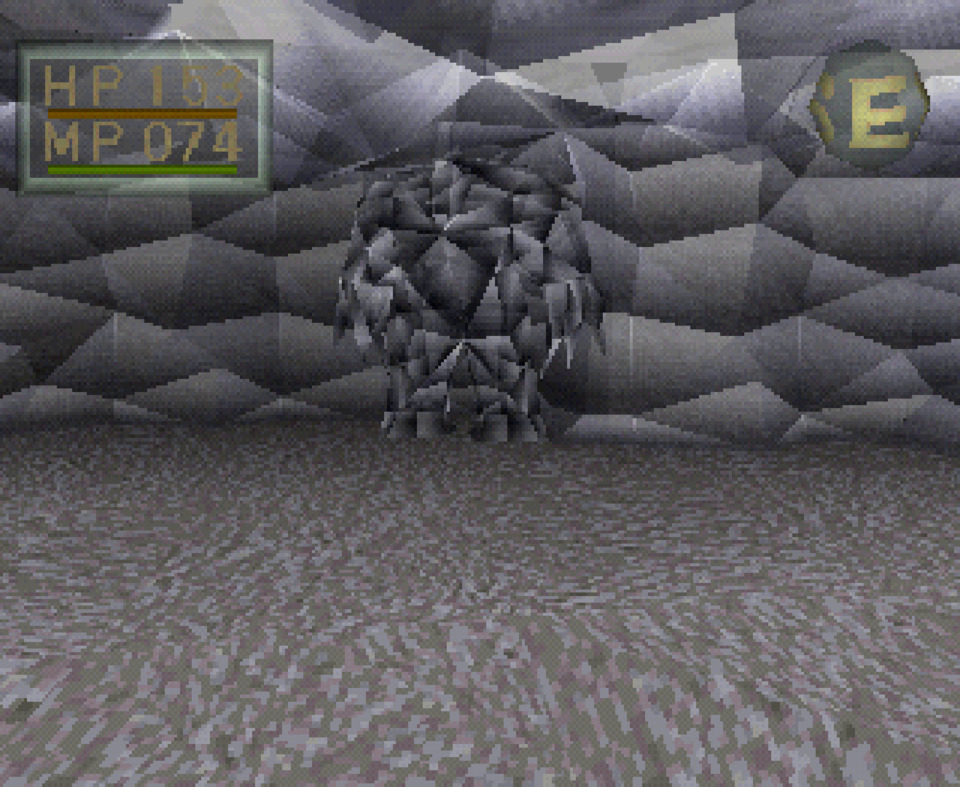
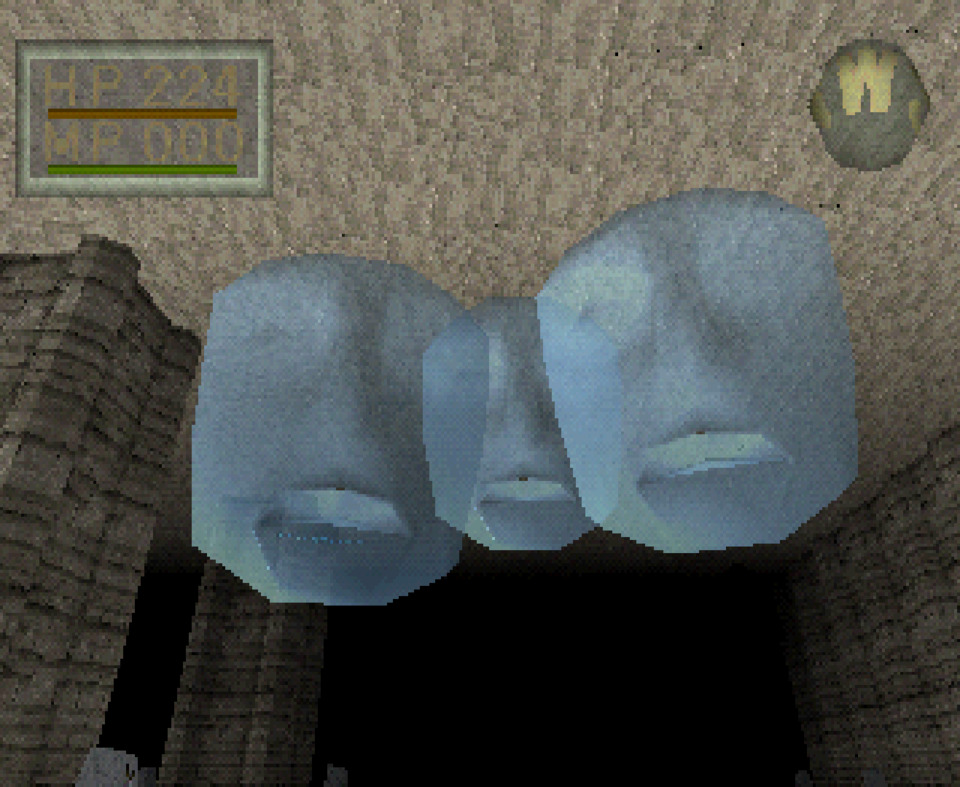
With the path open, you could technically charge through to Necron if you have your druthers up, but we know by now to scour all corners of the map first. The elf shrine has a one-of-a-kind and extremely annoying key/rotating cog puzzle mechanism to open the door, but there's important loot inside so it should be dealt with. It's also full of ghosts, but those enemies are more funny than dangerous because their AI was programmed with a hard invisible boundary that doesn't quite reach the doorways of their rooms. That's a long way of saying that if you stand in the right spot they'll fly up and stare blankly as you whack away at them. After looting the shrine, which is more of a graveyard, for all its worth you can go to the next zone and struggle through the opening soldier gauntlet to the one save room in order to put down a fast travel key. Now it's time for everyone's favorite late game busywork, backtracking and sidequests. At this point, the key vendor can be fully bought out, almost all inaccessible parts of previous areas can be accessed, you should through yourself down any remaining holes, and all chests can be opened. Also, the weird wizard in the small mine can be bartered with for a few important items. Out of everything though, Leon Shore should be checked on, this is because it's now time to do the most obscure side quest possible to get the best sword in the game.
I'm just going to lay out the quest steps and let the convoluted mess speak for itself. First, you need to get a statue of Seath. Leon's ghost mom will give you one if you talk to her and there are two more hidden around the game; these statues act as extra lives if you're wearing a specific piece of equipment. Next, you need to rescue Leon from that prison I mentioned earlier, and then talk to him. You then need to talk to the girl in the east village and then Leon again. At some point in this you get the amulet that lets you use the Seath statue. You shouldn't use it on yourself, though, because you need to go to the Big Mine to look for that girl's father. Turns out he's that partially mummified corpse you might have come across earlier in the poison cave. You need to use the amulet on him and then the statue (this is the only time you do this kind of thing to an NPC) to revive him. Next, head back to the east village and talk to him then back to Leon. At this point you will need to have picked up a specific stone from the Elf Shrine so that you can hand it off to Leon to make into a sword. You then need to leave for an indeterminate amount of time and come back to talk to him, at which point he'll tell you that Necron made off with the sword. You then continue the endgame as normal and after the Necron boss fight you'll get the Dark Sword, which is the best in the game. I shouldn't need to tell you this is all poorly signposted or explained in-game. So much so that I missed the last step in the questline, even though I was using a guide. The good news is that the Dark Sword is not necessary to beat the game and the second-best sword, also found in the Elf Shrine, works just as well. This is as good a spot as any to throw in that even though the sword magic system from the previous game is here, and also follows the same 60-60/80-80 tier system, it isn't in any way needed and I didn't use it once.
So, after the standard trudging back through every area of the game, it's time to get it over with. Though, as one last piece of business, there are a couple of extensive side areas forking off from the boss room where you can find the dumbest possible Wizardry reference. Some of the side rooms contain random high-tech stuff and big 'ol specimen tubes. Most of these contain the demon enemies that we might recognize from the explosion gauntlet that was KF1's final floor. However, two of the tubes contain elves, who I guess are getting the magic juice sucked out of them or something. You can talk to them for deep lore, but at the risk of exposing yourself to story elements that could not matter in the least amount. Short version, turns out Necron is doing the bidding of the evil dragon Guyra and using the island' magic to do evil or something. With this last explorable area done, it's on to the boss rush. That's right, in a game where all the bosses have just been big normal enemies, we get to fight four more before even seeing Necron. First is a Big Knight, who is an inflated version of an enemy found in Harvine's Castle. Next is our old friend the Big Earth Elemental, then the Big Ice Elemental again, because why not. Finally, there's a Big Demon, who is one of the more annoying fights of the game due to his squirreliness more than actual difficulty. After that the big doors open into the actual boss arena. Now, a funny quirk of this game is that if you walk out of this area to refill your flasks after beating the boss rush, you have to go through it again to open those doors. This means you'll probably need to do all six of the endgame boss fights in one run.
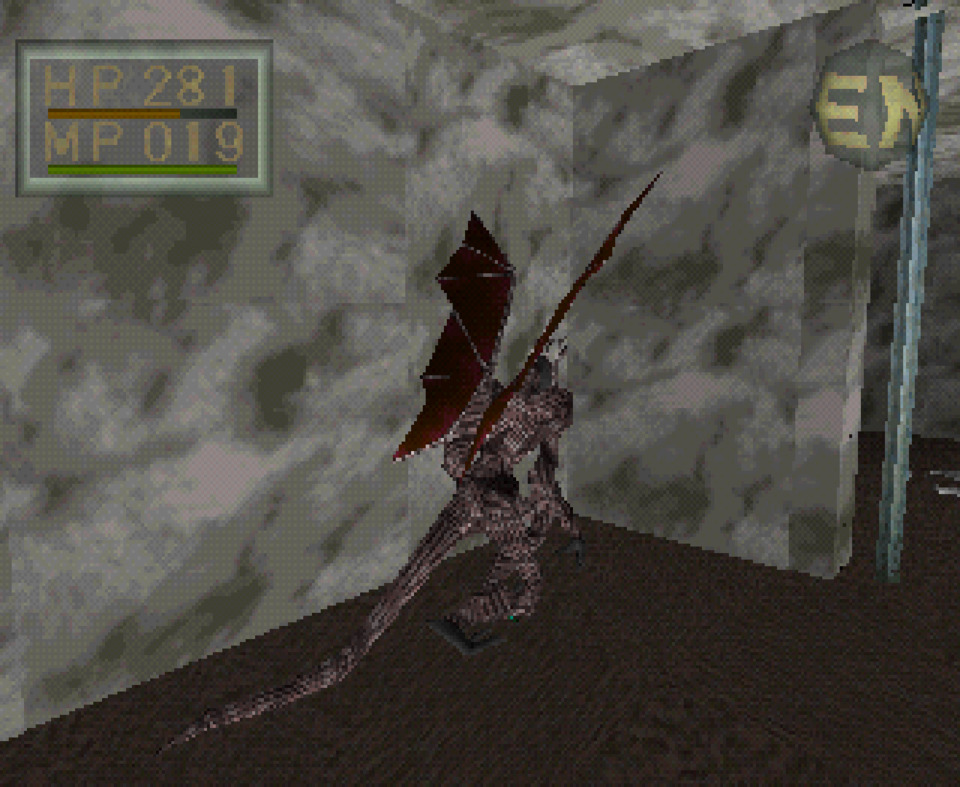
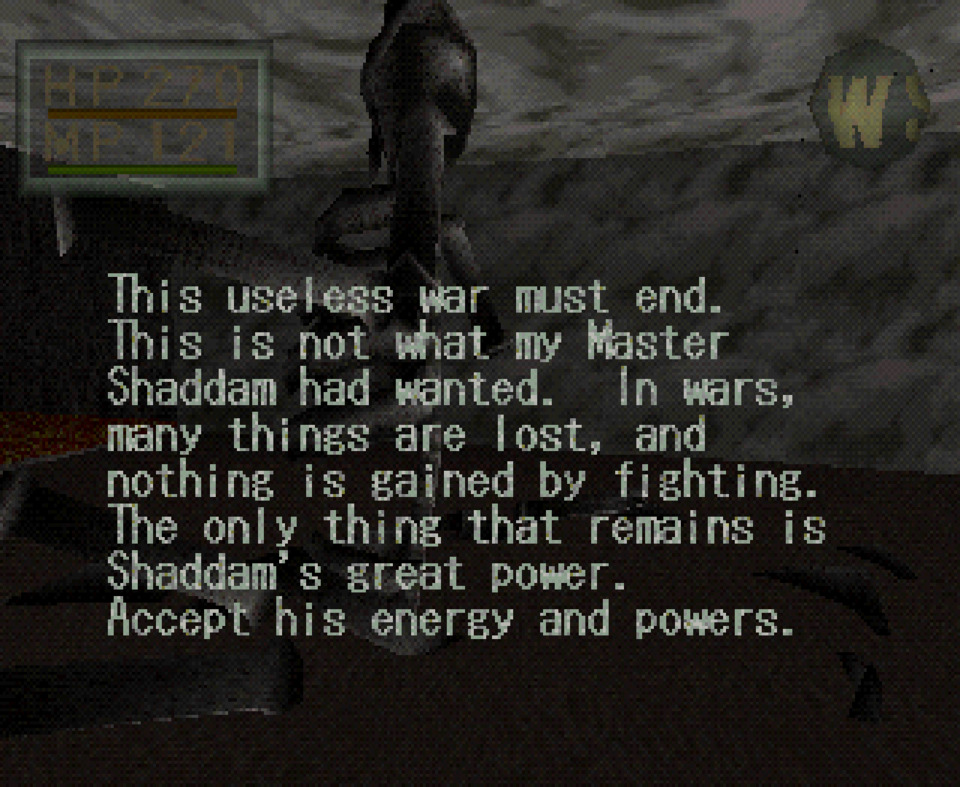
That little kick in the shin is made worse by the Necron fight itself. After entering his boss room, which I guess is a coliseum, he'll say some evil stuff and then come at you. This is the first in the long tradition of FromSoft bosses who are just proportionally normal guys in large, round rooms. Also in that tradition, this little jerk outclasses the player in just about every metric other than hutzpah. It's easy to go from full health to dead in a couple seconds should the wrong attack pattern hit. Maneuverability and blocking aren't a thing here, so you're only option is to kill him before he kills you. It took me several tries and I don't know how I eventually did it. If you had done all the steps in the Dark Sword sidequest, this is where you would receive it. With the main villain down, all's that left is the actual big bad, the dragon god Guyra. Remember Seath, the dragon who was vibing next to the final boss in the last game? Guyra is his evil twin or something.

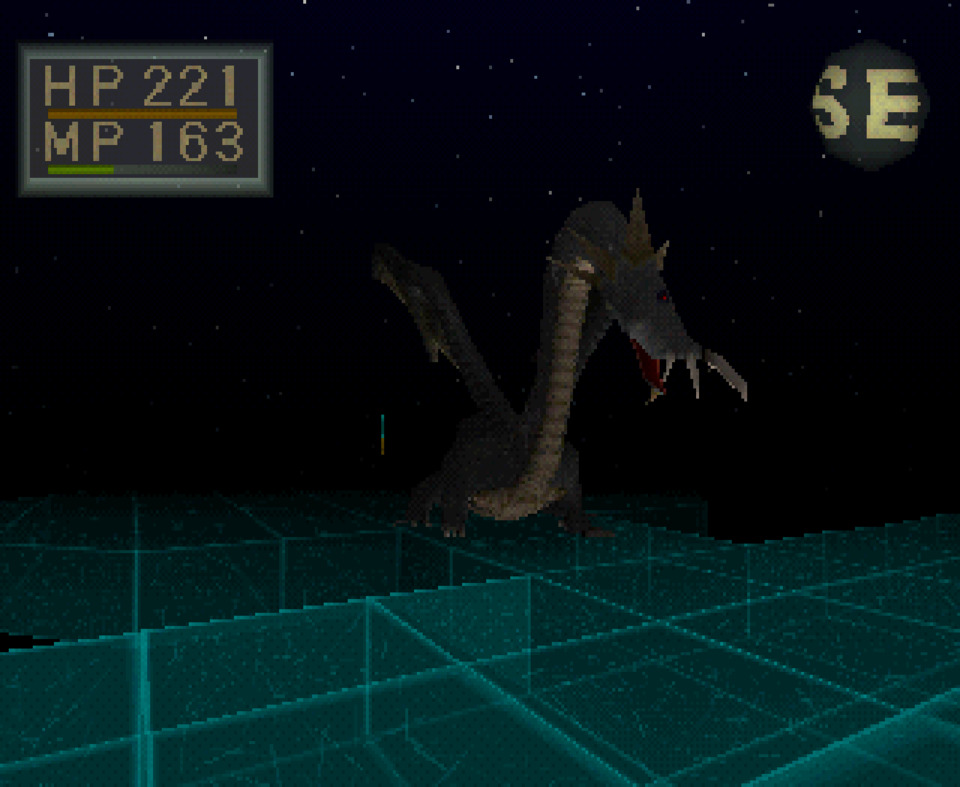
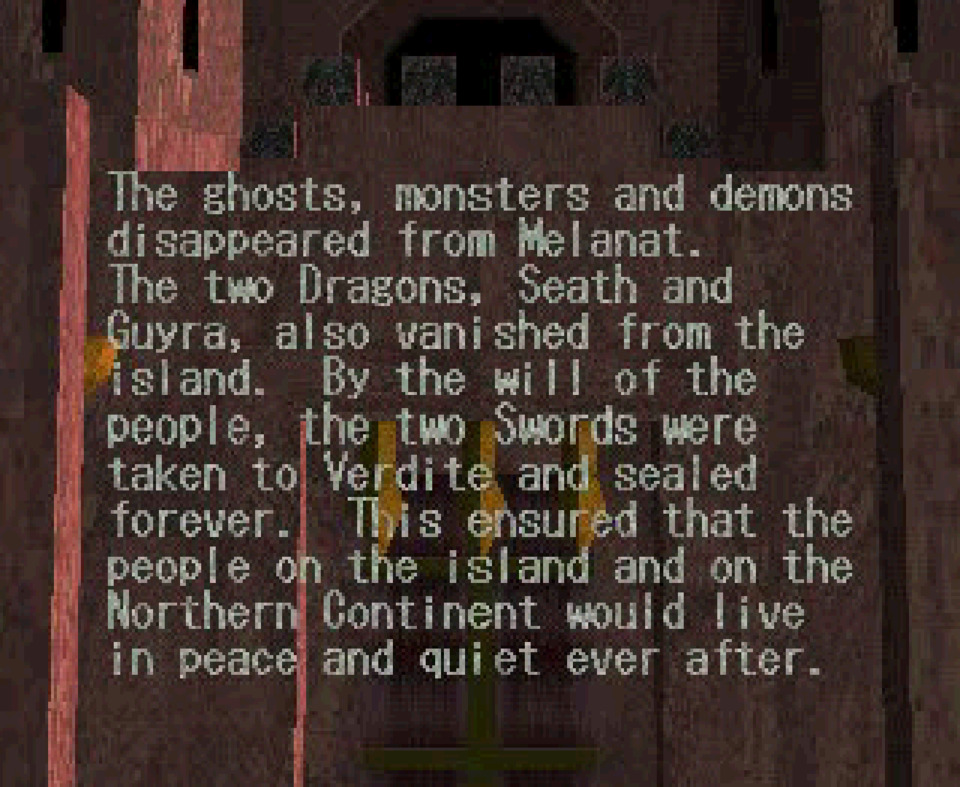
To get to His Scaliness, you need to hop through an interdimensional portal and go through a teleporter maze. This wouldn't be a bad JRPG from 1995 without a teleporter maze. Luckily, it isn't a big maze. Unluckily, it's filled with cyborg versions of various enemies, with cyber termites being the biggest hassle to run past. I say "run past" because remember this all needs to happen in one run and none of these cyber idiots is worth the trouble. It also doesn't help that this area looks like a backdrop from Tron, probably so that they didn't have to make textures for an evil dragon dimension. Whatever the reason, it's disorienting. After running around long enough, you'll eventually stumble on Guyra's boss room. Remember how the Termite Queen and Big Kraken were just large enemies crammed in an alcove that whacked at you while smaller enemies nibbled your heels? I hope you liked those because that's what the Guyra fight is. The one twist here is that you can't hit him with magic until the little orbs floating around the room are killed, since they'll absorb any magic you shoot out. That gets annoying because the little shits spend most of their time loitering out of sword range and must be lured in with yummy magic spells. The game of course doesn't indicate in any clear way that this is what you need to do. Once they're out of the way, you can dump everything you have into Guyra from a distance and get it over with. Once he dies there's a short cutscene where you pick up the Moonlight Sword he was sitting on and leave. The ending text crawl has some stuff about saving the world and what not, but was it truly worth it?
How To Design A World Map When You're In A Hurry
Before unpacking all the surprisingly little going on with King's Field II, let's take a moment to scrutinize the world map Nishida and company thought up. I couldn't find any visual representations of how all the zones fit together, so I used my unparalleled artistic abilities to make one.
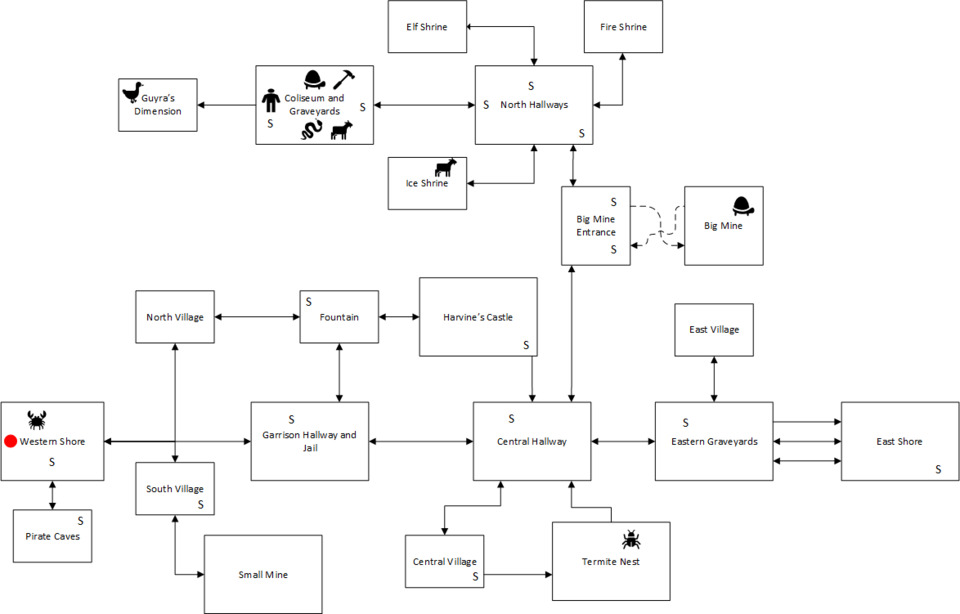
While I think my notation is self-evident, I'll still define the different elements. Each box represents a distinct zone, with each arrowed line representing a literal connecting passage. The red dot is the starting point, the capital S marks are for save rooms, and the animal symbols represent bosses. I tried to place the save rooms and bosses as close to their relative positioning in their zones as I could.
Looking back at it from a high level, it seems that more thought and effort went into designing the first half of the game and the rest was just kind of slapped together without as much care. It should go without saying that shoving most of the boss fights into the back third of the game doesn't produce a balanced experience. Also, the last few zones could have easily just been independent floors in a traditional dungeon, which would have saved the trade-offs that came with their 'no load' philosophy. Then there's the design of the zones in relation to how the in-game maps work. Below I have an example of the in-game map of the starting zone next to a legible map of the same.
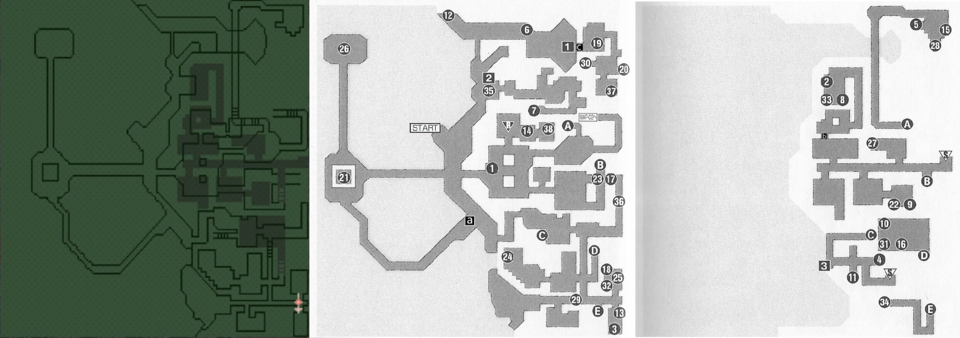
The focus on having stairs and multiple floors incorporated into the zones broke the mapping system that had been baked into the game engine, and they compensated by just overlapping everything. While this is technically functional, it's practically unusable. Everything about the level design is emblematic of overambition. Unlike with KF1, there were ideas about distinguishing the various zones and non-linear interconnectivity, but it proved to be more than FromSoft was capable of handling. This is certainly less amateurish than the first time around, but I wouldn't go so far as even calling it a journeyman effort.
Reference Material
I needed fewer reference materials here than last time, with it boiling down to a usable map and a guide that can be referenced for the broad strokes of the critical path.
----------------------------------------------------------------------------------------------------
What Can We Make of This?
King's Field II is more video game than the first, which is the minimum bar a sequel should cross. The polygon count is higher, there's a larger variety in enemies and boss fights, more combat options from the new weapons and spells, and significantly more creativity in the level and encounter design. For a Dungeon Crawler, that would be more than good enough if the core gameplay were any good. Sadly, this thing moves and feels even worse than its predecessor. The ambitions that went into the development of this game came at the cost of technical stability. The framerate is bad, but not consistently so. At any given moment, depending on how many polygons the engine thinks it might need to render, the framerate can fluctuate anywhere from 5 to 30 fps. This leads to a bizarre and disorienting effect during combat where the game jumps randomly between slow and fast motion, requiring the player to gain an innate sense for the unstable passage of time on top of the animation and attack range shenanigans carried over from the first game. Combined with the ugly texture work and uncontrolled texture warping, you end up with an experience that can only be physically tolerated for at most a couple of hours at a time.
Additionally, while FromSoft generally and Nishida specifically learned a great deal about game development and design from making King's Field, they still only had a basic grasp on the fundamentals. That isn't a great place to be in when deciding to make something more technically demanding than anything yet made on its system. On top of that, this thing was thrown together in six months of what I can only imagine to be hellish working conditions. Also, from what I've been able to find, the code pipeline that they had hacked together in early '94 was wildly insufficient for the task at hand. My assumption at the beginning of this write-up that the company needed to climb out of a money hole following the slow initial sales of the first game is the only reason I can imagine for why they would put themselves through a half year of severe crunch after a previous nine months of severe crunch. Even just another three or four months of development time would have likely resulted in a far more playable video game than what they released in July of 1995. This could also involve their inexperience with planning game development projects. I think this is the last time I will be able to cite their inexperience as a reason for some of their decisions.
By the time this game released, FromSoft would have likely realized most of their cut from the almost 200,000 sales of the first game. I can't find sales number for this thing, but I would guess the total Japanese sales would have been somewhere between 160,000 to 200,000 units. I specify the region, because ASCII Entertainment had the bright idea to localize this game for the North American and European markets in 1996, where it seems to have sold somewhere around 160,000 additional units by the time Armored Core was released. Both games combined probably brought in well over a billion yen in revenue off half a million in sales for Zin and company between the end of '94 and the end of '97. I'm terrible at foreign exchange, but that probably translates to somewhere between $10-15m in 2023 money over three years. That would be enough to keep the lights on for a small technology company, and that's exactly what it did. This is likely why they were able to take a full year to rebuild their game engine and develop King's Field III a bit more carefully. We will see the result of that extra tlc next time.
As a final note, we should consider how this game was received outside of Japan. The II at the end of the title was dropped, since there was no interest in porting the original game, leading to a similar modern inconvenience for archiving like what we see with the Final Fantasy numbering scheme. Aside from that, the hilarious Doom-clone speculation I showed you last time was related to this game. I found the EGM and Gamespot reviews, and it's clear none of them finished the damn thing before publishing their write-ups. That might explain part of the reason for the sentiment being all over the place with, for example, Sushi X giving it an 8.0 and Greg Kasavin giving it a 6.7. I'm inclined to agree more with Kasavin because, regardless of any other bias, his review reads as though he put in more than an hour. That's all in comparison to Famitsu which apparently gave it a 35/40, though I can't find the text and I also don't take their old reviews that seriously. I'm going to call it an overall positive but muted critical response.

There's an old line about pre-Souls FromSoft games, something about how the same 70,000 weirdos in the U.S. would buy every game and no one else would notice. In reality, the number was more variable, but the sentiment holds truth. Starting from this point, most FromSoft games will receive international releases and find a niche just below the radar of the rest of the game playing public. We'll see over time how Zin would make use of this small-time success, but for now we must move on to the last part of the original King's Field trilogy. Was time and practice enough for this team to make a decent game? We already know the answer: no. Why? Because All FromSoft Games Are Bad.
Sources
I reused some of the sources from last time, with special attention to the most helpful Reddit post of all time.
- https://www.reddit.com/r/KingsField/comments/10eveid/i_wrote_some_behindthescenes_information_about/
- https://www.vgchartz.com/game/36155/kings-field/?region=All
- https://retrocdn.net/images/4/45/EGM_US_079.pdf
- https://www.gamespot.com/reviews/kings-field-review/1900-2548021/
- https://archive.org/details/Gamers_Republic_Issue_07/page/n113/mode/2up?q=golf+%22from+software%22+interview
- The usual Wikipedia articles
----------------------------------------------------------------------------------------------------
A bit of housekeeping before calling it quits. Since King's Field II saw a U.S. release for the Playstation, that puts it inbounds for my main blog series, All PS1 Games In Order. While I haven't yet reached this thing's release date in that series, I've already played and written extensively about it, so this will likely count for when I eventually catch up. As such, that means I will need to rank this game against every other PS1 game, though my memory will have faded by then. So, I'm going to rank it now and let the anachronism languish on the list. Without further ado, I'm slotting it at #55 of 102, between Hardball 5 and Epidemic. I feel dirty putting it that high, but FromSoft gets to benefit from Genki's love of making bad shooters. I'll continue with these anachronisms for all FromSoft's PS1 titles.
I streamed my entire misadventure with this game over on my Twitch channel, which are archived on YouTube here. The first installment can be watched below.
Log in to comment