Twitch Plays FF7 Part 6: Dating Games and MORE Thievery
By kerikxi 0 Comments
PART 1 - **NEW** PART 1.1 - PART 1.2 - PART 1.3 - PART 2 - PART 3 - PART 4 - PART 5 - PART 6 - PART 7 - PART 8 - PART 9 - PART 10 - PART 11 - PART 12 - PART 13 - PART 14 - PART 15 - PART 16 - PART 17 - PART 18 - PART 19 FINALE
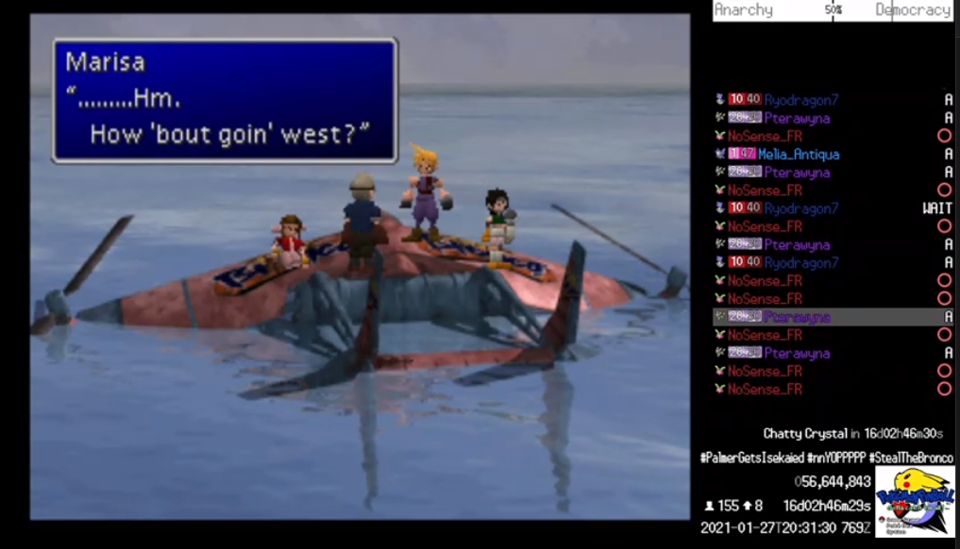
Despite Yuffie's helpful suggestion, we will not be immediately heading off to get robbed. We're still unsure when the run will actually end, potentially at any time, so there is one critical sequence we don't want to miss. Chat shlorps their way east across the river through the western continent and returns to the Golden Saucer once more. We can afford the fancy VIP pass now and if we keep playing we're likely to make more than ten trips back here in the grand scheme of things, so we pick up a lifetime gambling subscription on the way in. Yes that was over half our money. It'll pay for itself, we swear.
Golden Saucer Revisit
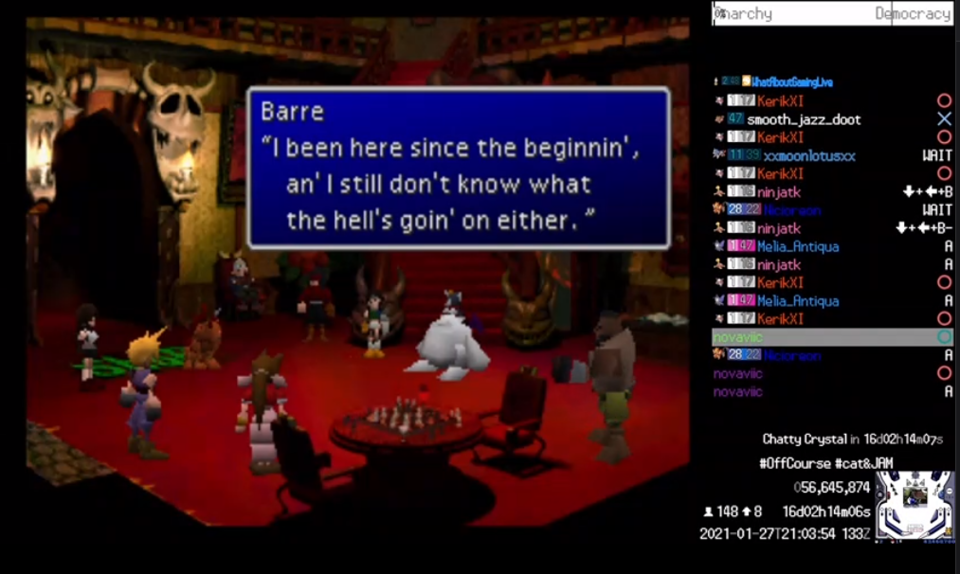
Chat is here to retrieve the keystone from main man Dio, granting us access to the Temple of the Ancients, Sephiroth's supposed destination. We immediately head to his museum and our host agrees to part with the prize, once we participate in his battle arena. There are no requirements to succeed or even participate in this sequence, you can even run away and events will still progress. Nonetheless chat performs their best circle spam and reaches round 2 before succumbing to petrification. Dio is relatively unimpressed but agrees to surrender the stone anyway. With that we immediately attempt to leave, only to find somebody has broken the damn tram, trapping everyone here. The party retires to the hotel for a rare moment of downtime and uses it to briefly summarize events up to now for the newer crew members. Exhausted from exposition, Cloud retreats to his room, and soon there is a knock at the door.
We have reached the famous dating sequence. Depending on your actions throughout the game, several party members can be eligible to kill time with Cloud while the only way out of this place gets repaired. Tifa, Aeris, Yuffie and Barret are all possible, but the last two require concerted effort to achieve. Aeris starts with a significant bias towards being picked, meaning unless you're a complete jerk to her at almost every opportunity, she'll probably be your partner. Given chat's actions so far this is all but guaranteed. Sure enough everyone's favorite flower seller is at our door, delivering on that promise she made all the way back in the Midgar slums. Nothing particularly exciting happens during this sequence. It's on rails and is a nice story moment with some beautiful music, but anyone who has played this has likely seen the Aeris version before so, it was that.
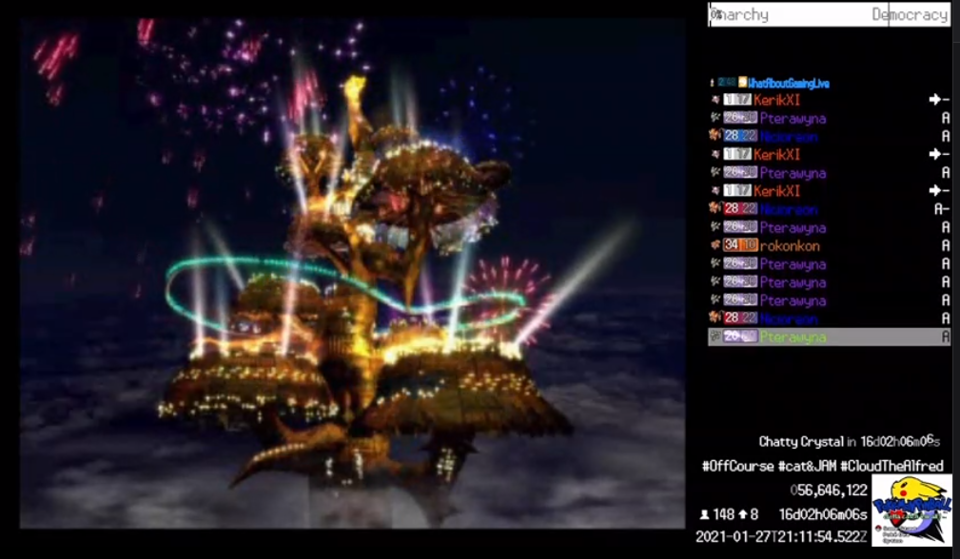
Chat nears the end of their night on the town and returns to the central station only to find catJAM sneaking away, having pilfered our hard earned keystone. In this section you are intended to chase Cait Sith around the various saucer platforms, but in fact you can proceed directly to his final stop at the chocobo square and shortcut a lot of running around. Given our movement difficulties, this is precisely what we do. We are ultimately betrayed by our lovable stuffed mascot, who has supplied Tseng and Shinra with the our keystone and given them a headstart on the Sephiroth hunt. The traitorous moogle cat at least tells us the location of our next story beat, the Temple of the Ancients. We promptly flee in the opposite direction.
Chat is not in a hurry to hit the Temple for a variety of reasons, but we have other progression available anyway and this is a good time to clean some of it up. We should hit some of the new shops our planeboat has opened to us, first with Bone Village. We won't need to come here until later, but it sells the best armor available to us right now and we're long overdue for some shopping. We buy enough bangles to equip our core party, giving them a massive defensive boost relative to this segment of the game. This shop also sells phoenix downs, particularly crucial because we ran out ages ago, so we stock those up too. Otherwise we're already in pretty good shape to proceed. Vincent is rotated over Yuffie for third slot since we'll be losing her shortly anyway, and we head off to get robbed by yet another party member in short succession.
Around this time, we receive the news. The Goal has finally changed. We kill Sephiroth. We're beating this game.
Wutai Sidequest
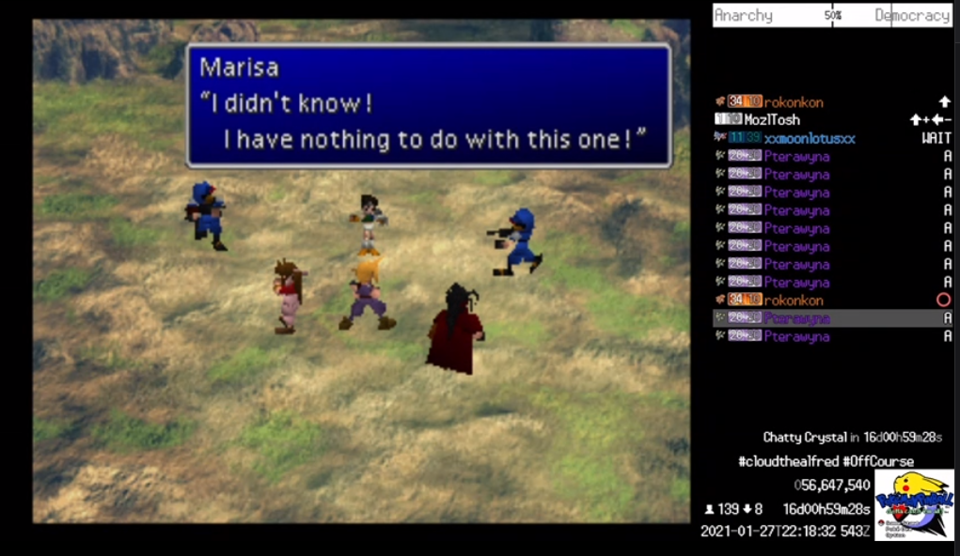
Invigorated by the news that we get to finish this fight, chat proceeds to the southwest corner of the map and towards Wutai where Yuffie's sidequest is now available. This is a good time to hit it, even though it means being locked out of our precious materia for a while, as Yuffie jacked it herself straight from our equipment. This quest can be kinda tricky, and we've been relying heavily on magic for healing. However, with only attack command available, it at least somewhat legitimizes the berserker style strategy we've employed up until now. In response to yet another trust violating theft, the party understandably gets incredibly ticked off. Hypers are used on all three party members granting them fury status, which will in turn increase their limit gauge gain. The accuracy debuff is livable and spamming limits will be our go to strategy this segment. We want our materia back and we're REALLY mad about it.
After navigating a series of confusing bridges, we arrive in Wutai with a lot of story to chew through. Our resident ninja thief girl is hiding around town, she must be discovered in a specific sequence, and most of the townsfolk refuse to talk to us. Chat could mostly remember where she spawns, but not when. This ultimately led to a lot of ponderous wandering back and forth between known locations, checking each. This is a good time to talk briefly about getting stuck in prompts. With the delay and timing involved, it was very common to talk to an NPC or other interactable multiple times in a row, as the only button that advances text and prompts is circle, which is the same button to talk. One person would hit circle to close a prompt, only for another person to do the same thing and open another. Well intentioned or malicious, the result was the same. This could easily consume dozens of seconds each time it happened, which was frequent. The basement sequence was an egregious display of this, chat stuck for over a minute flipping the trap lever.
After escaping a frankly disturbing obsession with cages, chat has mostly completed the exposition end of the sidequest and is nearly back to hitting things. It turns out that perverted jerk from the start of the game Don Corneo is here, and he's messing things up for everyone. Some early combat with a few Shinra grunts shows our new gear is paying dividends. We barely take a scratch from these fights, significantly more powerful than the game expects us to be at this point. We sign a temporary cease fire with the Turks, their own Elena is wrapped up in this mess, and plod towards the northern mountain to finally end that Corneo creep.
Some items on the mountain will only be available later so we'll have to return anyway, but the encounters up here are not very difficult, so chat can afford to explore a bit. There is a boss at the end of this sequence, but based on how handily everything else had been dispatched so far, Rapps wasn't expected to be a major challenge. The battle still got a bit thorny near the end, probably just to wake everyone up a bit. It had been over five hours since the last actually challenging encounter with Materia Keeper, and most of that time had been consumed with movement, lore and menus.
Finally, Corneo was dumped off a cliff and we were done with this event. Chat can finally indulge in consumerism and hit the shops now that people will actually talk to us, but most of our gear is already solid. At some point we would also have to fix the mess the Yuffie sidequest had left behind. When the party's materia is returned, it is jumbled and randomly slotted across the whole crew's equipment. Every single member of the team was going to required delicate menuing to repair setups. Most of this work wasn't possible right now due to chat conditions, but would have to be done very soon. We were rapidly approaching the end of disc one, and before us stood a challenge that legitimately sounded impossible.
The run took a small detour first before facing the inevitable. We were headed towards the south east side of the map anyway and it seems someone craved revenge, or probably just memes. Chat was dragged once again into facing our age old nemesis, the Midgar Zolom. Hilariously, although the trolls were trying to get us killed, Cloud's current weapon receives a significant damage bonus when his allies are dead, allowing him to unexpectedly dispatch one Zolom. To top it off, trolls hit new game instead of load, a time wasting and instantly bannable offense. This particular incident of trolling lasted nearly two hours, stalling all progress. There'll be no clips or pictures of this, because again, we don't give those kind spotlights here. Time lost to trolling is generally not worth noting, as this was a multiple times per day occurrence, pointlessly consuming many hours of our final playtime. I'll only mention events like this when it is relevant to the overall run in some way.
This experience did confirm that at least in some scenarios the zolom could be killed now. This was potent knowledge, beta is an extremely powerful spell and we now had access to it. Once chat settled enough so something resembling forward progress could be made, we finally fixed our materia and swung back around to gave zolom another crack, this time with some degree of control over the fight. Cloud has elemental fire on his armor allowing him to potentially survive beta and pick up the eskill, but in order to finish learning the skill you still have to successfully complete the fight. This proved tricky as Cloud was either left solo at critical health or ejected from combat by zolom, which did not count as a win. After around forty minutes of failed attempts, beta is finally learned and we can begin steeling ourselves for the task that lies ahead.
Preparing for the Temple dive
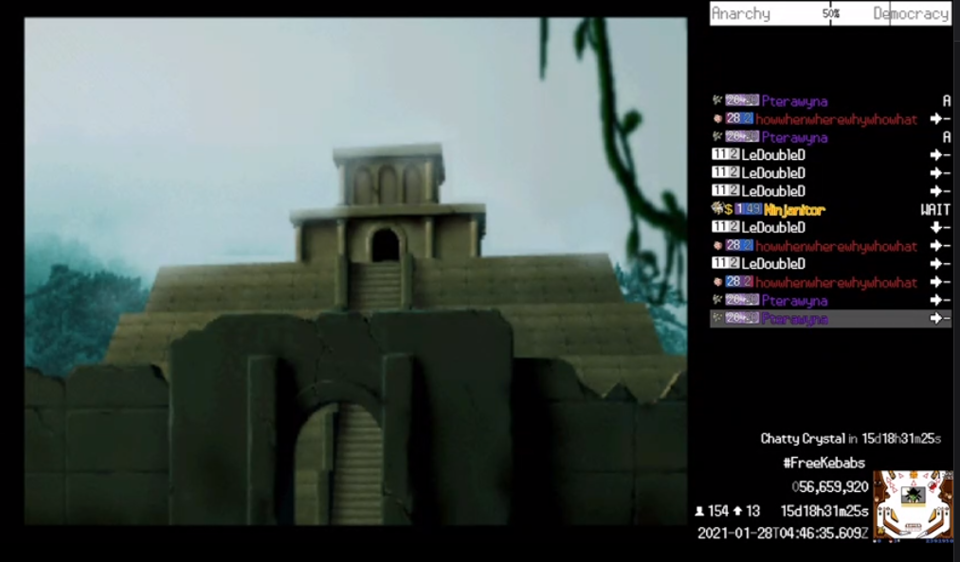
Temple of the Ancients was considered by many to be the likely end of the run, or at least chat's sanity. Several factors contributed to this. Once the dungeon is entered, there is no way to leave until it is complete, we're trapped. It's filled with nasty status riddling random encounters and there are two bosses at the end, the last one being a truly brutal threat. The biggest danger however was our age old nemesis, the timing minigame. Careful planning and preparation would be absolutely necessary to survive this next phase of the run.
After zolom revenge, chat turns north to the closest proper town, the first one we encountered days ago outside Midgar, Kalm. Basic supplies are absolutely required, and we're done messing around. Phoenix Downs and hypers are maxxed out at 99, these are necessities we'll use constantly throughout the run and we have the money to do it now. Shopping had become staggered and infrequent, so it made sense to put that particular worry in the past. Provisions are rounded out with around fifty tranquilizers and about a dozen tents. We're flat broke, but resources won't be an issue for a while. At nearly 80 hours, it can't be put off any longer. It's time.
This was a bit shorter than previous updates but I'm pretty sure Temple of the Ancients is gonna need a full post of its own, and I didn't want it split across parts. This is a long dungeon and there's a lot to talk about in it. Thanks for sticking with me and we'll be back soon with more!
PART 1 - **NEW** PART 1.1 - PART 1.2 - PART 1.3 - PART 2 - PART 3 - PART 4 - PART 5 - PART 6 - PART 7 - PART 8 - PART 9 - PART 10 - PART 11 - PART 12 - PART 13 - PART 14 - PART 15 - PART 16 - PART 17 - PART 18 - PART 19 FINALE
