Final Fantasy T-Edition Travelogue (Pt 14)
By DoubleCakes 1 Comments
WARNING: This blog is SHAMELESS with its spoilers for the original Final Fantasy VI. Changes present in the T-Edition romhack are shown off and only the strategies for overcoming challenges have spoiler tags.
Forward
So I’m starting to burn out on this romhack.
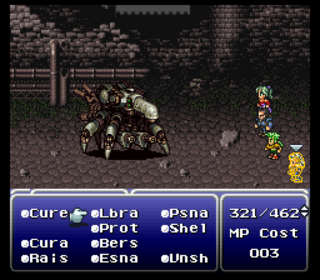
Not a big deal. It happens. Despite being on the precipice of the final dungeon, I think a break is necessary. Before I get to that, I need to dish about the cool things happening in T-Edition!
Cultists’ Tower
Before heading off to the Cultists’ Tower, I did that scene where Gau re-meets his father in that house northwest of the Veldt. A T-Edition bonus is that afterwards the father gives the player some bait that ‘lures all monsters to the Veldt’. I’m assuming this means every encounter that can be unlocked to be fought on the Veldt is unlocked. Although, I don’t like the randomness of teaching Gau Rages through the Veldt, I’m glad there’s those nets in place to make sure all Rages are gettable.
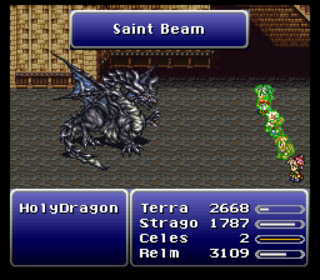
So the Cultists’ Tower functions the same way as it does in the original FF6. You can only use Magic and Items. Fight and special skills are sealed off inside. It’s daunting to take on the tower but I used my four best spellcasters– Terra, Celes, Strago, and Relm. Along the way there are treasures to collect and even the last Dragon to fight: the Holy Dragon.
The Holy Dragon’s tricks are easy to explain. It spams Holy, Saint Beam and is especially nasty when it uses Heartless Angel; a spell previously exclusive to the final fight with Kefka that reduces everyone’s HP to 1. This fight took a couple tries but I finished ‘em. After beating the eight dragons in the original FF6, you get the Bahamut esper but in T-Edition you are called upon by Bahamut and you will have to deal with him once you get back on your airship.
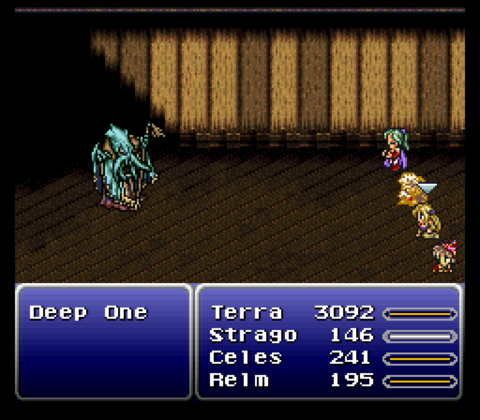
Cultists’ Tower wasn’t too bad encounter wise. It didn’t take long to figure out how to beat new types of enemies and overall I didn’t face too many encounters before getting to the top. Up top, the fight against the Magic Master is replaced with a cameo of Omniscient, a boss from Final Fantasy V. Like Magic Master, it switches its elemental weakness a lot and it can use a lot of powerful magic. Not a terribly nasty fight and the boss doesn’t finish it with a cast of Ultima.
Once you beat Omniscient, the curse of the tower is broken and everyone can use their abilities as normal. At the bottom of the tower you can get a quest to go back up the tower and deal with a dragon flying around, which is another cameo from FFV: the Shinryu. There’s a fight but all you have to do is feed it a dried meat and you win. The Shinryu offers to take you down the tower after and you get a relic as a prize.
Final Preparations
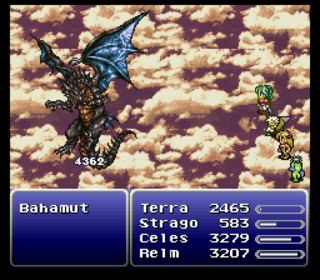
So with the final dungeon on the horizon, it was time to finish off anything to get stronger, including that encounter with Bahamut. On the ship, talk to Setzer in his lounge, and you can get a cutscene where Bahamut attacks the ship. The fight with Bahamut begins.
And what a terrible fight it is!
Everything that Bahamut throws at you is painful. While I was casting Flare with Strago and Terra, I was healing with Celes and Relm, but that was barely enough. As I dwindled Bahamut’s HP down to zero I was in for the shock that he has a second, much more aggressive form. I took a break from fighting the bugger.
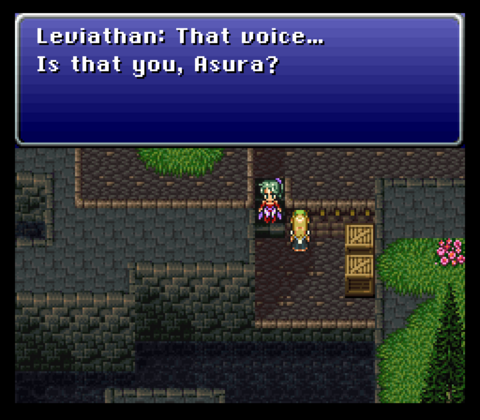
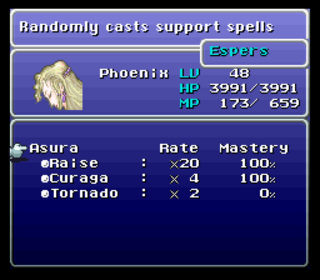
Then I was reminded that there was another Esper I had yet obtained. In Maranda, after obtaining Leviathan, you can speak to a woman to trigger a fight with another Esper: Asura. This is a fight imported from FF4 and it just wasn’t that hard. After the fight I obtained Asura’s Magicite. Summoning her casts a random support spell, like in FF4, and she teaches Curaga and Torando, notably.
My attention turned to Alv and Livia, a monster-in-a-box fight back in Darill’s Tomb. Thing is, they don’t have that much HP. The issue is they attack frequently and they usually chain different abilities together. They are the definition of relentless but at that point I didn’t have much trouble and I got their prize; a relic that changes Relm’s Sketch ability to Bless which is a free MP ability for the whole party. It’s a little too weak to be useful, though.
I think I could have beaten that fight earlier in the game if I knew which attacks to emphasize. They don’t have a lot of HP and I think I could have got lucky with one of Gau’s Rages. Alas!
A Break
So I said I was taking a break. My time just before starting the final dungeon was 70+ hours. Yeesh! The average time for Final Fantasy VI vanilla is about 40 hours and I don’t think romhacks typically extend the length too much. Where a lot of that length comes from the struggle. Having to go in and out of dungeons, lose against a boss, take a break from one fight and move on to another– it adds up. That’s not a criticism, mind. There’s something about this romhack taking a familiar experience and making it very hostile and forcing the player to take everything slowly. Giving a game a sense of menace, including a game I’ve played two dozen times before, that’s cool. It’s a lot of time to sink into a game, and from what I gather a lot of other players have extended playtimes too, but for a game I love this much, I’m okay with that.
But maybe the 70 hour playtime is why I need a break. The difficult battles is probably a factor as well. I don’t want to burn out or grow to hate this romhack so I’m going to drop it for a little while and replenish my FF6’s juices.
