Finishing Final Fantasy VI - Episode 3: What An Ending; What A Game!
By ZombiePie 10 Comments
Author's Note: The the second part of a multi-part retrospective on Final Fantasy VI, If you missed the first part here's the link:
- Finishing Final Fantasy VI - Episode 1: Is This The Greatest Video Game Introduction?
- Finishing Final Fantasy VI - Episode 2: Hot Take Time: The Opera House Scene Is Very Good (But Setzer Sucks)
- Finishing Final Fantasy VI - Episode 3: Dat Plot Twist, Huh? (Also, Only Monsters Don't Get The Party Back Together)
If you enjoyed this episode, here's a directory to the first episodes of every Final Fantasy game I have covered on this site thus far:
- Part 1 of Final Fantasy I series
- Part 1 of Final Fantasy II series
- Part 1 of Final Fantasy V series
- Part 1 of Final Fantasy VII series
- Part 1 of Final Fantasy VIII series
- Part 1 of Final Fantasy IX series
- Part 1 of Final Fantasy X series
- Part 1 of Final Fantasy X-2 series
- Part 1 of Final Fantasy XI series
- Part 1 of Final Fantasy XII series
- Part 1 of Final Fantasy XIII series
- Part 1 of Final Fantasy XIII-2 series
Part 16: The Late-Game Sidequests Aren't That Good! (i.e., FUCK THE CULTISTS' TOWER!)
During my last write-up about Final Fantasy VI, I included a series of reviews for all of the character recruitment missions in Final Fantasy VI. With this post, I intend to review all the "other" sidequests that do not result in you adding a new member to your party. While some missions provide compelling stories or powerful loot, the majority are of questionable quality. If there is one black mark against Final Fantasy VI, other than the fiddly relic and Esper systems, it has to be its tough-as-nails end-game. The vast majority of its late-game optional quests reflect that shortcoming. However, I am getting ahead of myself.
Reminder about my review categories for sidequests in Final Fantasy VI:
- Time, Physical, & Emotional Investment (1-10): How long does the side quest take to complete? A score of 1 suggests completion is almost instantaneous, whereas a score of 10 indicates the side quest is as exhaustive as finishing the entire game.
- Gameplay/Loot Utility (1-10): Are the mechanical and gameplay rewards for this side quest worth it compared to the average time investment? A score of 1 or less suggests the rewards are trash, whereas a score of 10 indicates the item or items provided are overpowered or strongly recommended.
- Storytelling & Worldbuilding Relevancy (1-10): Is this a pointless fetch quest for a random hat, or does it add something to the story? A score of 1 means there is little character or story relevance. In contrast, a score of 10 indicates the side quest is as or possibly more narratively essential than some or many mainline quest missions.
- Difficulty (1-10): How hard is the mission to complete for the everyday person or someone playing this game for the first time? A score of 1 means no barriers to finishing the side quest exist. In contrast, a score of 10 means the side quest either has major dexterity-based accessibility issues OR conflicts, encounters, or boss battles associated with the side quest pose a significant hindrance that requires extensive planning or grinding on the part of the player.
- Discoverability (1-10): How much of a pain is it to get to and start this quest? Likewise, what's it like traveling to all its associated locations and places? A score of 1 means the side quest is on a well-worn path or right in front of the player. A score of 10 means we have reached Knights of the Round levels of ridiculous backtracking and wandering around in circles.
Cyan's Dreams

Premise: I'm going to spoil things and say this is the best sidequest in Final Fantasy VI. It's a long one, but it is worth every minute. You first need to add Cyan to your party, which you can read more about in the previous episode. With Cyan in tow, a complex series of events will ensue if you decide to pay a visit to Doma Castle and rest there. When your characters awake, they will notice three monsters are feasting on Cyan's dreams, and when you attempt to stop them, they send you to a dream realm. While in this realm, you not only butt up against an assortment of new and old foes but also encounter the spirits of Cyan's dead son and wife. They relay how you need to help Cyan to move on with his life and how they want him to be happy and not stuck thinking about what he has lost. Yes, the entire level is a metaphor about needing to come to terms with loss and death rather than let it lord over you, but it works! It's a fantastic storytelling set piece, and the conclusion is stunning.
- Time, Physical, & Emotional Investment: 7/10 - I mentioned this was a "long one," right? There are three distinct "acts" to Cyan's dream sequence. The first involves entering the castle and triggering the cutscene. The second takes place in the psychedelic dream realm. The final act occurs in a vignetted version of the royal court and culminates with a boss battle against Wrexsoul. Of these movements, the first is the easiest, and the second is the most complex and involved. As I will review in the "Difficulty" section, you want to ensure you don't trigger this sequence with a less-than-optimal party composition, as you will be playing parts of it down to one to two characters at times. This design choice can be frustrating and hard to predict, but it also has the consequence of slowing every battle to a crawl, especially when you only have a single playable character. Likewise, the dream realm has a confusing layout with several dead ends, and the final level has a lot of optical illusion shit that makes it hard to process. Again, it's worth it, but it is not for the faint of heart.
- Gameplay/Loot Utility: 9/10 - The most significant reward for completing Doma Castle in the World of Ruin is gaining the Alexander Esper. Like previous versions, Final Fantasy VI's version of Alexander casts beams of Holy magic and sports a bevy of protection-based spells. When dealing with Kefka and many of the game's late-game bosses, which seek joy in afflicting you with every possible status effect, Alexander's Dispel, Esuna, Protect, and Shell abilities are great resources to have in your toolbox. There's also fantastic loot in the castle, including a Genji Glove, and Cyan gains his final Sword technique. I'm not giving this my top marks because the rewards here are excellent resources with practical utility rather than game-breaking utility.
- Storytelling & Worldbuilding Relevancy: 9/10 - Again, as involved and tiresome this quest might get, it is all worth it in the long run. When people ask me who I think is the "best" character in Final Fantasy VI and reply Cyan, this is what I point to when they give me a weird look. Cyan is the best-written character in the game, as there's a sense of wholeness and rawness to his character arc you don't see anywhere else besides Locke's backstory. It is powerful to see Cyan come to terms with the death of his family and get one last farewell before he never sees them again. It is a visual tour de force with you watching decades of Cyan's life flash before his eyes. The moment you magically find all of your characters re-enacting the game's opening scene with Magitek Armor is phenomenal. It is a "forever good" scene, and if you play Final Fantasy VI, you should do this mission.
- Difficulty: 6/10 to 8/10 - I'm going to fudge my rules about sticking with hard and fast numbers for this mission. This ranking depends more on your prep work than most quests in Final Fantasy VI. If you initiate it with a less-than-optimal party composition, as I did, you will have an unfun time. There's a moment when you must navigate the dream realm with only one character, and if you are not careful, that's a real bummer. I fucked up and needed to use Gogo for ten minutes, and it felt like an eternity. The obvious trick is to have Mog in a slot and hope he's your starting character so you can quickly disable random encounters. Those random encounters are not fun because this is the proverbial Final Fantasy "Status Effect Dungeon," where every enemy prefers to fuck with your character's statuses rather than deal direct damage. The two boss battles are tricky gimmicks more than anything else. The three dream eaters have the annoying mechanic where one is constantly healing the rest of them and needs to be dealt with first before the others. Wrexsoul is another tome in the "boss takes advantage of reflecting to fuck you over" series alongside Seymour Flux. You can negate his habit of possessing your party members by using the "Break" ability, but he's still annoying to deal with nonetheless.
- Discoverability: 5/10 - I had a tough time with this score. On the one hand, knowing to go to Doma Castle isn't immediately apparent to the player, and understanding to rest in a bed to trigger a multi-part quest isn't clear as well. Likewise, the two dream-based dungeons can be challenging to navigate. However, after everything the game has done with Cyan up to this point, I cannot imagine a world where anyone doesn't take him to Doma Castle in the World of Ruin.
Recommendation: Yes, you should 100% do this mission, but maybe wait until you are near the end of the game.
The Auction House

Premise: In the upper northern section of Jidoor is an auction house. During the latter portions of the World of Balance and all of the World of Ruin, you can purchase rare items and Espers from this location. The two most critical purchasable items are the Zona Seeker and Golem Espers. However, both of these pieces of Magicite only have a percentage chance of spawning, and you'll likely need to enter and exit the auction house several times before one will appear. Other valuable items include the Hero's Ring, which boosts all damage output on a character by 25%, and a Zephyr Cloak, which increases a character's magic evasion rate. It is worth noting that everything in the auction house is costly.
- Time, Physical, & Emotional Investment: 3/10 - This depends on RNG. During my first playthrough, I could not get Zona Seeker to spawn in the World of Balance. During my second playthrough, the Espers and Hero Ring triggered one after another. It can be frustrating and emotionally draining to go into the auction knowing what you want to buy and for it to never show up after trying repeatedly. As a wise man once said, you live by the RNG goddess and die by the RNG goddess.
- Gameplay/Loot Utility: 6/10 - This score is up for debate. Zona Seeker teaches Rasp, Osmose, and Shell at rates only beaten by late-game Espers. However, many of these abilities are highly situational (i.e., Rasp), and you are better off sticking to other, more powerful options. Golem is one of the few Espers that is more useful as a summon than a piece of equipment. As with previous versions of the summon, casting applies a barrier that temporarily protects your party from blockable moves. For the bosses in the last level, Golem gives you a little breathing room to stick with damage output for a handful of turns which can make a big difference.
- Storytelling & Worldbuilding Relevancy: 0/10 - Getting any of the items at the auction adds nothing to the story. Even when you pick up the Espers, there's no quick monologue where they greet you or recognize your power.
- Difficulty: 2/10 - Again, this score comes down to RNG. Your ranking can increase depending on your personal experience and luck. There are a few ways to rig the RNG in your favor that I will not review here. However, I have a hard time ranking this too high, considering getting what you want boils down to how much you value your time.
- Discoverability: 1/10 - The auction house is a significant fixture of Jidoor and something NPCs will even direct you towards if you accidentally miss it. As such, it is impossible to miss in any playthrough.
Recommendation: You should try to get the Espers, but if things are not going your way, feel free to cut bait. Neither is necessary for completing the game.
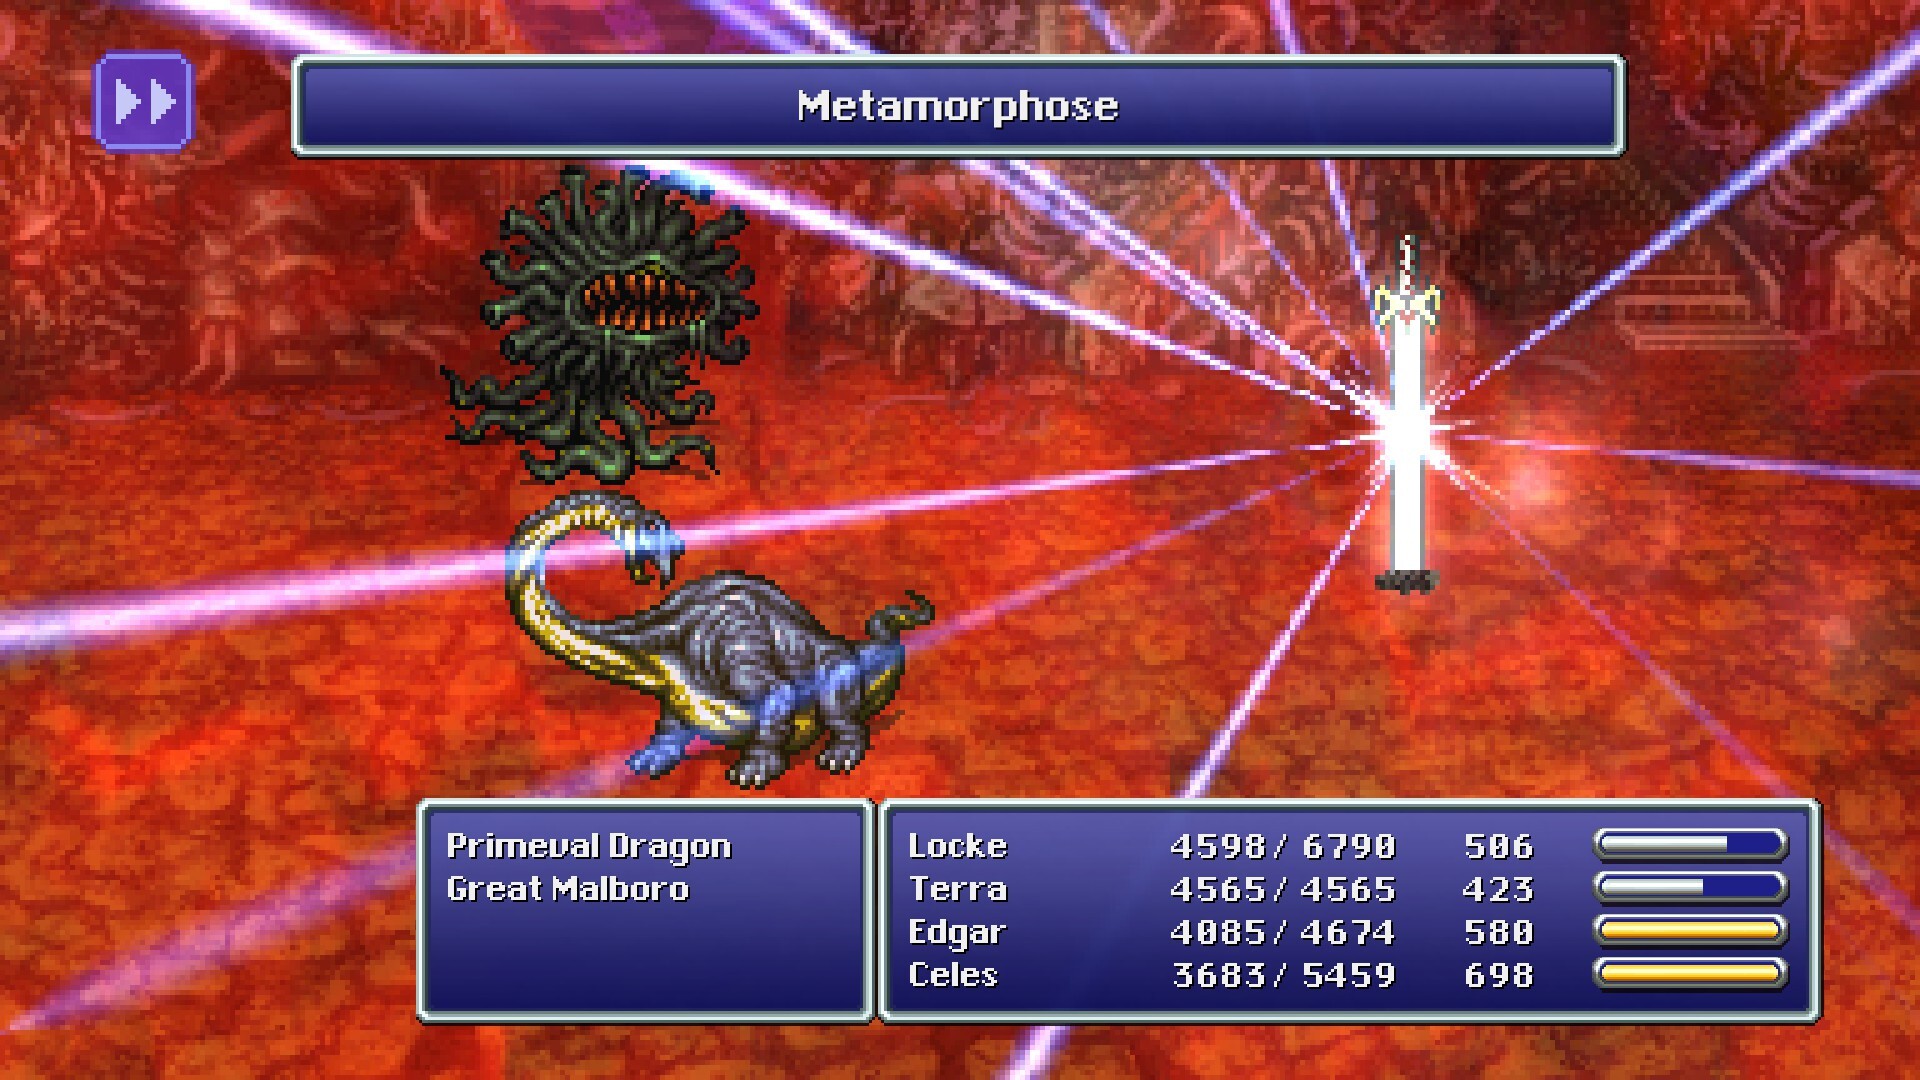
The Dragon's Neck Coliseum
Premise: In the World of Balance, you can find a man attempting to build a massive monument north of Kohlingen. He mentions that his building will eventually attract the world's best warriors. When you enter the World of Ruin, you discover the old geezer has made the perennial RPG coliseum level. The trick here is that you must hand over an item in your inventory to Ultros, and whatever you relinquish determines your foe. However, the battles at the coliseum are one-on-one tussles and out of the player's control. The opponent and the player's character are controlled by a computer and will use any spell and ability they have in their repertoire. If you win, you lose your bet item and gain the opponent's item, which is always better. If you lose, you have jack shit to show for your engagement because the coliseum battles also do not provide EXP or AP.
- Time, Physical, & Emotional Investment: 5/10 - Some people swear by the coliseum, and others swear at it. I am somewhere in the middle. I look at Final Fantasy VI's arena the way I look at Triple Triad in Final Fantasy VIII. It's a non-combat-oriented way to prepare your party members for the end-game dungeon and has many valuable rewards if you choose to invest in it. However, you don't need to get too involved if you are already grinding away on top-tier moves the traditional route. Unfortunately, the RNG aspect of the coliseum makes it impossible for me to get fully invested in it, and it's fiddly. The best way to approach it is to use low-tier characters like Umaro, that can hit hard but don't have a diverse assortment of magic abilities. The issue with that strategy, for me at least, is that this conceit is antithetical to how the main game wants you to play it. Therefore, making a character best equipped for the coliseum has always seemed like a raw deal.
- Gameplay/Loot Utility: 7/10 - If you know what you are doing and what you need to give up to get the best items and weapons in the coliseum, you can break Final Fantasy VI sideways. However, it's still a time-consuming process, and there's always the chance things will not go your way. I honestly feel there are better ways to prepare your party for the final level than spending time at the coliseum, but it is nice that there's a non-grinding approach to making your party murder machines. If only it were more fun.
- Storytelling & Worldbuilding Relevancy: 4/10 - I will give this a few more points than most would because of the one-off interactions you can have with Ultros, Siegfried, and Typhon. It's not much, but seeing Ultros cuss you out when you give him random bullshit or loot trash is never not funny to me and one of the few highlights to the coliseum.
- Difficulty: 5/10 - My approach to the Dragon's Neck Coliseum has always been the same. Level up Umaro to level 25 and then look up the three to five items he can get with relative ease. Because Umaro has no magical abilities, he's one of the few characters, along with Gogo, that is set up to shine in the coliseum. However, plenty of more challenging encounters will require more complex strategies, but I cannot be fucked to give a shit. Whenever things get too hard, I up and move on to something different, and I advise you to do the same.
- Discoverability: 3/10 - It's a big stadium you cannot miss. Moreover, two to three people tell you how things work and what you must do when entering it. I'm bumping this score up a few points only because the way battles play out is weird and nothing like how the rest of the game plays. It is a definite shock if you are not familiar with it.
Recommendation: THIS IS A BIG "NOPE!" I think the average player should give it two or three goes and decide if they want to do more. If you choose to, I beg you not to play it blind and look up the best item trades on GameFAQs.
Carving The Tomb in Darril's Tomb
Premise: This is a quest I accidentally forgot to mention in the previous episode. You notice a series of blank tombstones when you follow Setzer to Darril's Tomb. When you approach these, the game prompts you to carve a sequence of glyphs into them. If you explore an optional room in the dungeon, you can find a different collection of tombstones with letters. You need to transcribe these letters to the first room and notice the letters spell "The World is Square" but backward. This message is your hint about a unique treasure in the dungeon. That treasure is a Growth Egg, but you don't need to mess around with the puzzle and can make a beeline to the chest containing it.
- Time, Physical, & Emotional Investment: 3/10 - This is such a short mission that I forgot it existed until I conferred with my notes. The random encounters in the tomb can slow you down, and knowing which rooms to explore when you get to the part involving draining rooms of water can be a bit obtuse. However, considering how small the dungeon is compared to the rest of the World of Ruin, it's relatively easy.
- Gameplay/Loot Utility: 3/10 - The Growth Egg allows whoever is wearing it to double their EXP after battles. That's nothing to scoff at, but it isn't an earth-shattering reward. The game's scale regarding EXP drops near the end is hilariously busted. As such, it's an excellent tool for those that might have characters that are seriously behind their A-Team, but nothing more.
- Storytelling & Worldbuilding Relevancy: 1/10 - This quest adds almost nothing to the story. The characters make a few remarks about the tombstones, but nothing in-depth worth repeating. It's a shame when you consider what the game could have done here to fill in the gaps about Darril or Setzer's backstory, but that's neither here nor there.
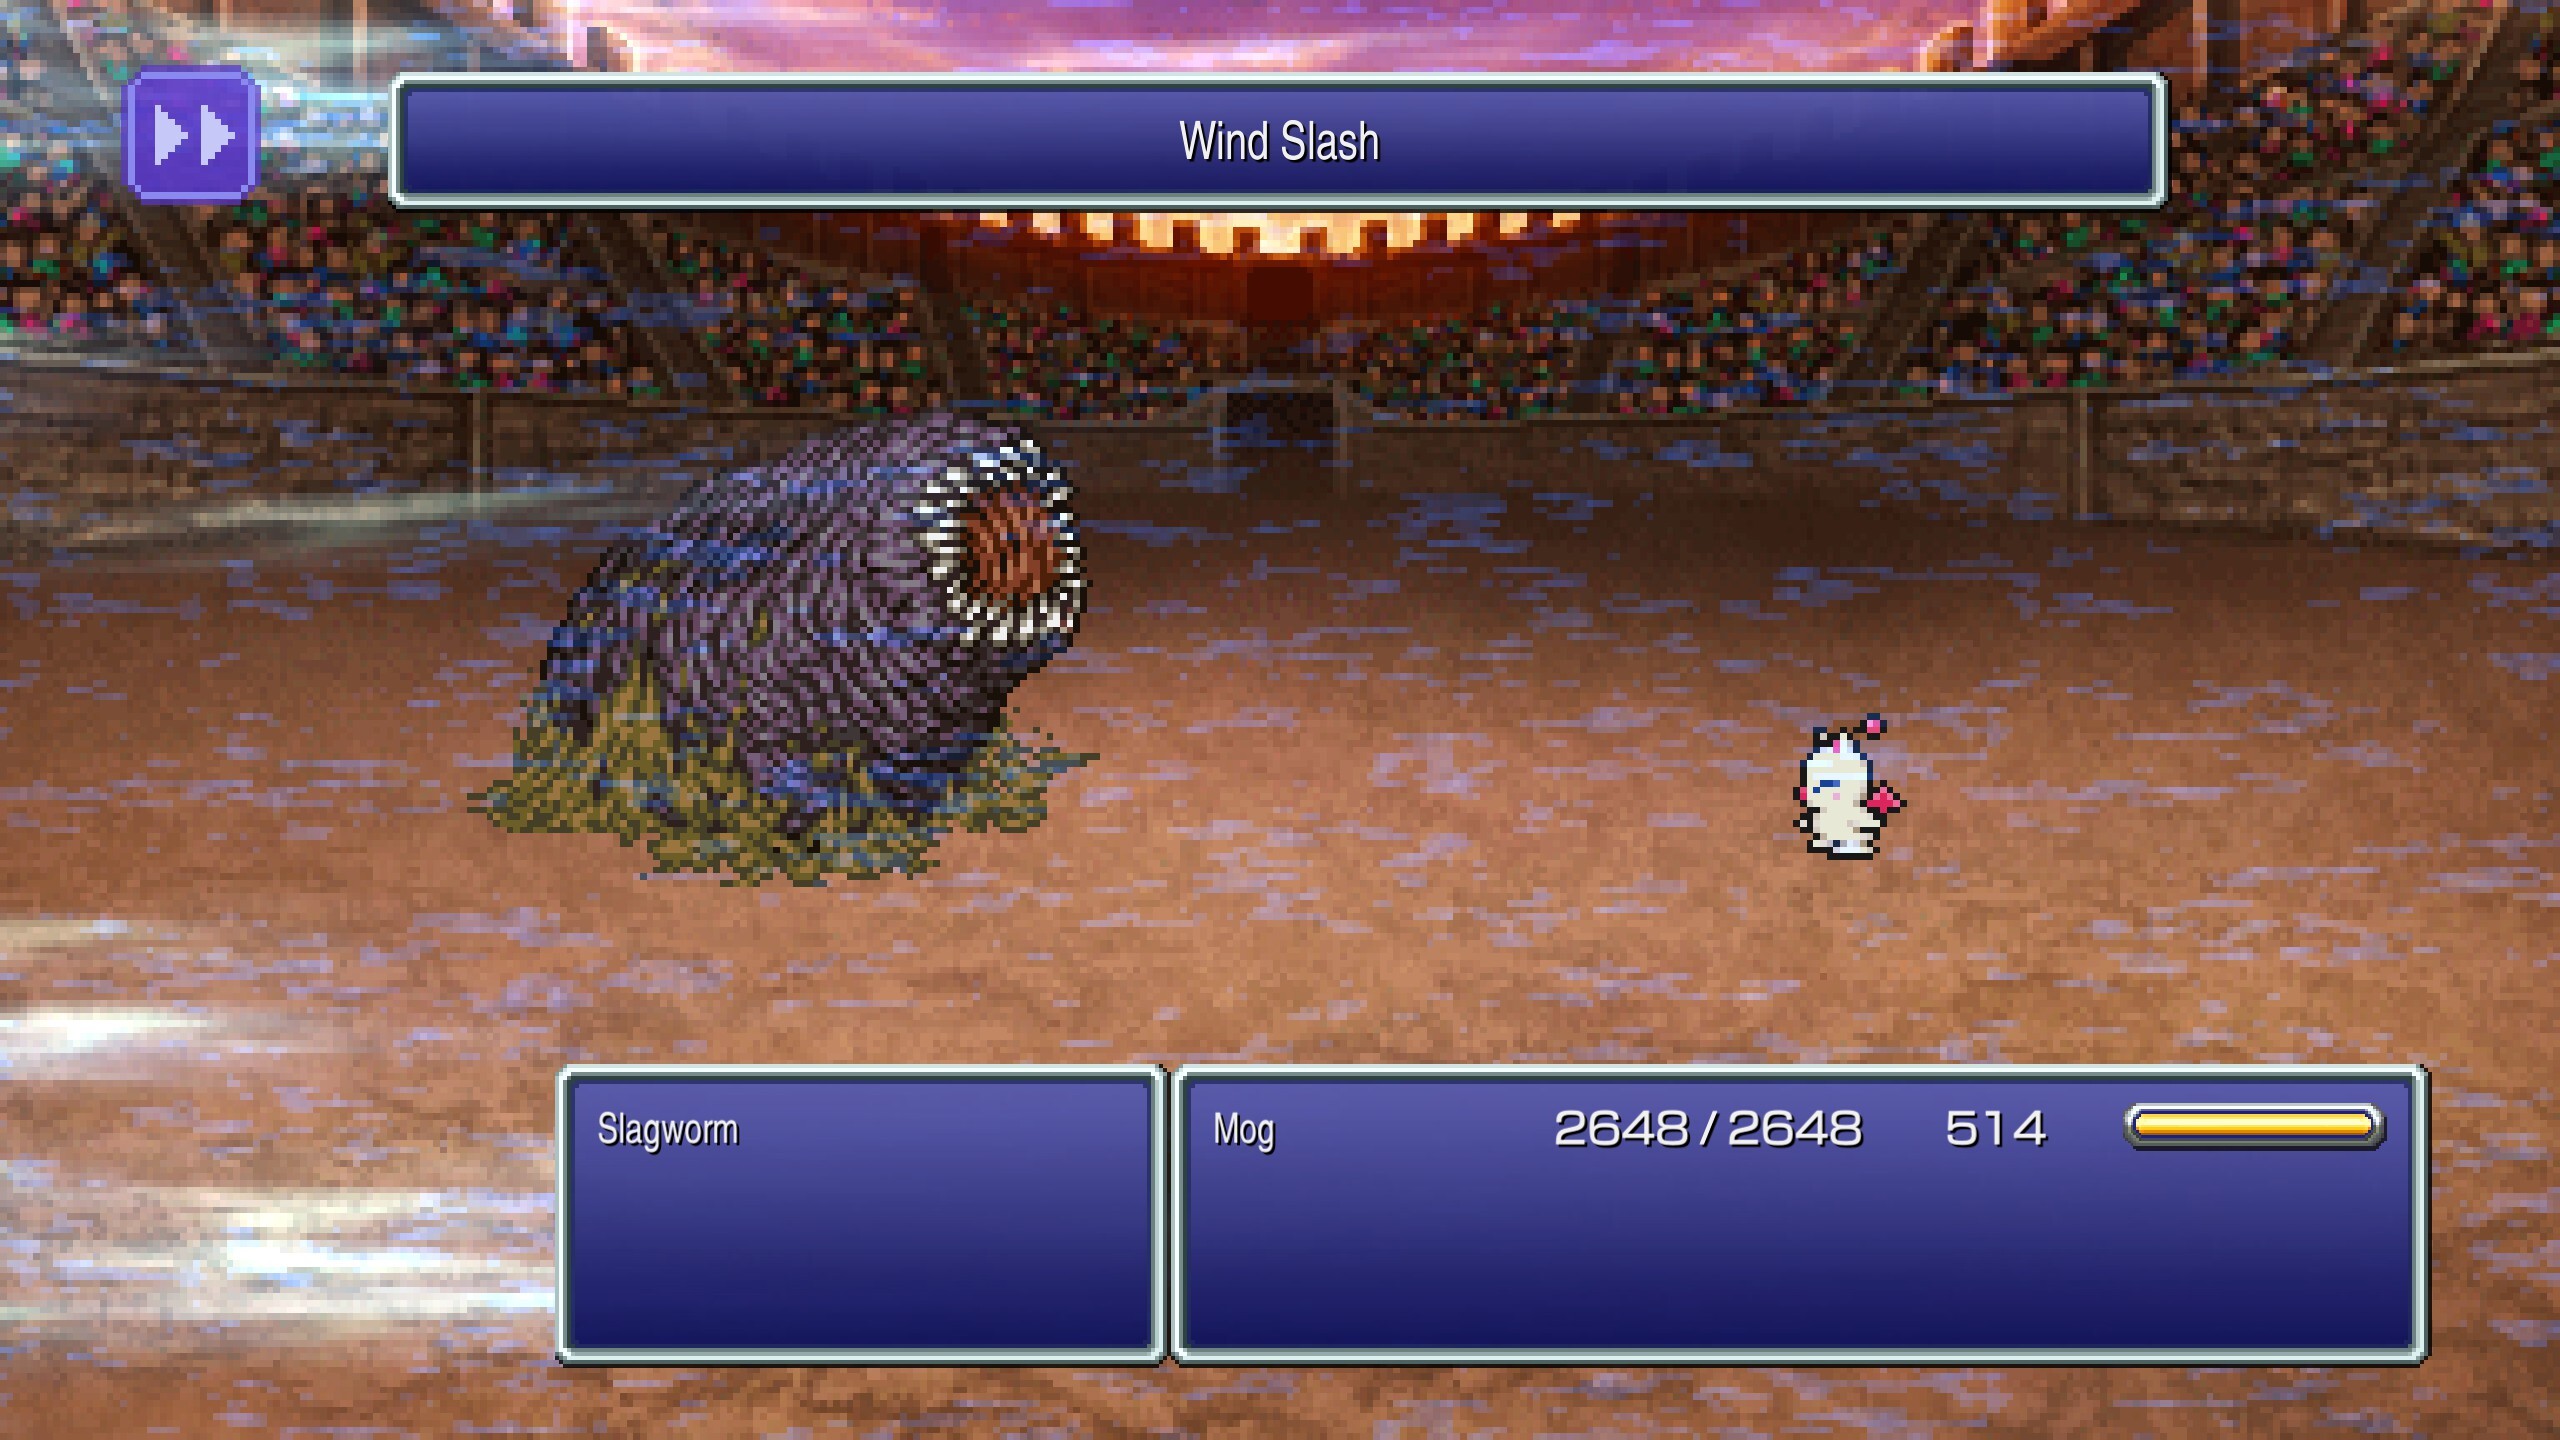
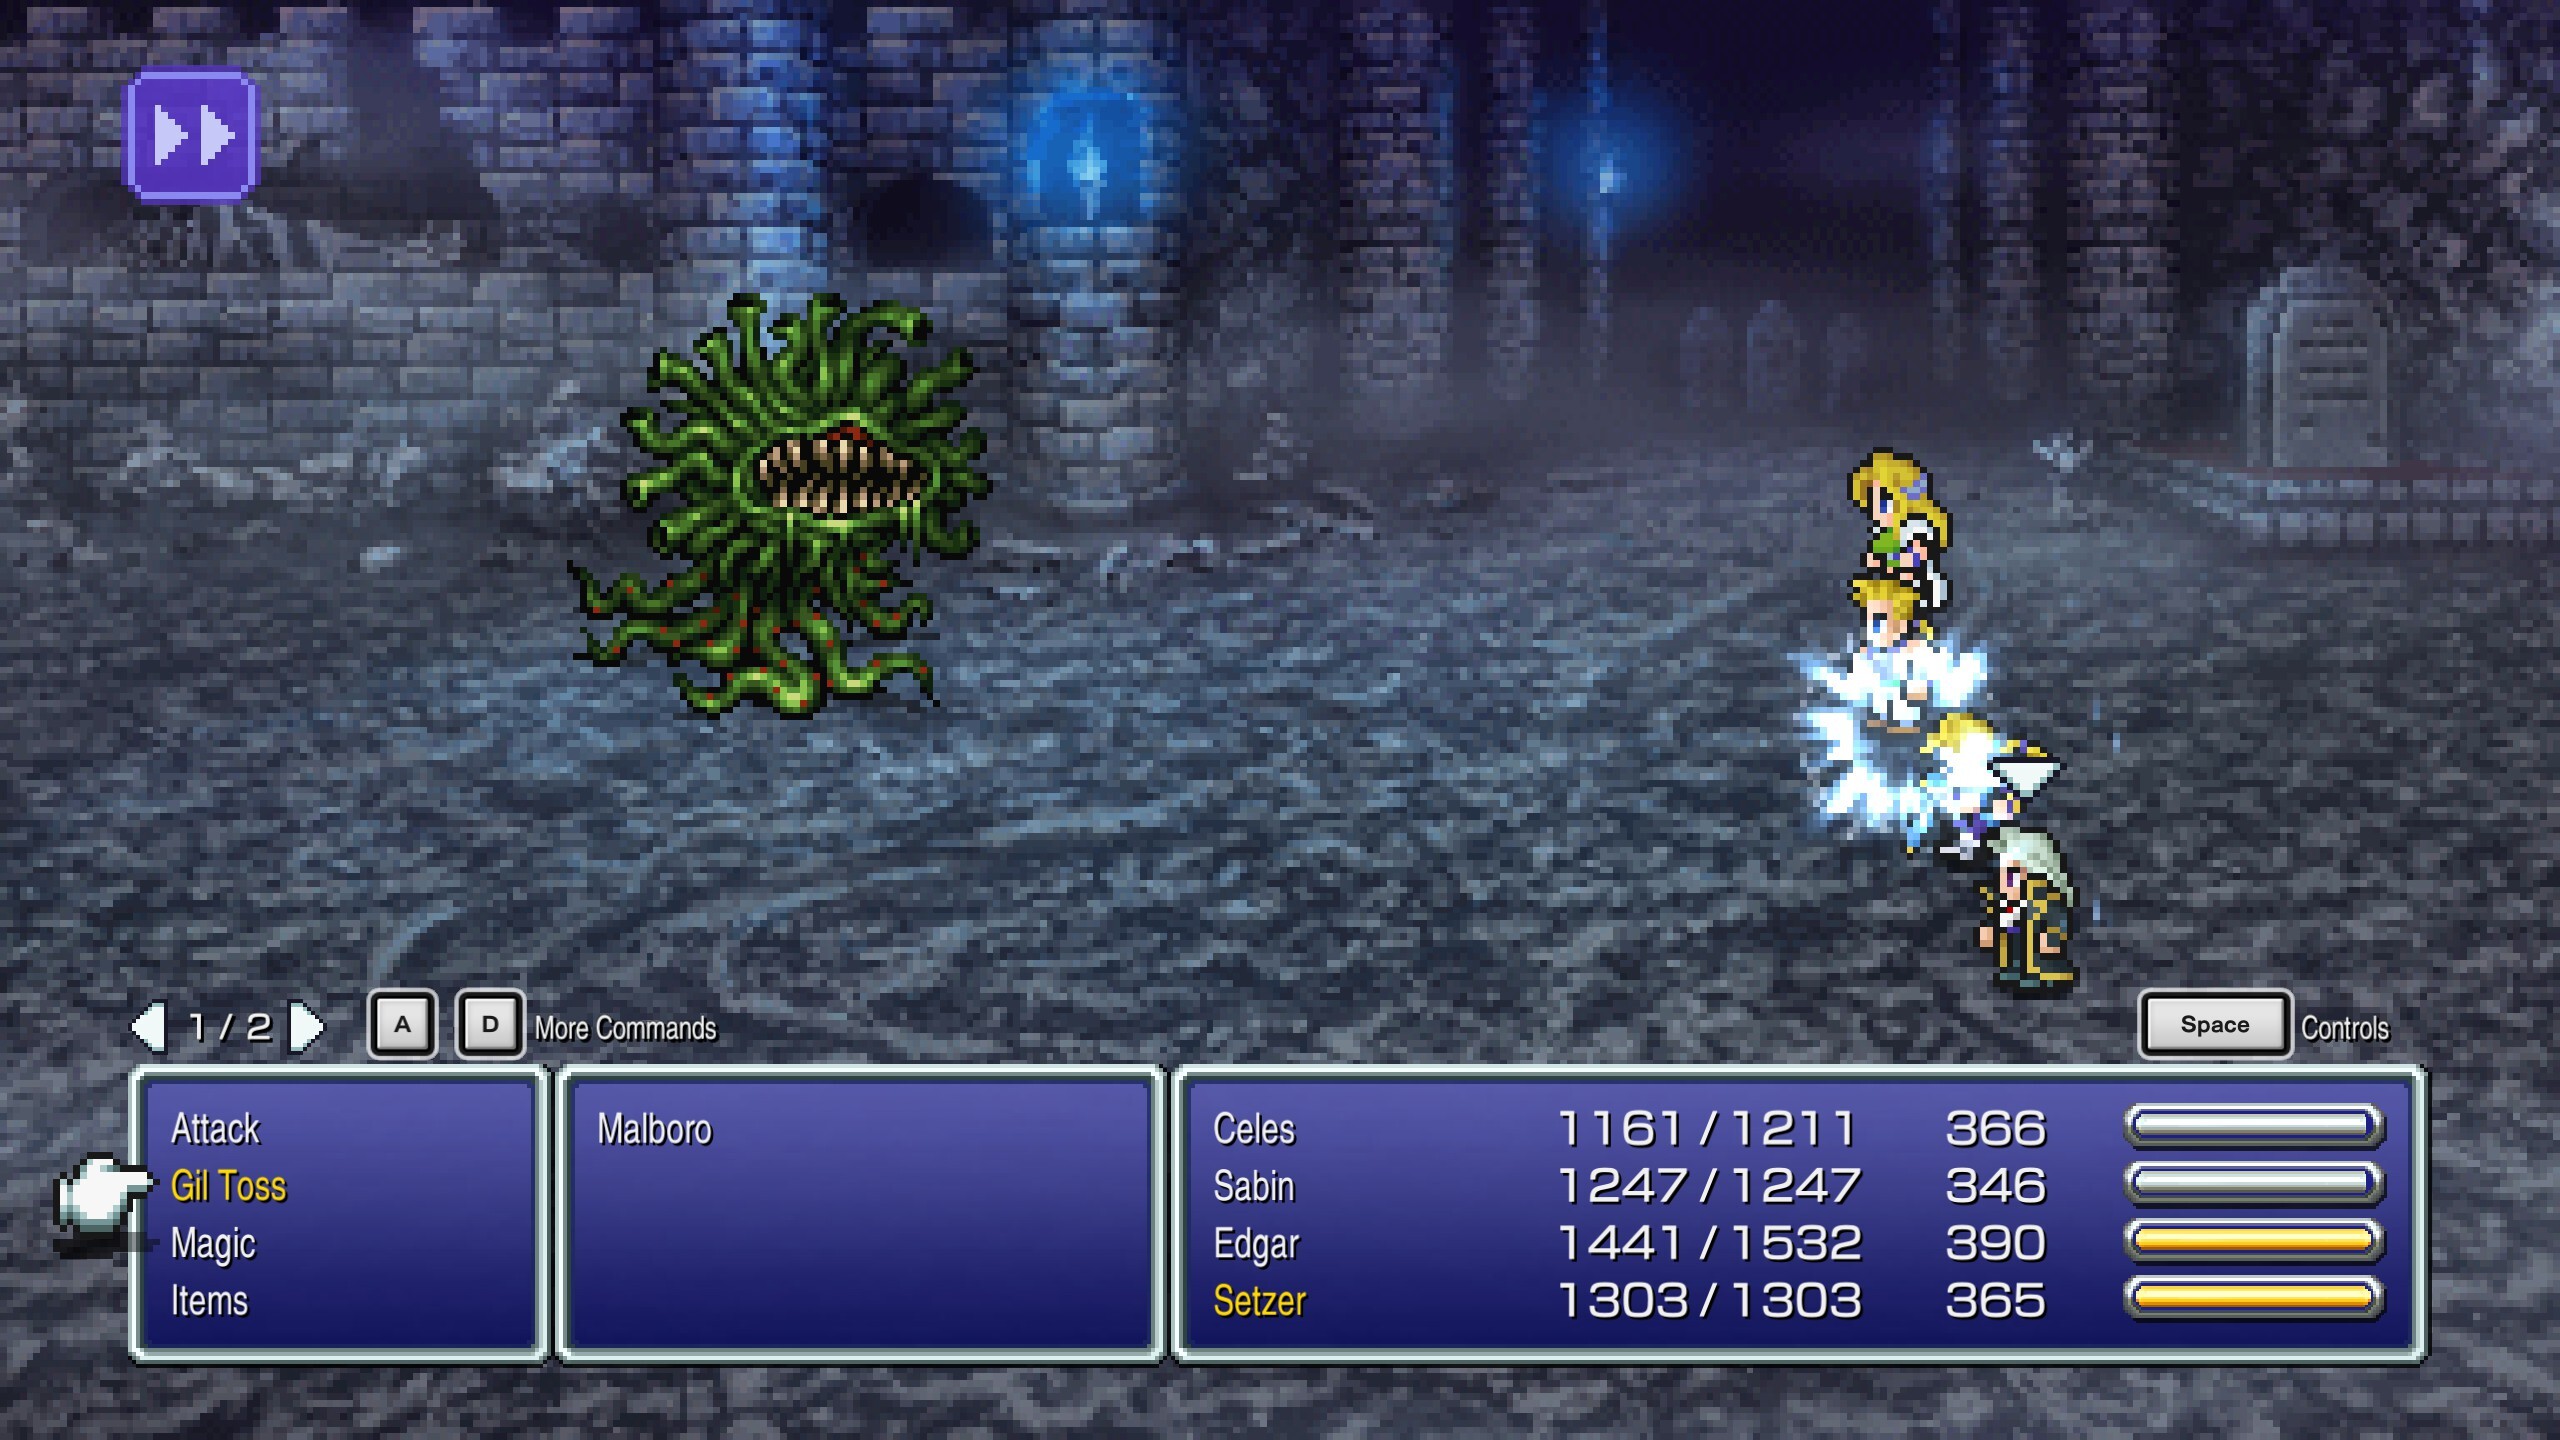
- Difficulty: 3/10 - The only tricky part about this side quest is the random encounters. Because this is during the bit where you only have Sabin, Celes, and Setzer, most are likely to attempt this when you don't have Mog. However, because this is during the earlier portion of the World of Ruin, there's nothing here besides the possible Malboro encounter that can entirely wipe your party.
- Discoverability: 4/10 - Exploring the tomb can be rough your first time, but when you realize it is a linear horseshoe, you can process it more easily. The only part that got me was the sequence involving the water-filled rooms you need to drain. Besides that, the only other annoyance is needing to go back and forth between the two tombstones, but that's not a massive challenge.
Recommendation: This falls into the "do it, but only because it is incredibly low stakes" category. The Growth Egg is worth it for anyone with party members who are significantly behind the rest of your characters. That said, it's nothing you should sweat if you miss it.
The Cursed Shield
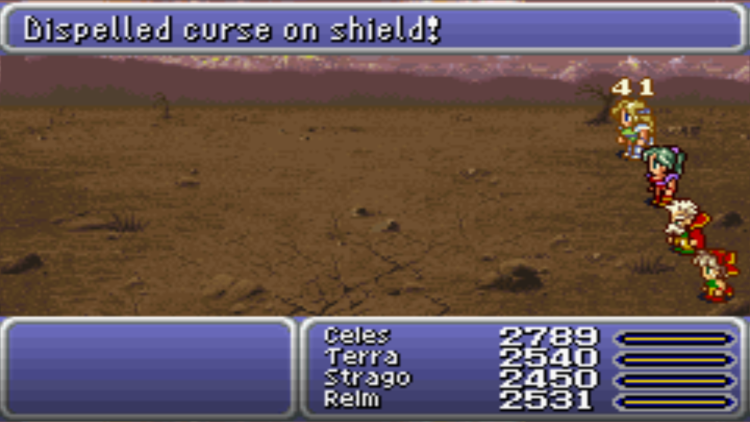
Premise: This mission will be another quickie. Once you get Locke, you can return to Narshe, break into some houses, and steal some goodies. While doing this, you will eventually pick up a "Cursed Shield." When you equip this shield, it bestows whoever holds it a bunch of debuffs. However, if a character has it equipped for 256 victorious battles, it will become the "Paladin Shield," the best piece of equipment in the game.
- Time, Physical, & Emotional Investment: 10/10 - 256 battles? All the while, at least one of my characters is essentially useless? Yeah, fuck that! If it were 100 battles, that would be one thing, but 256 is something else.
- Gameplay/Loot Utility: 8/10 - Yes, it's the best shield in the game, but it's not as if the other late-game shields are dogshit. Also, teaching Ultima is nice, but you could elect to transform Ragnarok into an Esper and get that same utility.
- Storytelling & Worldbuilding Relevancy: 0/10 - It adds nothing to the story other than a special note congratulating you for your hard work.
- Difficulty: 10/10 - I have never fully completed this quest and do not intend to because I value my time and have a stack of games I want to play before I turn to dust.
- Discoverability: 8/10 - Knowing to use Locke to rob the locked houses at Narshe for their goods is tricky to remember. When I first played the game, I did not even think to use Locke and assumed the city was abandoned. Knowing what to do with the Cursed Shield in-game is also a mystery if and when you get it. The game does not outright tell you how to lift the curse, and there's no one in the World of Ruin that talks about its history.
Recommendation: Hard Pass. The only people who go out of their way to complete this quest are completionists who elected to convert Ragnarock into sword form rather than Esper form. However, you don't necessarily need Ultima if you have a strong enough slate of high-tier magical abilities from the mid to late-game Espers.
Returning to Figaro's Castle And Exploring The Ancient Castle

Premise: This mission is a fun one many people forget to do. Once you gain access to the Falcon, you can return to Figaro's Castle. While you do not need Edgar for this mission, I consider it attached to him because he has a few extra lines of dialogue if you include him in your party. When you enter the boiler room of Figaro's Castle, you can have the engineer there swap the castle's locations. However, during the journey, the engineer will detect something suspicious and asks if you would like to investigate. If you agree, you will find a mysterious castle that appears abandoned. As you explore the acropolis, you learn it is a relic from the War of the Magi over 1,000 years ago. Inside are petrified statues of Odin and a queen. You can acquire Odin's Magicite by talking to his sculpture, but if you imbue them with the queen's tears, he will transform into Raiden.
- Time, Physical, & Emotional Investment: 4/10 - This level is another one I strongly recommend you blow through with Mog and random encounters turned off. The castle has a winding and overlapping floor plan that is confusing and a pain in the ass to navigate, and I found the random encounters pop off with a higher frequency than in the overworld. Likewise, the game isn't all that clear on what it wants you to do in the castle in the first place. Luckily, it is not that big of a location, and the areas of your concern to progress the quest are in the single digits. There are two boss battles, but they are avoidable monster-in-a-box encounters, and you can skip them if you want to cut down your overall playtime.
- Gameplay/Loot Utility: 9/10 - The situation with Odin and Raiden is a bit weird. You can't have both; once you transform Odin into Raiden, you cannot reverse that choice. The point of order that draws battle lines between fans of Final Fantasy VI is whether or not you should delay converting Odin into Raiden. At the center of the debate is that Odin buffs a character's base speed, whereas Raiden does not. Odin also teaches Meteor, but other Espers can do that, and Raiden is the only source of the Quick spell, which allows the caster two uninterrupted turns. I always immediately swap Odin for Raiden. The Agility stat feels like a trap, and if you are that concerned about your characters always going first, you can always use a relic to give them auto haste. Also, with many late-game Espers providing Hastega, your character's agility score increasingly feels less important. Quick is far more valuable as it stacks alongside your relics. For example, when I had Terra with Quick AND the Soul of Thamasa, she was able to cast Ultima five times before it was a boss's turn. Raiden is BUSTED, and if it were not for the fact he teaches Quick at a slow rate, I would have given this top marks.
- Storytelling & Worldbuilding Relevancy: 6/10 - The story they end up telling at the ancient castle is sentimental and does a decent enough job of providing lore to a historical event the characters have talked about only in passing. It's pleasant and well-told but entirely ancillary for the most part. It's one of the more sentimental stories in the game, but the game's metaphor about Odin and the queen being star-crossed lovers works for the most part. I am less enthused about the short lines of dialogue Edgar, Locke, and Terra add if they enter the area. They are easy to miss, but they continue a handful of plot threads introduced earlier. Edgar has an endless stream of quips about the functions of Figaro's Castle and has additional knowledge about the ancient castle no one in the party knows. Terra has an entire flashback and internal monologue when we learn of Odin and the queen's love needing to be kept low because Espers and humans are discouraged from having a relationship. She recalls her parentage, and the characters comfort her that the world they are attempting to save will allow her to love however she sees fit. It's a great scene, and it is a goddamn shame it is entirely optional.
- Difficulty: 5/10 - Again, because of the Byzantine floorplan, I strongly advise you have Mog with random encounters disabled. The main gimmick of the ancient castle is that the random enemies often have auto-reflect and high magic resistances and require you to use more physically minded characters. They are not that hard, but the level's gimmick can sometimes be annoying. The two OPTIONAL bosses are the only part of the level that causes me to question this rating. I mentioned earlier they are monster-in-a-box bosses you can accidentally walk into, and they are NO JOKE! The first is a Master Tonberry (i.e., Master Pug), who has the typical habit of stabbing the shit out of your characters as any good Tonberry will do. The second is a far more problematic battle against the Samurai Soul (i.e., KatanaSoul). This boss has 32,000 HP and reflects any magic that touches it. It's a slog of a battle, but, I must emphasize, it is optional. That said, beating the Samurai Soul rewards you with the Master's Scroll (i.e., the Offering), which grants four additional attacks per turn on whoever wears it.
- Discoverability: 8/10 - Figuring out how to get to the ancient castle throws most players for a loop. First, you need to remember to go to Figaro's Castle. When you talk to the engineer, you need to pass on moving away from the anomaly and agree to investigate it. It also doesn't help that the path to the castle is through a random prison cell rather than the ordinary entryways and exits at Figaro's Castle. I keep harping on how hard it is to know where you need to go in the castle, and for a good reason, it is one of the worst-designed levels in the game! It features a crisscrossing lattice-like design that sometimes drove me up the wall. Worse, the final sequence on reaching the queen is a bunch of inane adventure game logic chicanery, and I say that as someone who enjoys classic adventure games. To find the secret room with the queen, you need to read a random book in a library that says, "the queen stands and takes five steps." Then, you need to find the throne and then take precisely five steps away from it downward and press the action/interact button to unlock a hidden staircase. Finally, the stairs are the spawn point for the Blue Dragon, and it has the habit of attacking you even when you actively try to avoid it.
Recommendation: You should seek this mission out, but only if you don't mind adding another half-hour to your playtime to know how the world of Final Fantasy VI works. There are some annoying parts to it, but the rewards for checking every nook and cranny are pretty impressive, and the story that ensues is compelling in its own right. I like to think the core story behind Odin went on to inform the main plot thread of Tidus in Final Fantasy X, but that could be me.
The Eight Dragons
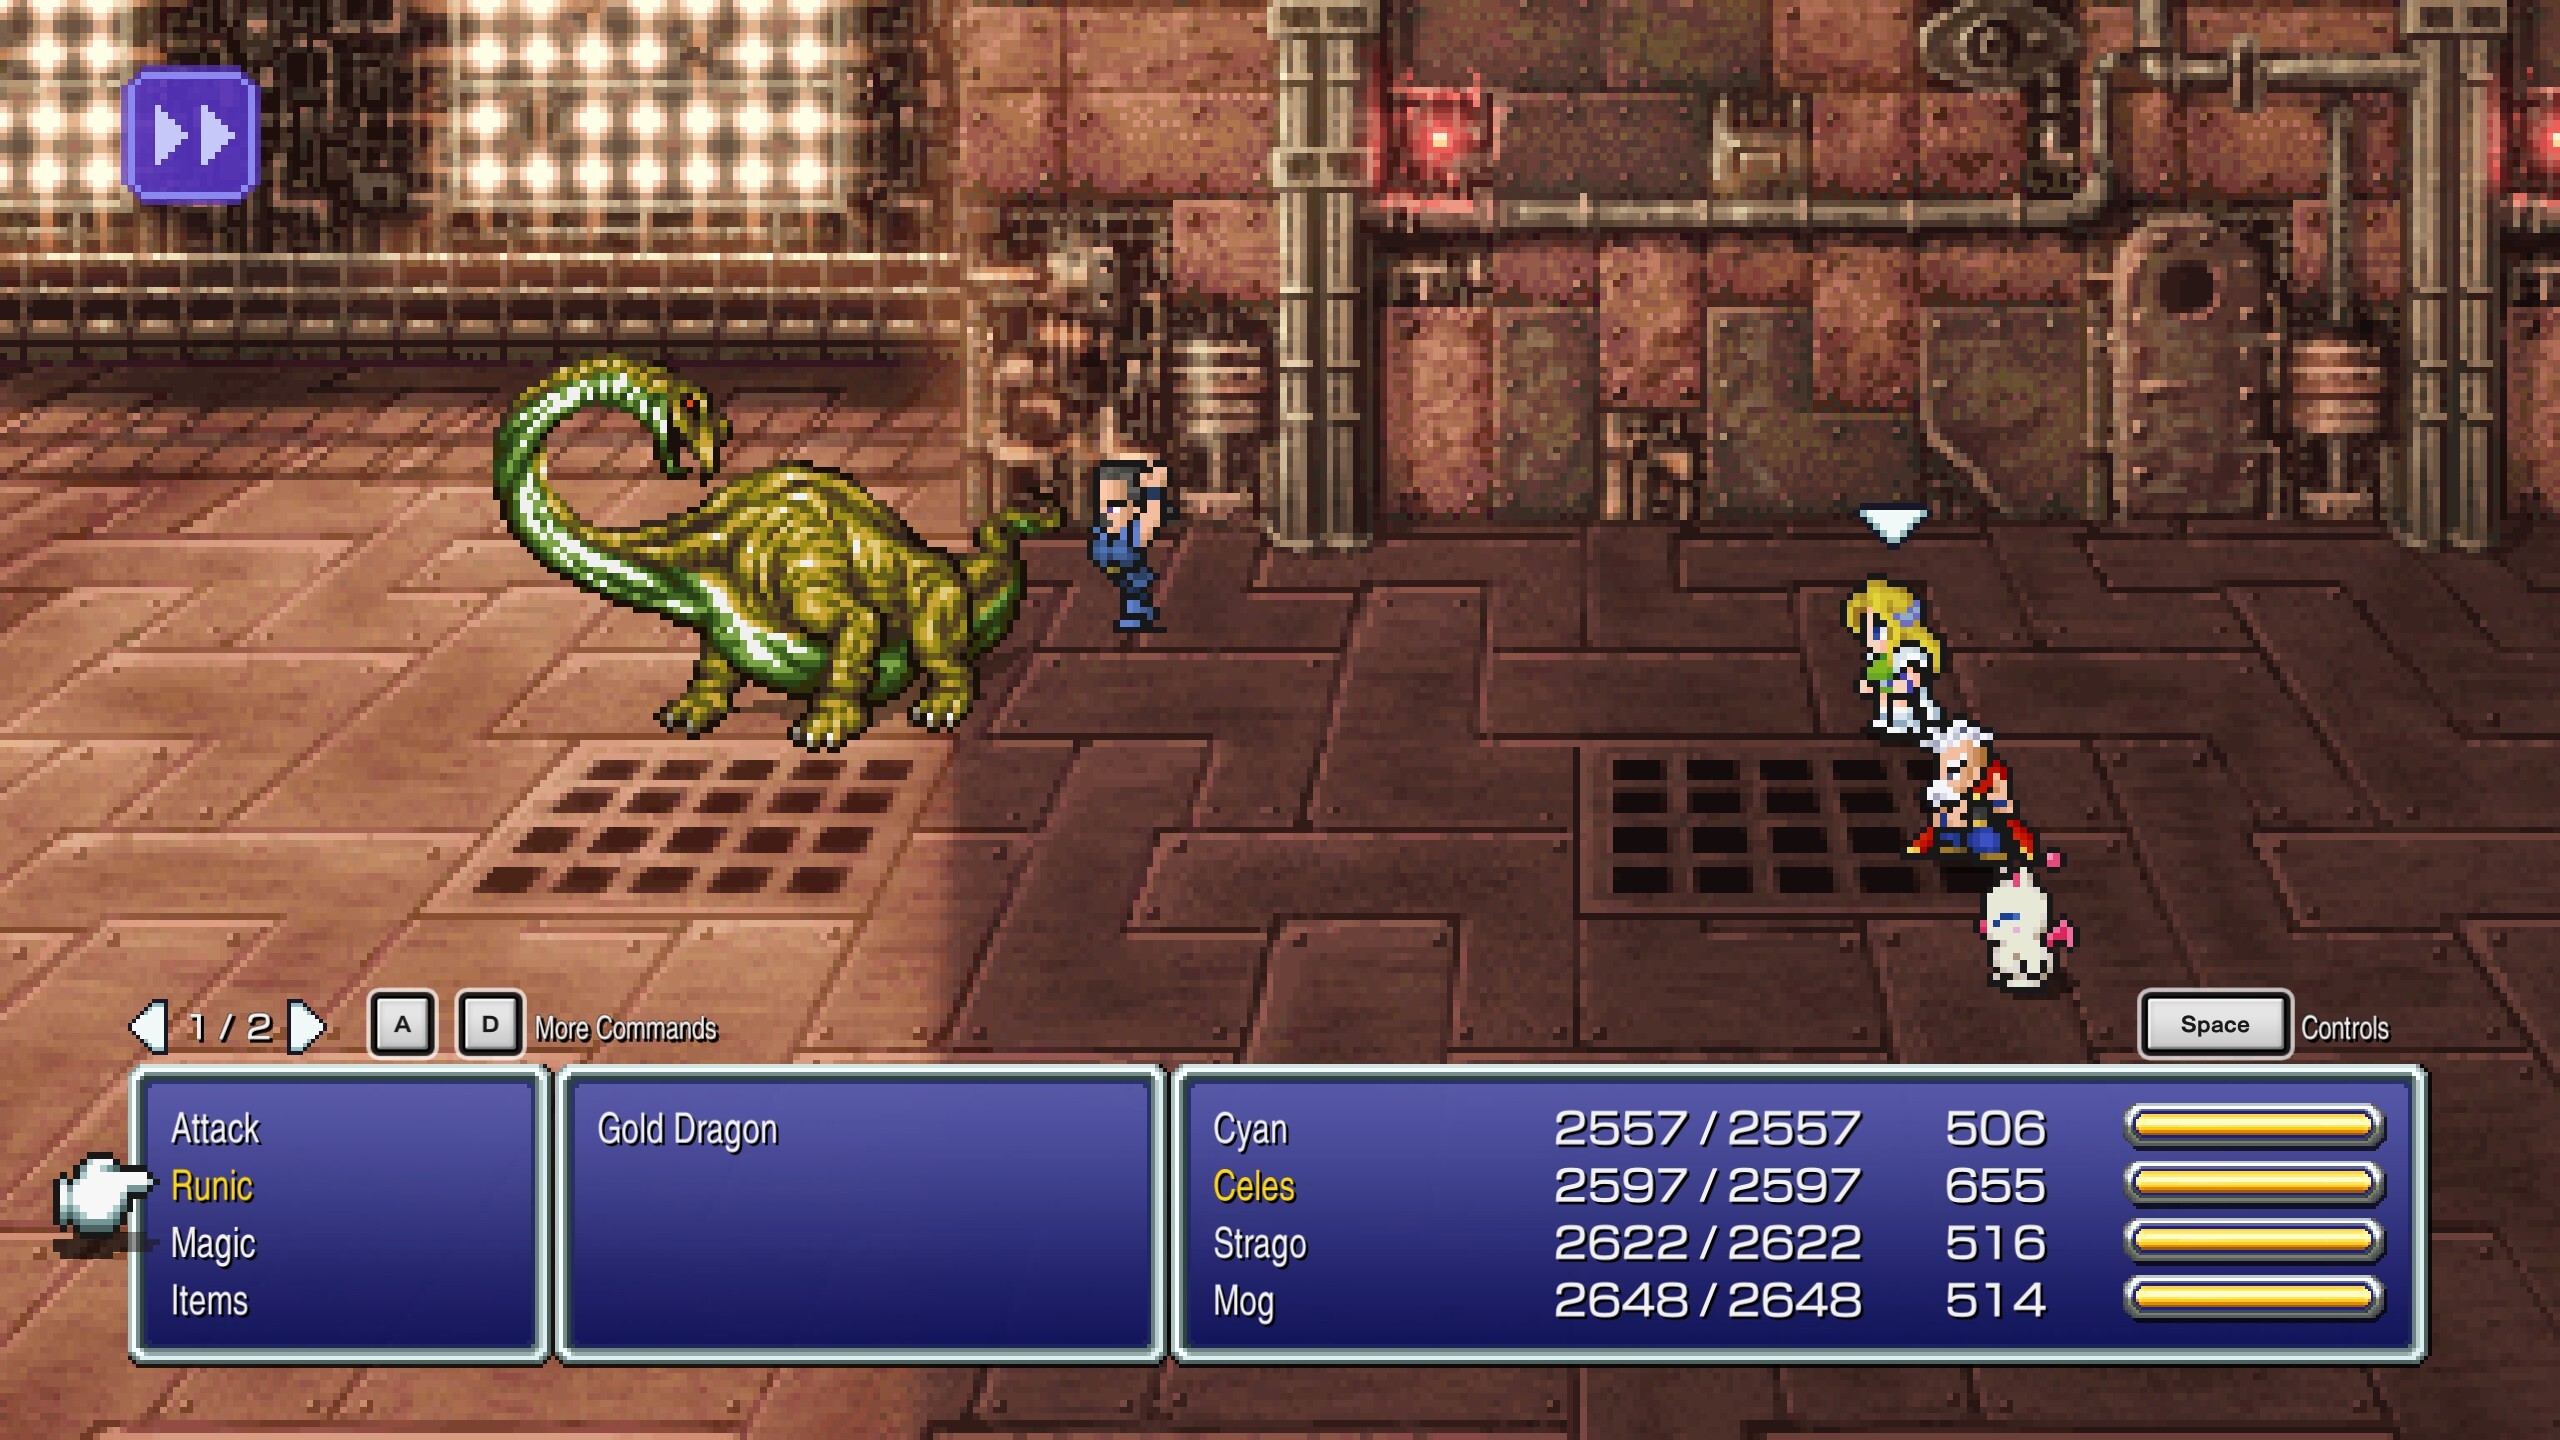
Premise: When you first transition to the World of Ruin, several NPCs speak of dragons roaming the world. These NPCs even lecture on how the dragons have murdered many a hapless adventurer. These dragons have fixed locations in the World of Ruin, and the good news is that if you complete the most necessary sidequests, you'll find them naturally during your journey.
- Time, Physical, & Emotional Investment: 9/10 - Finding all of the dragons is a pain in the ass, and the side quests they are often attached to are among the hardest in the game. However, your efforts are not in vain, and I must emphasize that point. Upon defeat, each dragon rewards the player with handy loot. This includes a Force Shield after defeating the Ice Dragon, a Magus Rod for defeating the Earth Dragon, a Murakumo for defeating the Red Dragon, the Zantetsuken for the Blue Dragon, a Holy Lance for the Holy Dragon, a Crystal Orb for beating the Gold Dragon, Force Armor for defeating the Storm Dragon, and a Muscle Belt for destroying the Skull Dragon. Depending on your playstyle, some of these items are more useful than others. I enjoy using the Holy Lance and pairing it with the Dragoon Boots, and there are fun hybrid classes you can unlock if you kill the dragons. The reward for offing all of the Eight Dragons is the Crusader Esper. Meteor and Meltdown are overrated abilities, but the MP +50% boost upon level-ups is worth it.
- Gameplay/Loot Utility: 9/10 - All the items and rewards you get for beating the dragons are good. However, some are better than others, and the Crusader Esper, while good, is one you'll likely use more for its level-up stat boost than its abilities. Also, the ratio could be more positive when you compare the time commitment required to beat the dragons with your material rewards. However, I'm not going to lie and deny that beating the dragons can be worth it in the long run.
- Storytelling & Worldbuilding Relevancy: 7/10 for the GBA and iOS/Android port; 4/10 for the Pixel Remaster - This one is difficult to assess because your version determines how much you get out of beating the eight legendary dragons. The Dragons' Den optional dungeon is exclusive to the GBA and 2014 mobile and Steam port of Final Fantasy VI. After defeating the eight dragons in these versions, you can access a new dungeon that contains the game's most challenging encounters and bosses. Additionally, there's some brief worldbuilding about an ultimate evil looming that predates the Warring Triads, and this being a Final Fantasy game, you fight and defeat that evil. I recommend you look up the boss models for the Kaiser Dragon and Omega Weapon because I think they are pretty cool. The SNES, PS1 Classic, and Pixel Remaster versions do NOT have this optional dungeon. The lack of a culminating level means the last dragon's rousing speech feels like a bit of an anti-climax.
- Difficulty: 7/10 - First, if the only way you have beaten the eight dragons is through the Vanish-Doom glitch, know that the Pixel Remaster has eliminated it. You now need to plan accordingly for each dragon and take note of its elemental affinities before you trigger a battle. This prep work can be time-consuming given the fiddly nature of the Relic and Esper mechanics, but it is entirely necessary with the eight dragons. The good news is that the power scale in Final Fantasy VI follows the typical D&D adage of "linear fighter" and "exponential mage." Therefore, if you do a handful of side quests and additional grinding, you can scrape by while completing the side quests that lead you to the dragons. If you want my advice, if beating the eight dragons is on your bucket list, create a list of the side quests that do not lead to any dragons and do those first with your A-Team so you have at least four party members that will be able to hold their own in combat. Likewise, some dragons are easier to beat than others. Consider trying out the Holy Dragon or Skull Dragon first, as they are the easiest to deal with as long as you have at least one character that can cast Holy or Ultima.
- Discoverability: 5/10 - I will split the difference on this one. Completing every optional quest attached to the game's character arcs or general worldbuilding leads to most of the eight dragons. There are even a few you will encounter on the mainline path of the story. If you have already set a goal of completing or attempting everything in the game, then the dragons will come to you; it's just a matter of when.
Recommendation: Maybe, but only if you have the GBA or 2014 iOS/Android/Steam version with the Dragons' Den dungeon. For everyone else, attack the dragons you feel comfortable with, and feel free to skip the ones you don't. The rewards are great, but nothing you can't make up for if you ignore them.
Using Locke To Rob Homes In Narshe And Getting Ragnarok
- Premise: After Locke rejoins your party, if you take the clever thief to Narshe, they will be able to unlock the doors to some of the houses. Exploring every home will uncover a handful of goodies, with the ultimate reward being the Ragnarok Esper. However, an old blacksmith possesses this summon and offers to refine it into a sword. If you elect to use Ragnarok as a summon, you have the most straightforward in-game resource to teach your characters the Ultima spell. If you refine it into the Ragnarock sword, you immediately unlock the second-best weapon in the game. If you successfully pawn it in the coliseum, you can unlock the game's definitive best weapon, the Lightbringer.
- Time, Physical, & Emotional Investment: 2/10 - At its worst, this mission is a terrible final reminder of how awful the floor plan is for Narshe. The intricate scaffolding was terrible at the start of the game, and they still suck in the World of Ruin. However, the encounters at Narshe in the World of Ruin are laughably easy. Therefore, this is something I can rate low in this category.
- Gameplay/Loot Utility: 11/10 - Ragnarok is busted regardless of which version of him you take. The sword and Esper forms result in end-game strategies that make beating Kefka inevitable. His sword form is the second-most most potent weapon in the game by a country mile, and when accompanied by relics and buffs, it makes whoever is holding it a murder machine. That's doubly so if you use it to get the best weapon in the game, the Lightbringer. The Esper form teaches Ultima and is more accessible than the Paladin's Shield. I usually opt for the Esper as "Ultima Spam" is my go-to cheese tactic in Final Fantasy VI, and I cannot be fucked to take the time to deal with the Cursed Shield. However, the sword version of Ragnarok is an entirely legitimate choice if you prefer to approach things with a more sword-and-board mindset. The rest of the rewards at Narshe are "nice" but not nearly as game-breaking as Ragnarok.
- Storytelling & Worldbuilding Relevancy: 4/10 - There's a fun story that the blacksmith and eventually Ragnarok tell, but it is nothing earth-shattering. I'm not going to lie. The lack of any conclusion on what happened to Narshe after the World of Ruin feels like a weird unresolved plot hole. Likewise, you never meet up with any of the members of the Returners, and that feels like a massive missed opportunity.
- Difficulty: 1/10 - The only battles to be had in the main town of Narshe are some of the same random encounters you had when you first started the game. There is absolutely nothing in Narshe that is worth sweating about when you reach the World of Ruin.
- Discoverability: 6/10 - When I first played Final Fantasy VI, I visited Narshe before I got Locke and thought the game's message was that the city was dead and there was nothing to see. It was not until much later in life that I realized you could loot the houses. I honestly think the signposting that Locke can unlock the boarded buildings in Narshe is dog shit and the fact that most buildings have nothing of value is too much of a red herring by the developers. Yes, Narshe is one of the game's most memorable and iconic levels, and that is why I'm sticking with a moderate score, but the design of this part of the game is incredibly frustrating.
Recommendation: You should 100% complete this mission, but only because Ragnarok is that BROKEN! If you have ever had issues with finishing this game, then this is one of the most important things I will tell you about Final Fantasy VI. Teach four of your characters Ultima and do everything to boost their magic stats. If you can do that and grind your characters to level twenty-five or higher, you'll have no issue with the final level.
Beating Deathgaze (aka, Doom Gaze)

Premise: Are you ready for Final Fantasy VI's "normal" superboss? With the Pixel Remaster not emulating the Dragons' Den, Deathgaze is, for all intents and purposes, the closest thing you have to a superboss. The citizens of Albrook will speak of a spooky specter that they saw arise from the nearby mountains. By the way, that's the only hint the game will provide that Deathgaze exists. Yes, Deathgaze will spawn the first time you leave Kefka's Tower. However, more is needed to scaffold what you need to do to defeat it. The game not telling you that he's hiding in a random pixel every time you pilot the airship is absolute bullshit, but more on that in a minute.
- Time, Physical, & Emotional Investment: 10/10 - There are two things about Deathgaze worth mentioning. The first part is understanding how the spawn rate for the monster works. Final Fantasy VI's World Map contains 4,096 squares and is sixty-four squares long on each side. Deathgaze occupies precisely one of those squares and respawns in a different spot whenever you dock or enter the interior of the Falcon. The second part is that Deathgaze will run away after it reaches a certain damage threshold. Thus, you fight it multiple times, and its spawning rules still apply each time. An exploit makes finding it slightly more manageable, but it's an incremental improvement over slamming your genitals against a sliding door.
- Gameplay/Loot Utility: 6/10 - Defeating Deathgaze unlocks Bahamut, and while it is an impressive summon, it doesn't stack up to the other late-game Espers. By the time you get Bahamut, most players have at least one source of Ultima, which is vastly superior to Bahamut's Flare ability. Likewise, their level-up buff, which is +50% HP, might sound impressive on paper, but because it is a late-game Esper, capturing that bonus is a bit tough. His actual use comes in physically summoning him to dole out massive damage from a character with a high Magic stat. However, you are better off sticking with Ultima or other less costly spells.
- Storytelling & Worldbuilding Relevancy: 2/10 - The citizens of Albrook discuss the presence of Deathgaze and express gratitude when you defeat it. There's a short line where Bahamut congratulates your party and states they are worthy of using him as a piece of Magicite. At the end of the day, if you are hunting for Deathgaze, you are doing it for achievements rather than experiencing a sweeping story.
- Difficulty: 7/10 - During my two playthroughs, I always tend to attempt Deathgaze at the ass-end of my playthroughs. By that point, my preferred party is nothing but walking murder machines that spew Ultimas like no tomorrow. In a "normal" playthrough, I can imagine Deathgaze being a challenging and frustrating battle, especially considering his habit of running away.
- Discoverability: 11/10 - Alright, I mentioned there was an exploit to make finding Deathgaze easier. What you do, and this tip is not a secret, is land the Falcon and immediately pop back into the sky. When you are in the air, gently press left or right, and you can pilot the airship at a 5% angle. This tilt allows you to cover the entire map by just pushing forward. It is worth mentioning that this makes a shitty process only marginally less shitty. Deathgaze still only occupies one random pixel, and it could take up to twenty minutes to cover the entire map. As such, it breaks the scale for this category.
Recommendation: FUCK NO! It's a complete pain in the ass and an utter waste of time.
The Cultists' Tower

Premise: Now it's time to talk about one of the worst dungeons in the history of the franchise! When you explore the continent of the World of Ruin, you will quickly identify a handful of landmarks that did not exist in the World of Balance. One of these landmarks is a skyscraper that juts out from what once was the Serpent's Trench. The tower itself is only accessible using the Falcon, and when you attempt to climb it, you'll notice it is a monotonous zig-zagging network of endless stairs. When you first explore it, you discover that it is inhabited by cultists who worship Kefka like a god. As you attempt to ascend the tower, two gameplay gimmicks immediately kick into gear. First, all characters other than Umaro can only use the "Magic" and "Item" commands in the battle menu. Second, almost every random encounter has the "Reflect" status as a default, making the forced requirement to use only magic-based attacks even harder. Luckily, Mog's unique ability to disable random battles still works, but the tower culminates with a ball-buster of a boss encounter (i.e., Magic Master). When you emerge victorious from this battle, your party will acquire the Soul of Thamasa.
- Time, Physical, & Emotional Investment: 10/10 - I gave the Cultists' Tower ten minutes before using Mog's ability. If you attempt to climb the tower without disabling random encounters, then you are a better person than me. The encounter rate is sky-high, and with the gimmick being as restrictive as it is, I find zero fun in any of the battles you deal with at the tower. Removing the Reflect status on enemies before you can do any magical damage, which is all you can do, is frustrating. Then there's the battle with Magic Master, which involves a bunch of cheap bullshit. I was able to beat Magic Master consistently but struggled to prepare my characters for his final pop-off of Ultima. It's a terrible experience. And that is ignoring the highly specialized party composition the dungeon requires that you may or may not have at your disposal. You NEED four solid magic casters to finish this dungeon. If you have gone full-DPS or skewed a more "balanced" build, you might not even have four characters capable of making it to the midpoint, let alone beat the boss.
- Gameplay/Loot Utility: 6/10 - The Soul of Thamasa is a handy tool, don't get me wrong. Casting two spells in one turn allows players to break this game if they know what they are doing. However, that's all you get when you complete the Cultists' Tower, and I cannot in good conscious not mention that this reward is NOT worth the time and effort when there are other more efficient ways to play Final Fantasy VI. With the Espers and relics the game already provides you, the Soul of Thamasa feels like a bow on a nice Christmas gift. You don't need it, but it completes the package and makes you feel good.
- Storytelling & Worldbuilding Relevancy: 4/10 - I do have to give the Cultists' Tower some credit; it is one of the spookier and moodier environments in the game. I also like the idea or concept of showing how some parts of the world are on-board with Kefka taking over the planet. Unfortunately, the game doesn't do much beyond showcasing the cultists as a bunch of robbed maniacs. When Magic Master attempts to kill your party, he doesn't get the expected dramatic speech where he introduces himself or how he's connected with Kefka's plot. The level oozes potential, but it doesn't make good on that, even from a conceptual perspective.
- Difficulty: 11/10 - HOLY SHIT! Where do I even start? As mentioned earlier, the tower forces players to rejigger their party composition into pure magic builds unless they have a decently leveled Umaro. If that isn't the direction you went with in your playthrough, you should skip the level entirely. I strongly recommend you use Mog's ability and make a beeline to the tower's top without any pointless battles. For whatever reason, in the Pixel Remaster, fights at this tower don't even count toward the Cursed Shield. Nonetheless, Magic Master is a complete bitch of a boss battle. He sports every high-tier elemental spell and has various debilitating status effects. Also, when you defeat him, he erupts the Ultima spell on your entire party rather than going down peacefully. If you cannot survive this spell, you must do the battle again. An easy way to make the battle marginally easier is to equip Reflect Rings on your party members, but getting four might be a bit much for most players. Regardless, the entire level, from top to bottom, is one of the worst individual levels I have ever played in the franchise.
- Discoverability: 2/10 - The one nice thing I can say about the Cultists' Tower is how it is undeniably easy to find. Figuring out you need to land the Falcon in a specific spot to get into the tower is not immediately apparent to the player. Still, it is possible to figure out organically. Similarly, with the dungeon being a linear zig-zagging staircase, it is one of the few late-game dungeons where getting lost is not an issue.
Recommendation: For 90% of all people who play Final Fantasy VI, my answer is "no." For the ten percent of people who have played the game more than three times, beating Magic Master is a sort of rite of passage when attempting your first 100% playthrough. You are better off not doing it, but for the few of you that are up for the challenge, have at it. It's in the same ballpark as beating Ruby or Emerald Weapon in Final Fantasy VII.
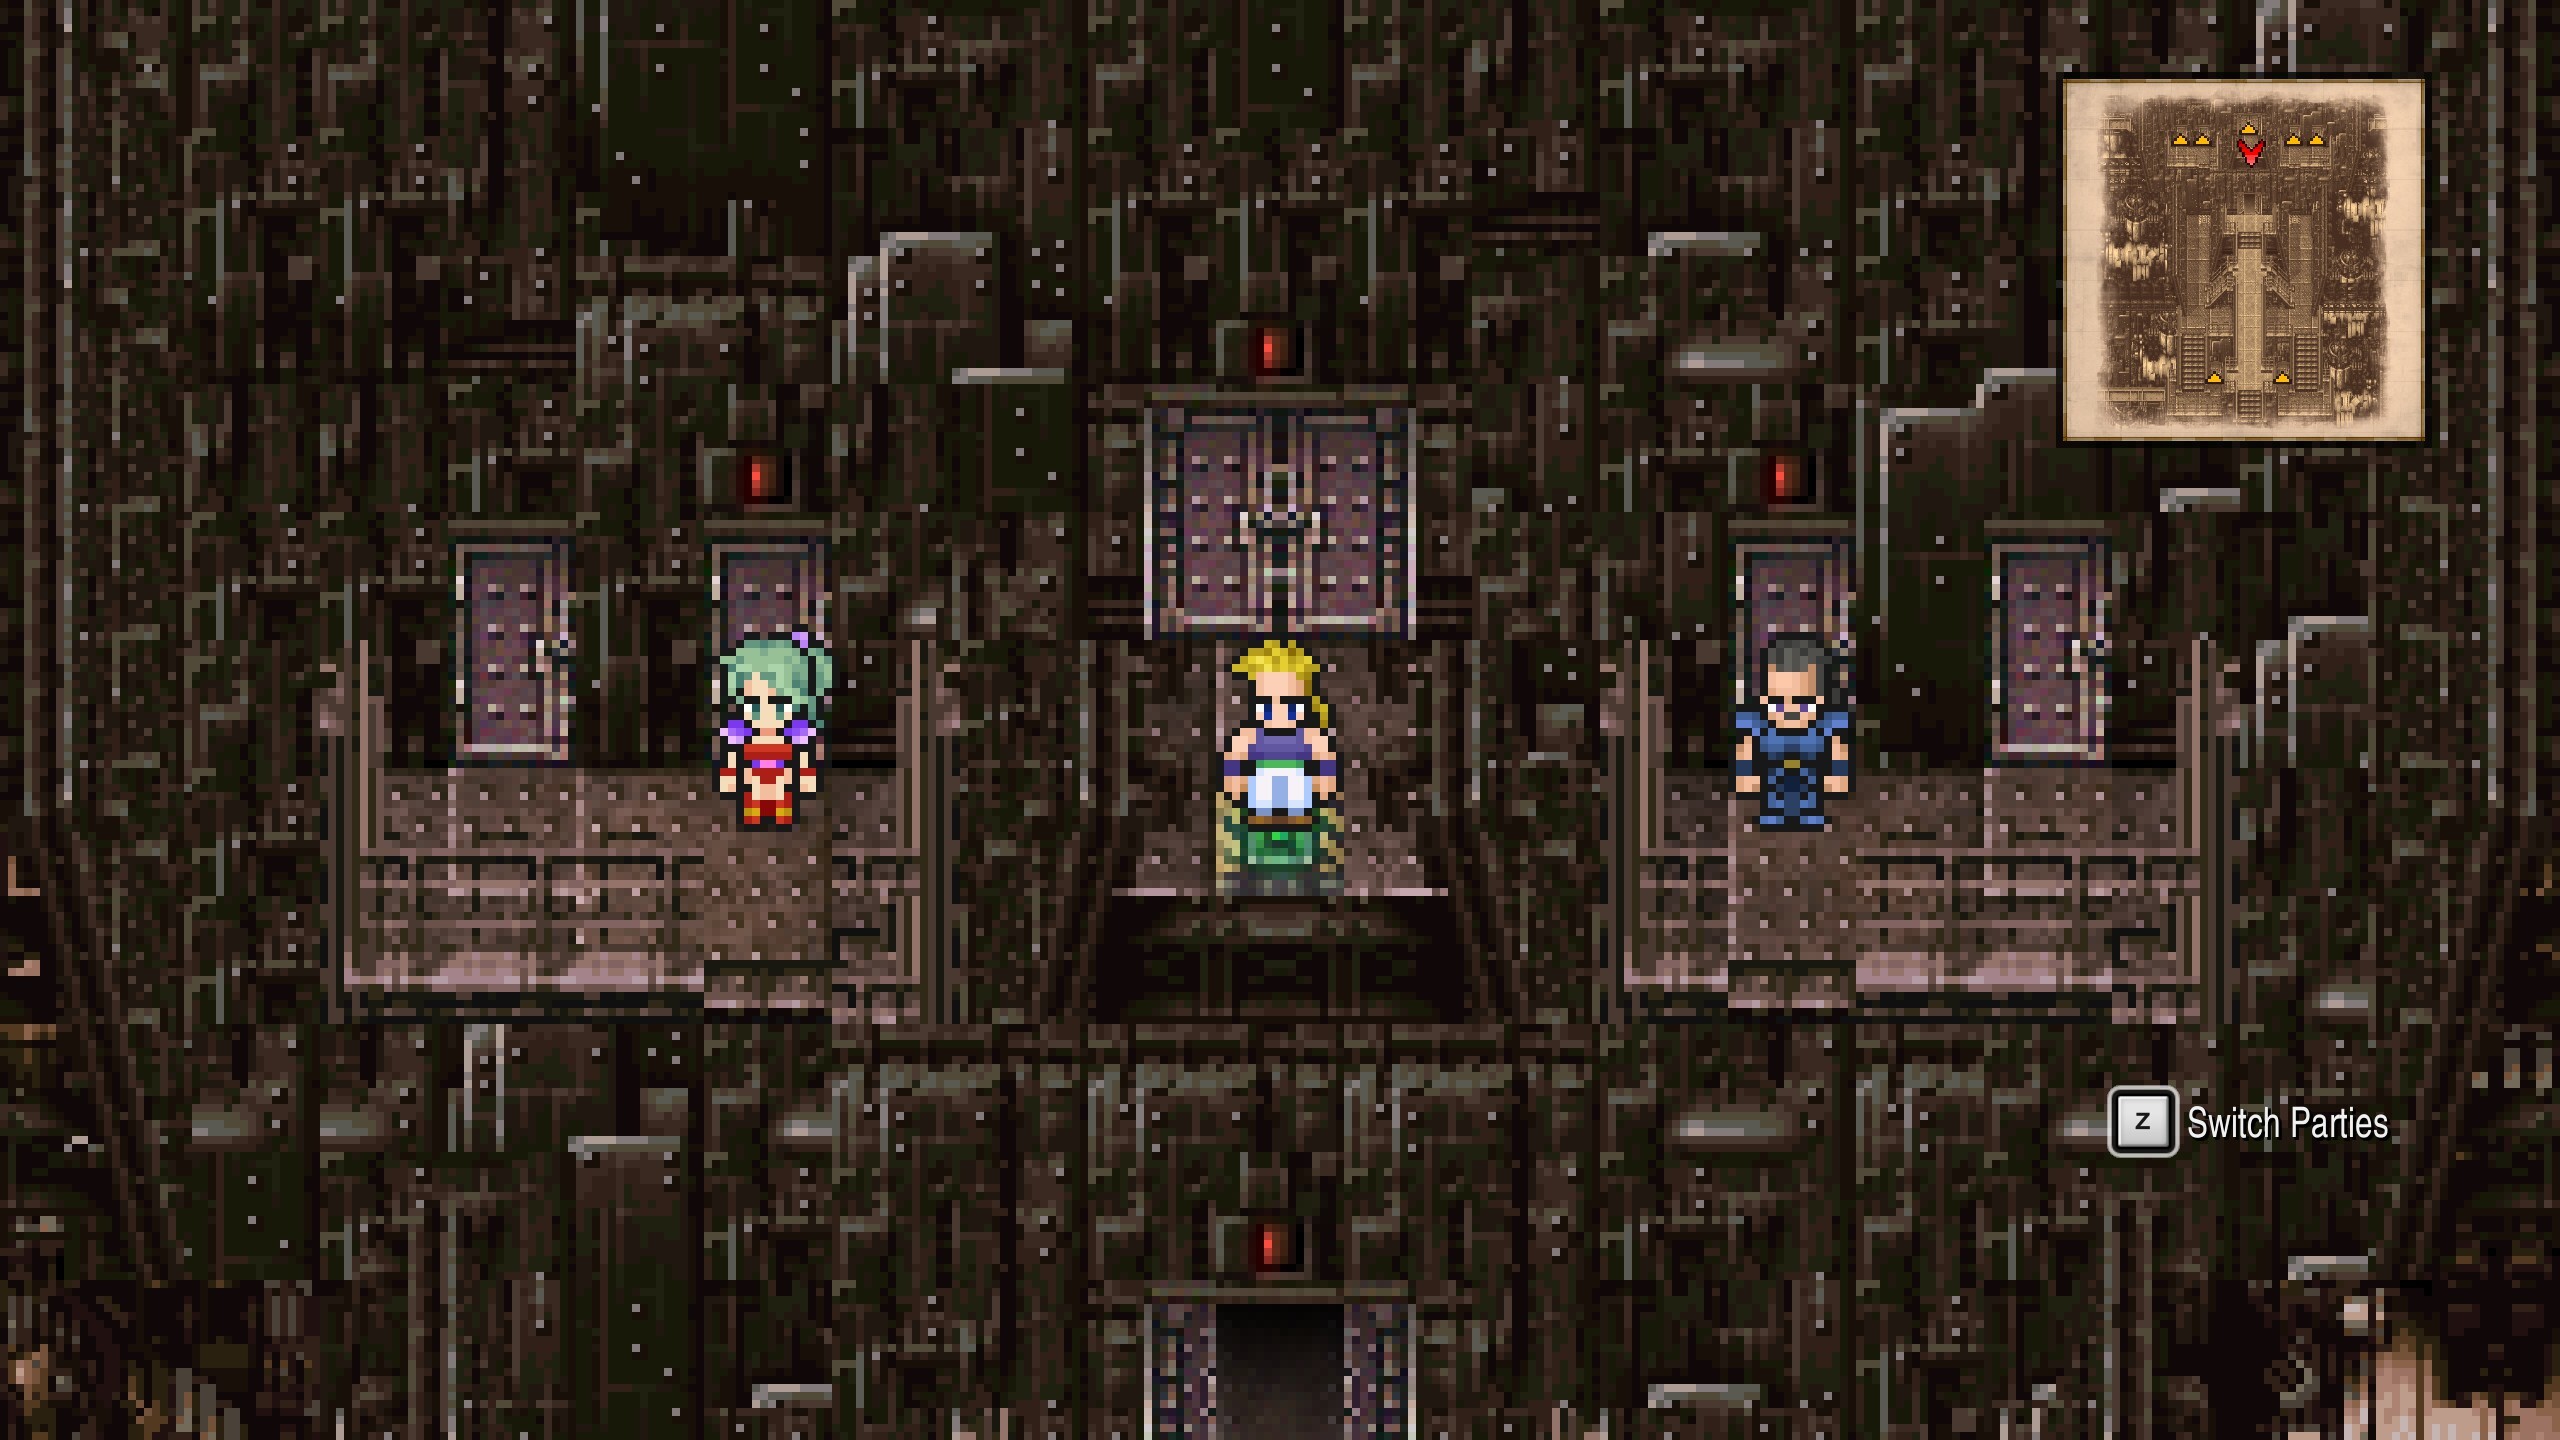
Part 17: Kefka's Tower Sucks Shit, But Everything You Do There Is Cool

The final dungeons in Final Fantasy games have traditionally been "tough." When many Final Fantasy fans make lists of their least favorite dungeons, the last levels in the series are common targets. When you consider Final Fantasy VI as Squaresoft's final 2D or SNES Final Fantasy game, you can better understand the design mindset of Kefka's Tower. This level is the last page in a lengthy tome of JRPG history, and it needed to be the end all be all for the genre. However, there's no denying that Squaresoft went a little too hard and raw with designing their "final challenge" in Final Fantasy VI. Nonetheless, at least everything looks cool at Kefka's Tower. The cinematic that plays when Setzer first pilots and lands the Falcon on the tower is 16-bit directorial bliss. It looks monumentally better in the Pixel Remaster with improved particle effects and better animating characters. And the sprite work for all bosses, including the different phases of Kefka, is eye candy in the best possible way.
Admittedly, the level makes a solid first impression. It features the same bio-mechanical look as the Floating Continent but with a stronger steampunk and industrial vibe. In replaying the game, I'm confident that Midgar in Final Fantasy VII is at least a partial continuation of what was going on with Squaresoft's design team when they made Kefka's Tower. The worldbuilding at Kefka's Tower is also solid. There's a sense of the stakes ratcheting up as you near Kefka with battles against dragons and the Warring Triad. To play devil's advocate, I think it was the intent of the design and programming team for you to feel exhausted by the time you reach Kefka and, upon getting offed by him the first few times, for the player to doubt their readiness at the literal last step of their journey. I certainly felt that way, and when things finally went according to plan, the game's ending felt all the more satisfying. An enormous amount of preparation and planning goes into completing Kefka's Tower, and all of my previous criticisms of the relic and Esper menus being fiddly and frustrating apply here. Nonetheless, when everything comes together, there's no denying that it is a sight to see.

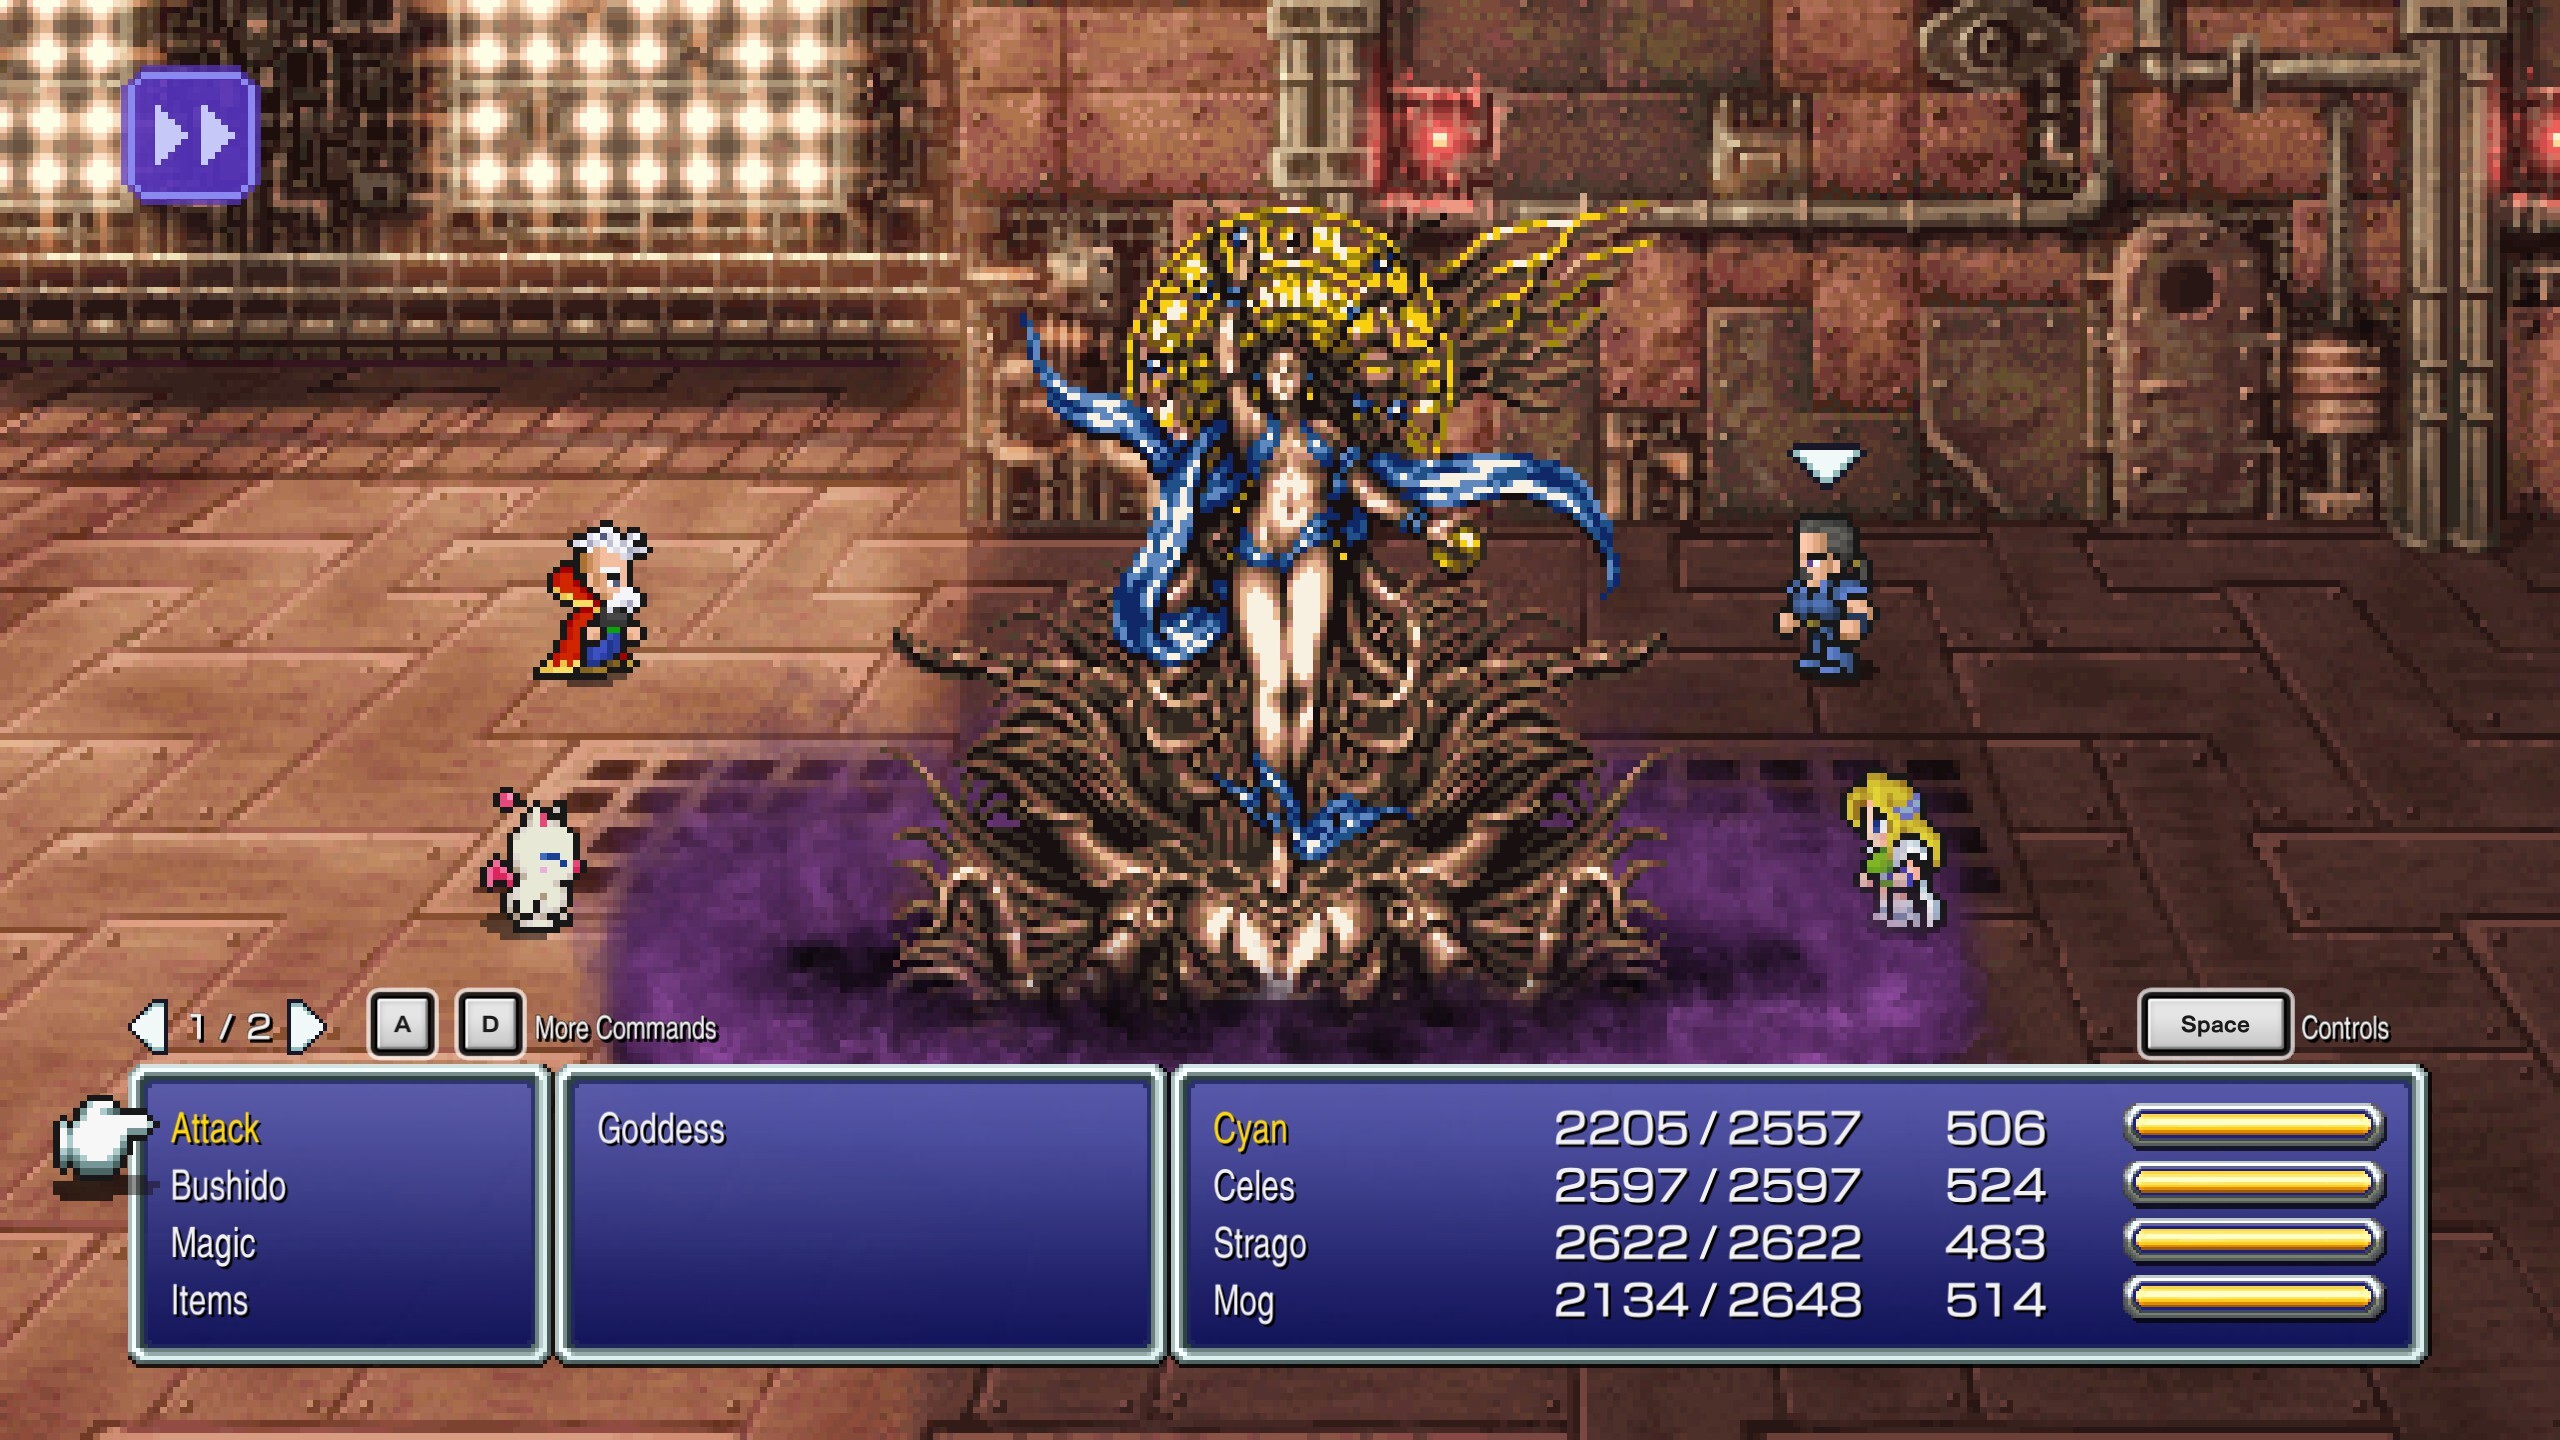
All of that praise aside, Kefka's Tower fucking sucks to play. At the core of why people still hate Kefka's Tower is that it requires you to split your party into three groups. The average JRPG fan, up to this point, and to a certain degree today, is bound to have a favored "A-Team" and possibly a "B-Team" on a good day. Kefka's Tower requiring THREE solid and balanced parties is a tall order, even for veterans of the genre. Unless you enjoy grinding away levels for Strago, Relm, Gogo, Celes, or Shadow, you are bound to have at least one party that feels like it is at a disadvantage when navigating the level. Maybe you have Mog with your weakest group to avoid random encounters for at least a third of your team. Unfortunately, that still means two-thirds of your journey involves waves of Behemoths, Malboros, and dragons. Even then, all three parties are bound to butt up against the seven bosses that litter the final dungeon. The members of the Warring Triad each require you to plan accordingly to better deal with their weaknesses and elemental affinities. I had a tough time with the Goddess boss and dealing with her tendency to cast the zombie status effect on any character she kills. However, the Demon and Fiend bosses are no slouches either, and by the time you get to Kefka, there's a risk that you might have exhausted your party's resources and HP or MP pools so much that the final boss is impossible. Making that walk of shame out of the dungeon is demoralizing, and it sucks needing to redo your progress a second or third time.
The Kefka battle is nothing to scoff at, either. There are more demanding final bosses in the PS1 era, and we can never forget the fucked up final bosses in the Final Fantasy XIII trilogy, but Kefka is no cakewalk. Again, I understand the intent of the battle. It's an otherworldly experience with you fighting what looks like a magical God and with Dancing Mad playing in the background; how angry can one honestly get? However, the entire sequence is another example of Squaresoft pushing the technical and cinematic envelope while also going an inch or two too far. Every stage starting with Kefka shooting off a laser beam that reduces your party to 1 HP, is a franchise trope, and I'm not too fond of it when it happens. He also has that Forsaken ability that is entirely unblockable, which is a bitter pill to swallow. Given how much work I did to prepare for the battle before starting it, Kefka's ability to negate all that prep work left a bad taste in my mouth. With that and the stage of the fight where Kefka endlessly casts Ultima and Meteor, there's no denying a level of "cheapness." It's cool looking but unneeded in what should feel like a victory lap for the player.
Kefka's Tower is also not a well-designed level. I shared a similar sentiment when discussing my struggles with the Floating Continent, but I dread whenever an 8-bit or 16-bit era JRPG thrusts you into an industrial or mechanical level. The monotonous metal scaffolding or intricate tube work makes these levels challenging to parse out for me. That's doubly so with Kefka's Tower, with a groan-inducing number of switch and level puzzles that require you to switch between your three parties. The buttons and switches you need to trigger have always been a pain in the ass to detect, and they are only marginally better in the Pixel Remaster. With random encounters to deal with, there's no more frustrating feeling than reaching a dead-end to a level, only to discover you missed a switch with a different party on a poorly sign-posted screen. That point of order leads me to the issue of the tower's scope. Kefka's Tower is twenty fully-realized screens, with each screen having three ventricles for each of your parties to explore. I recommend you have a guide on standby because every part of the level stacks the odds against you. It also does not help that should you decide to pop out of the dungeon to power grind, restock your items, or rest your characters, there is only one point in the level's mid-point where you can do that. It's fucking evil, I tell you!
Part 18: The Final Battle, Ending, And Epilogue Are Amazing
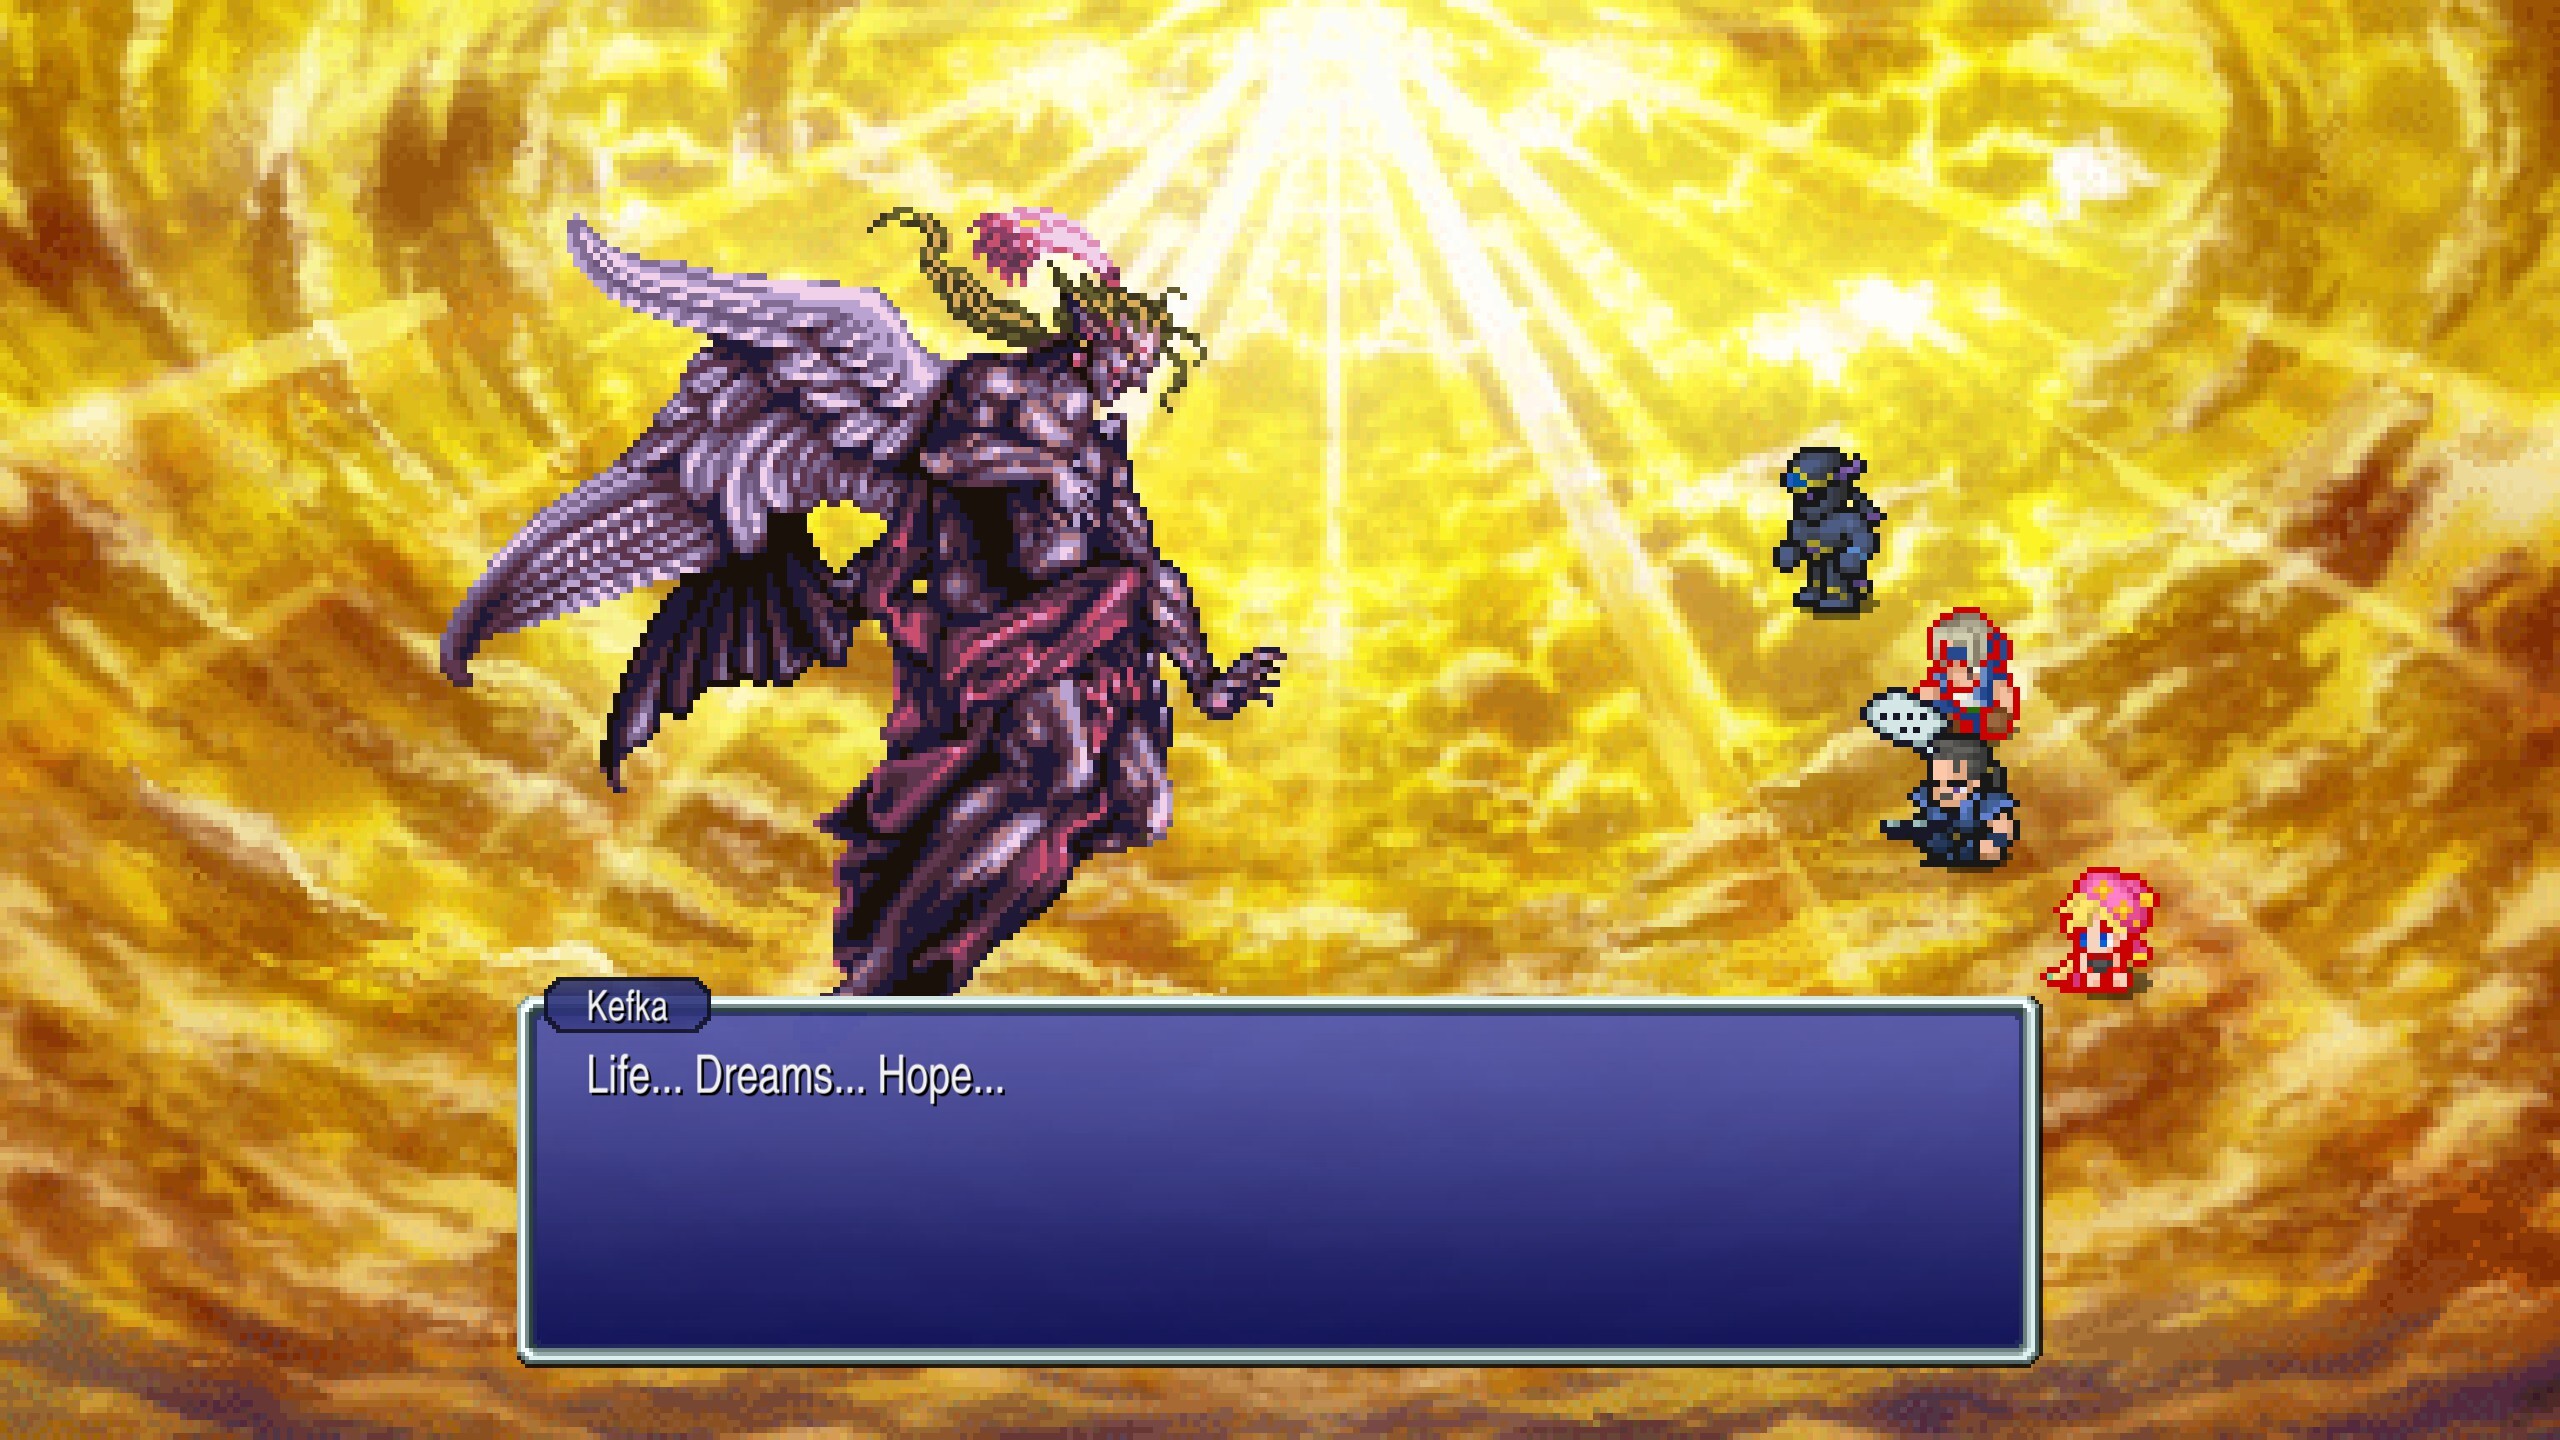
Shit-level design aside, the ending of Kefka's Tower and the final boss battle are both must-see moments in the annals of video game history. Your party fittingly fights Kefka in a heaven-like skyline that slowly darkens and becomes like Hell as you reach the end. I have shared this sentiment before, but it bears repeating here. In the transition from 2D to 3D, something was lost in the Final Fantasy franchise regarding boss designs. There's just something about Kefka, Exdeath, and Zeromus that look and feel more intimidating than what you see in the modern Final Fantasy titles, even with all of the graphical fidelity in the world to make the people at Digital Foundry cream their pants. Each of Kefka's forms looks and feels like you are battling a god, and their mechanical differences match their physical appearance. Compare that to the final boss in Final Fantasy XIII or Seymour in Final Fantasy X. As crazy as the final bosses get in the 16-bit era, there's a coherence to them that the current generation of games would be good to recall.
If there is one bit of historical revisionism I would like to bring up, it is the Final Fantasy community overpromising Kefka's characterization. People speak of Kefa's "Life... Dreams... Hope..." speech as if it reframes your understanding of him. In reality, supporting media and subsequent Final Fantasy works give Kefka more meaning and worth as a character. In Final Fantasy VI, he's a maniacal clown from start to finish. There's no grand meaning or purpose to why he wants to set the world on fire. He does it and revels in his newfound power. If there were a master plan with Kefka other than to use him as a plot device, there would be more to his defeat than the usual flashes of light and the characters needing to beat a hasty retreat. If you have yet to see the game's conclusion in person, you might be shocked to discover how little there is to Kefka's final moments. Nonetheless, the battle against him is a visual tour de force, and the game's epilogue is by far the best in the franchise.

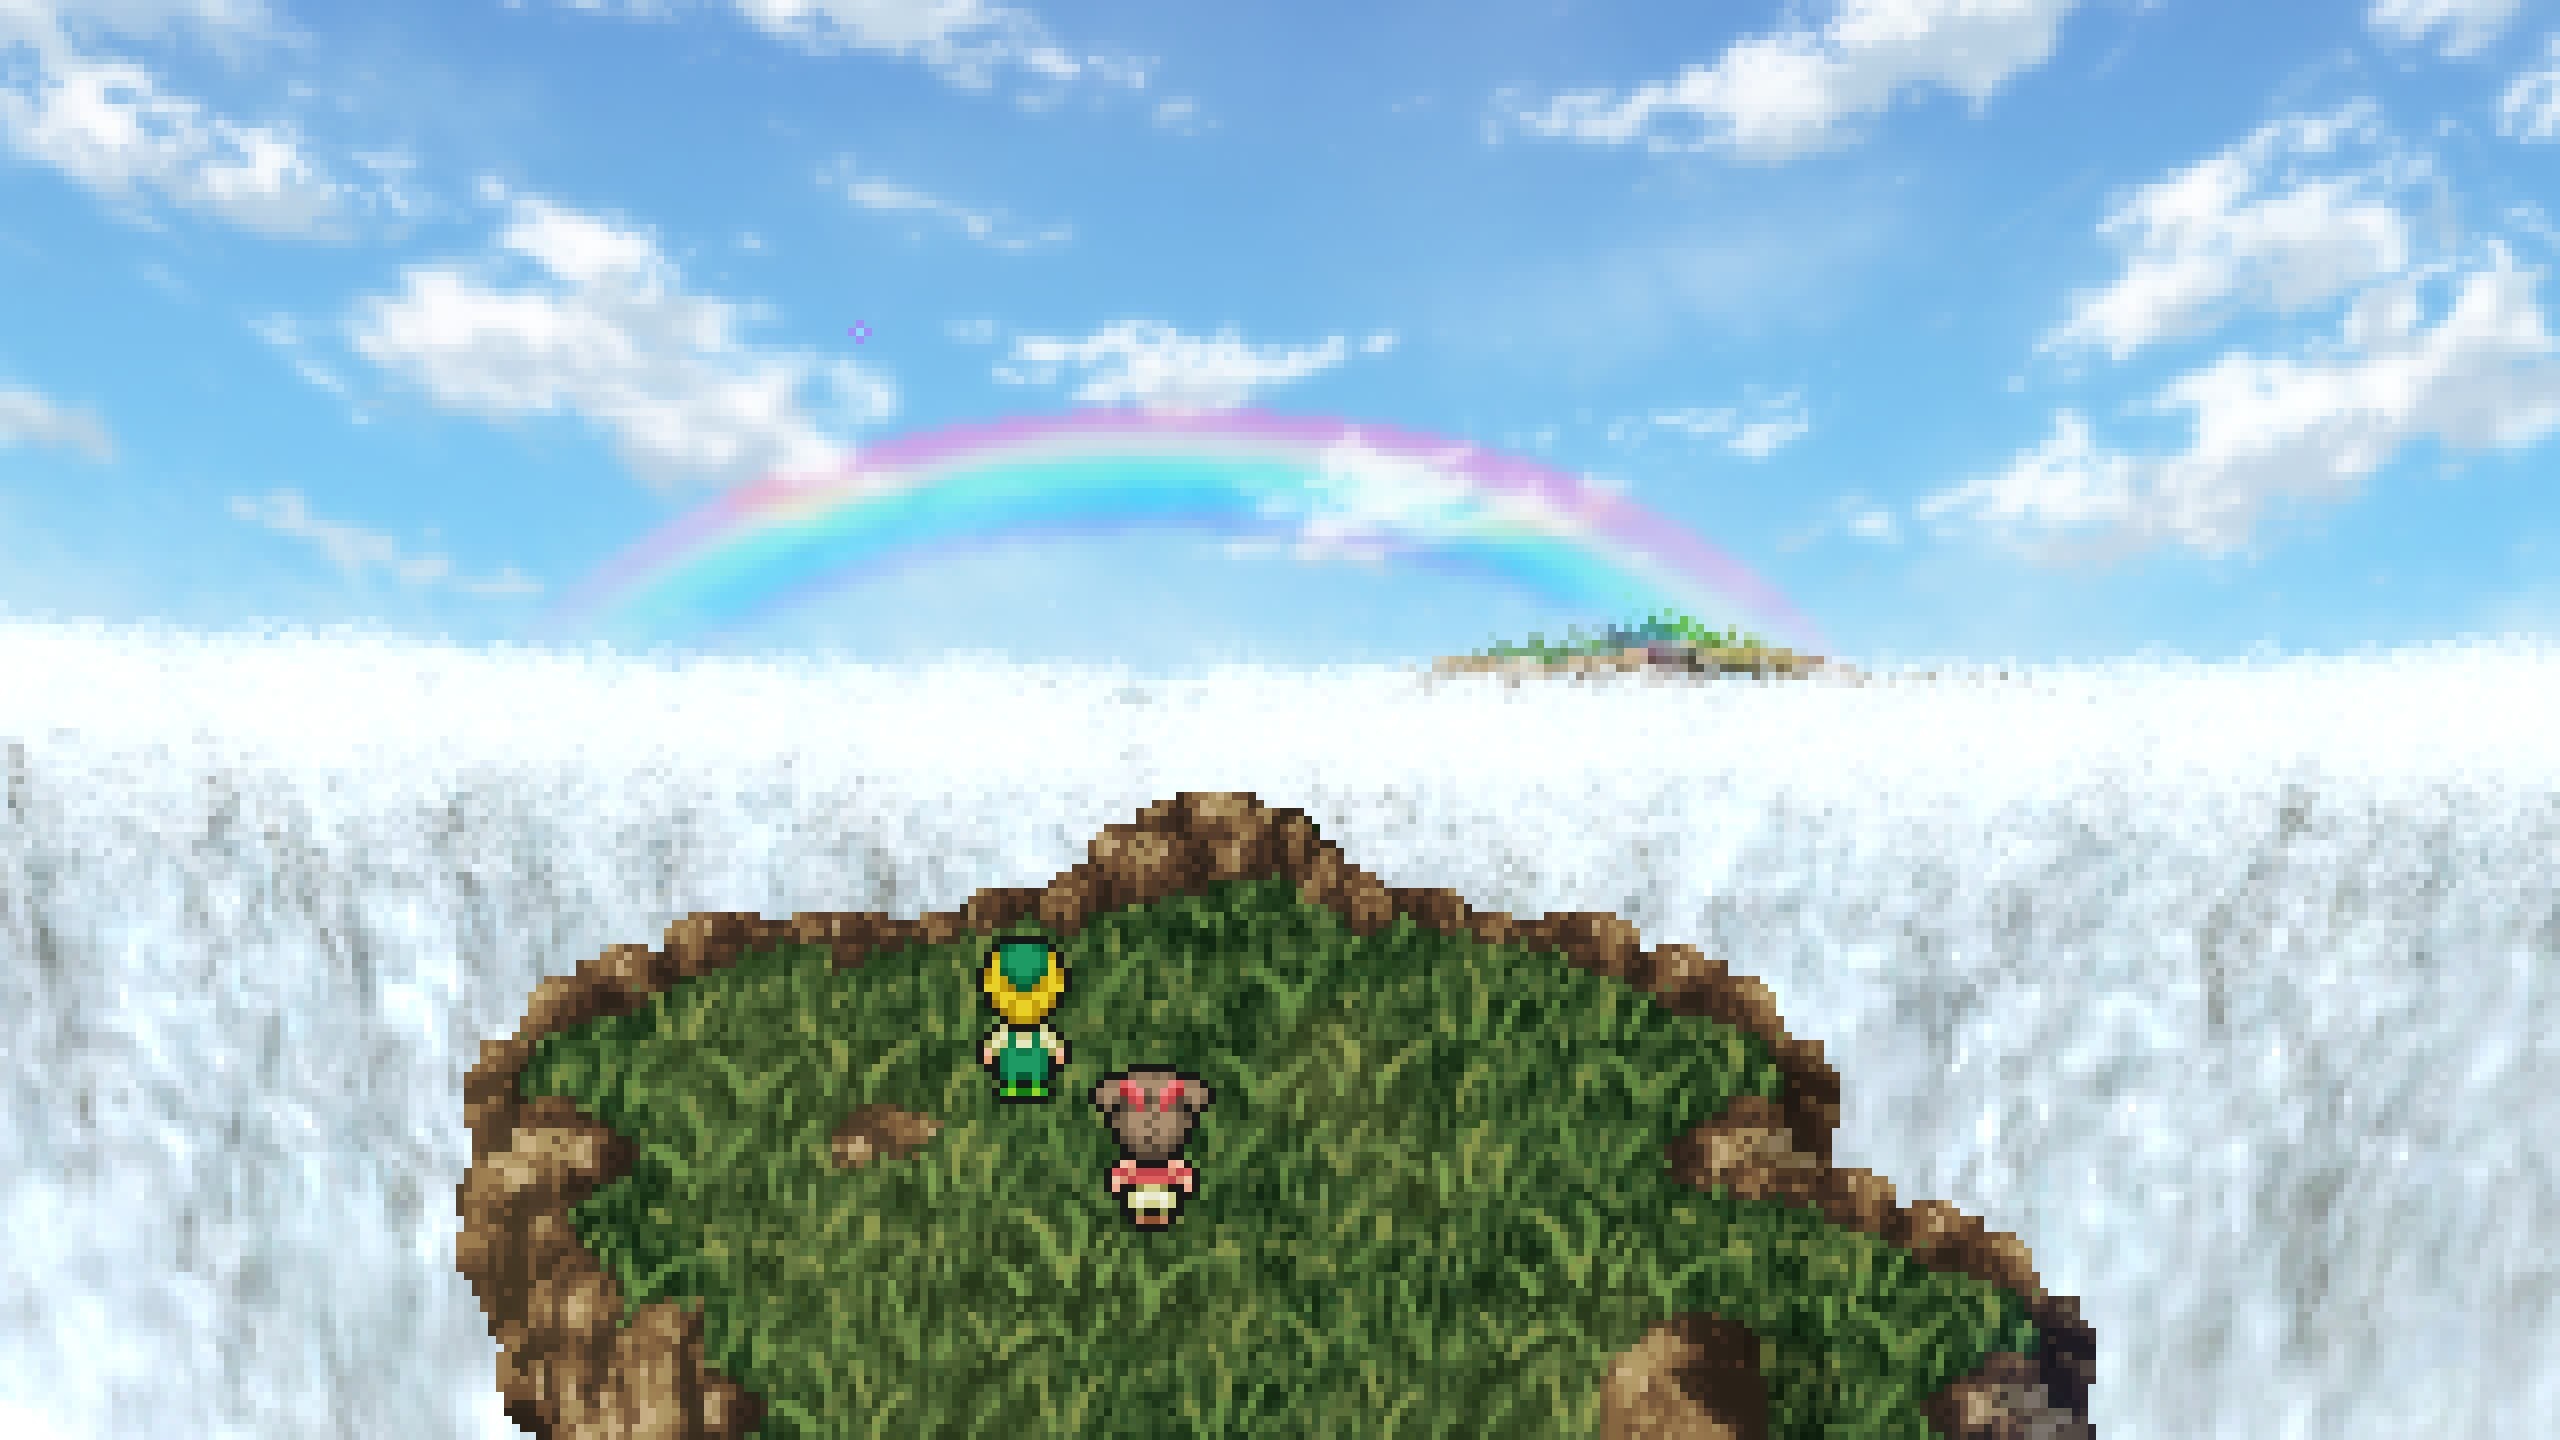
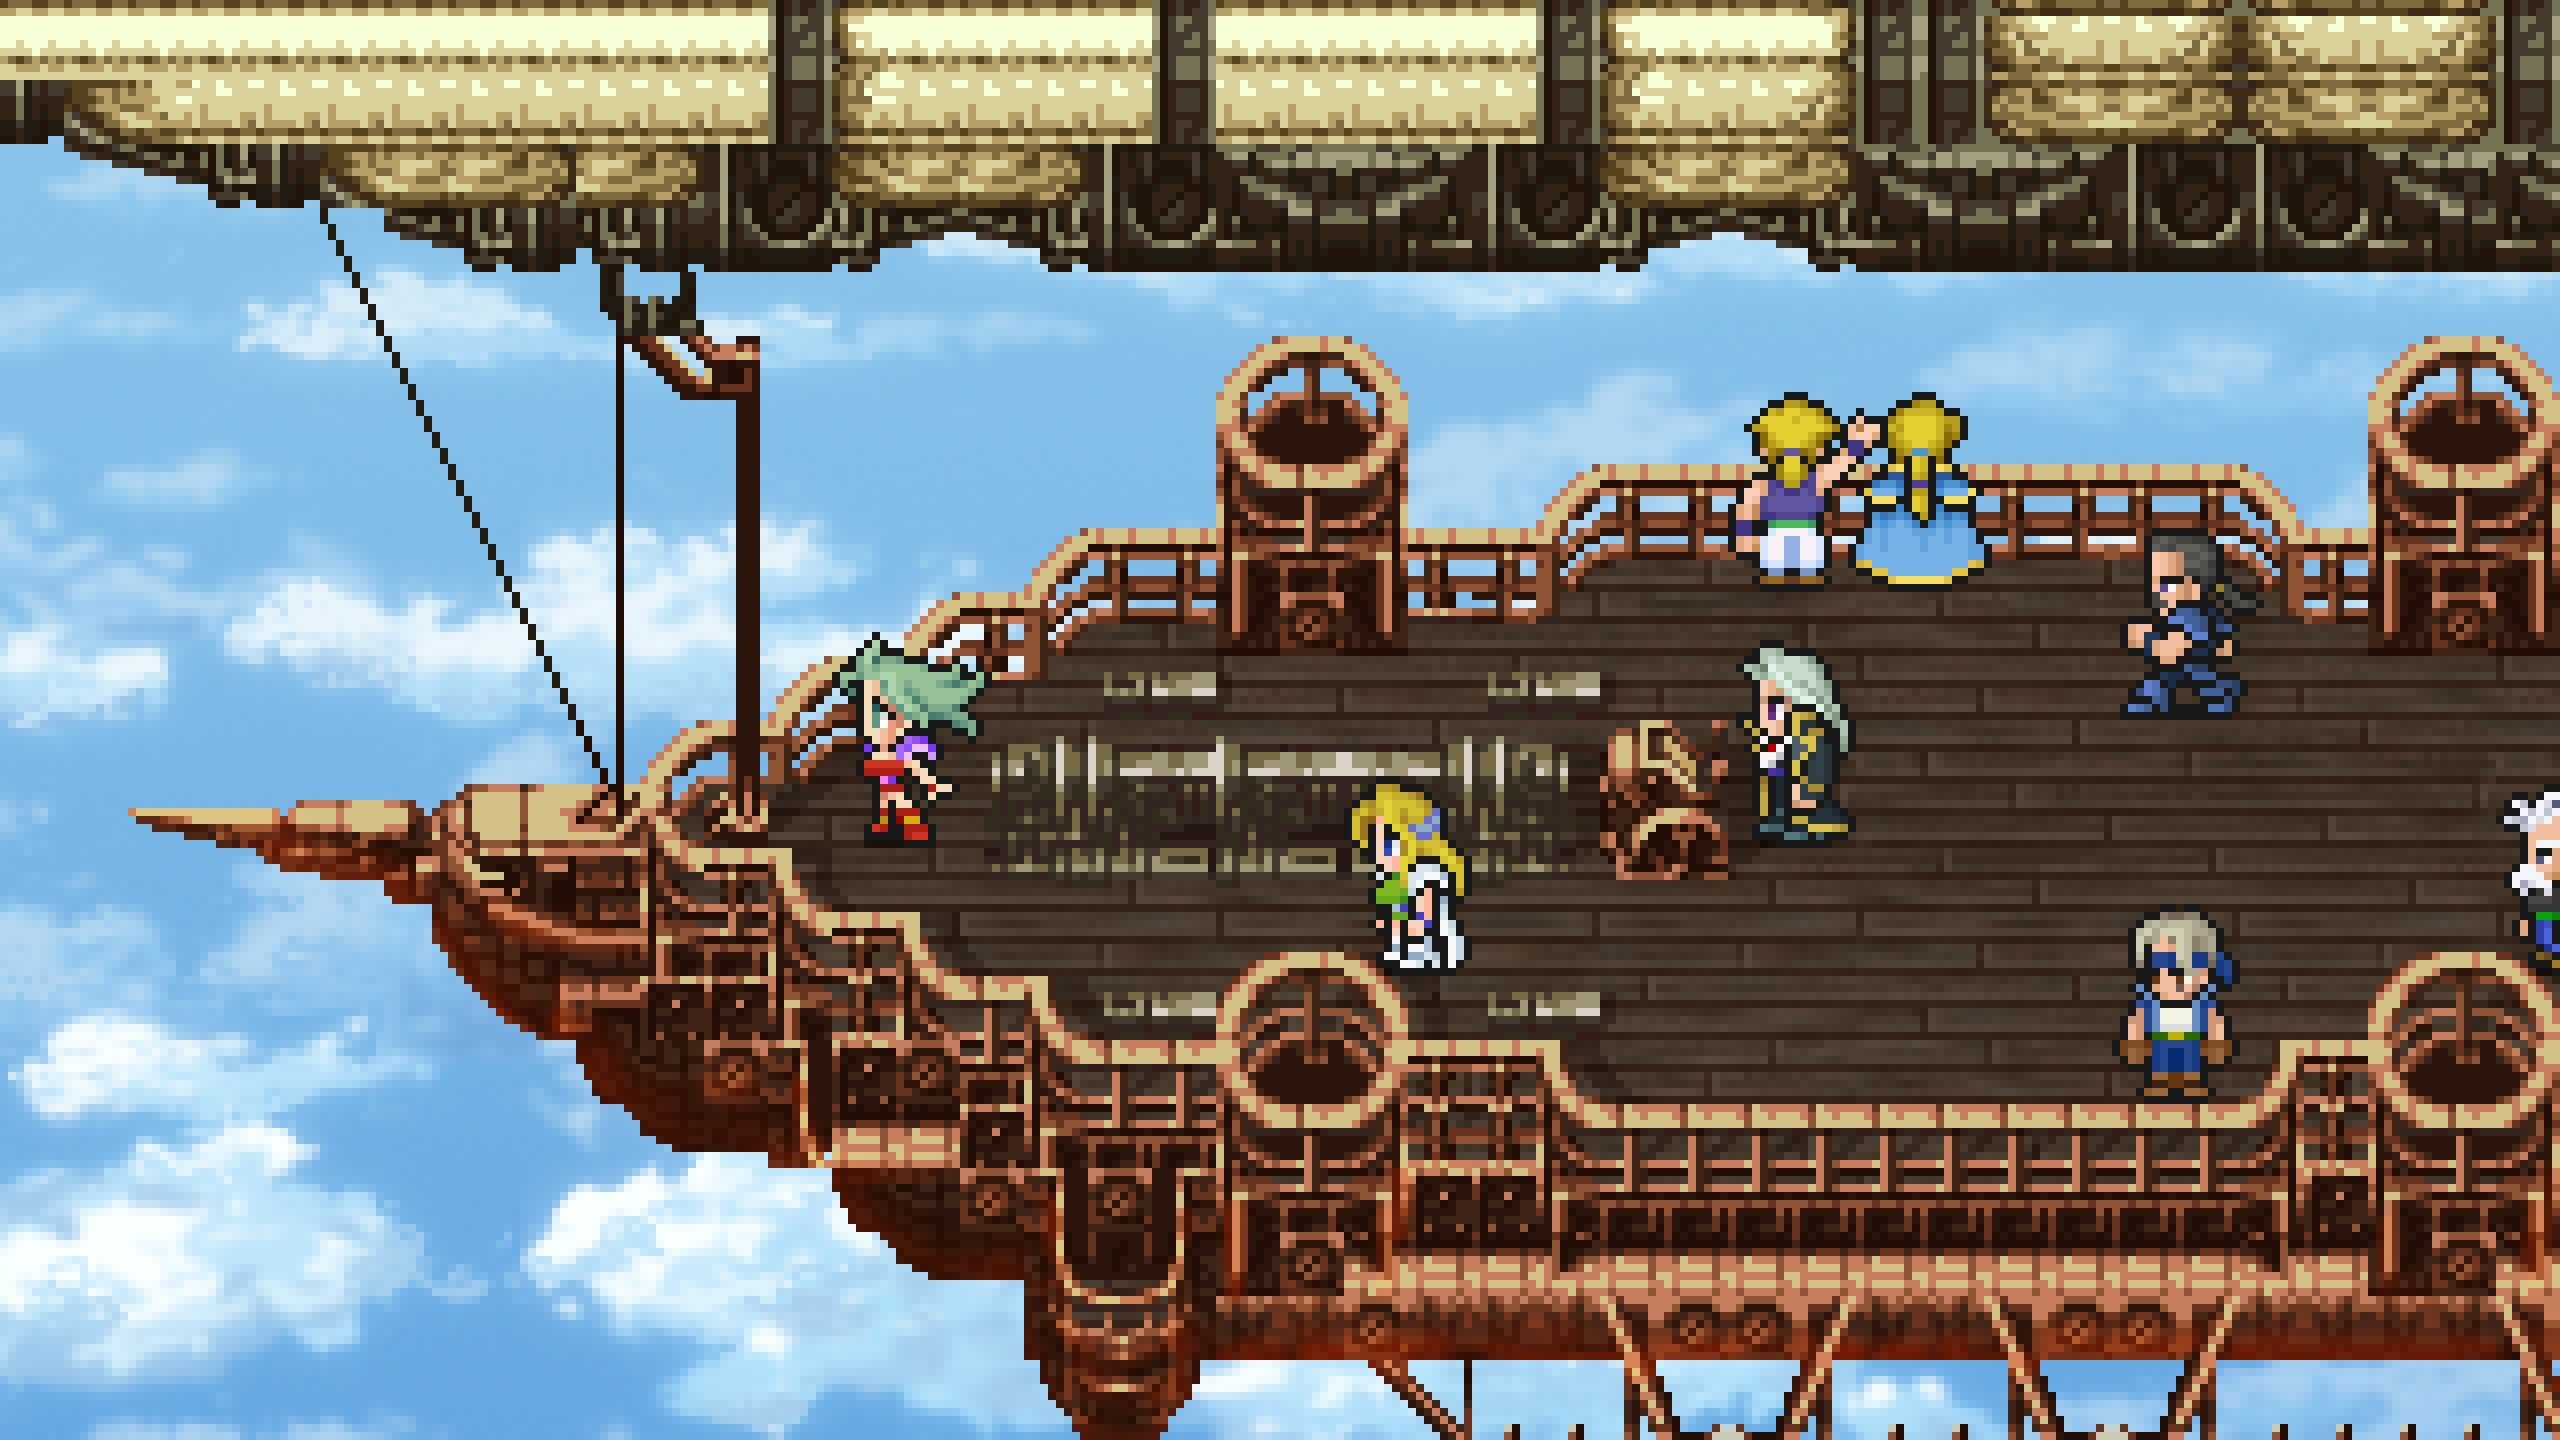
I know some people will fight me on this point, but I'm ready for them. I know plenty of people stan the epilogue of Final Fantasy IX, but to me, that conclusion is spoiled by the stench of Necron and Kuja's redemption arc sucking complete and total shit. It's also a little too "fuzzy mittens" for my tastes. I have always been a fan of Final Fantasy XII and how it remains the only game in the series to tackle the idea of allies and friends growing apart after their proverbial "call to adventure" ends. Also, this is my big video game confession, but I don't like Final Fantasy Tactics as much as the "normal" Final Fantasy enthusiast. All of that aside, the epilogue of Final Fantasy VI is better than all of them. Every character, even the optional ones, gets their due as everyone frantically attempts to make their way out of the collapsing tower. Seeing each character help their friends during times of need shows one last time that everyone in Final Fantasy VI genuinely cares for one another. It is a satisfying end note and one that goes a miraculous twenty minutes and features a superb musical accompaniment that merges all of the character's themes into something magical.
The epilogue also does a miraculous job of wrapping up many character arcs in record time. As I mentioned, the epilogue tops out at around twenty minutes, depending on the number of characters you recruit at the World of Ruin. So, color me surprised that the game manages to cement the brotherly bond between Sabin and Edgar, finalize the relationship between Celes and Locke, give Cyan a chance to be a "modern man," and provide Terra one last humanizing moment with her long-dead father. It's a long scene that is worth every minute and one of the primary reasons why I think all players should see what the game is like with every character back in the fold. Even the couple that conceives a child at Terra's orphanage gets some time and assists in conveying the game's message that the future of Final Fantasy VI might be uncertain, but everyone is up for the challenge.
And there's something to the game's ending that will forever "work" for me. Unlike previous and future entries in the Final Fantasy series, there's a sense of positivity as the characters set out to "fix" the world Kefka has ruined. Still, there's also an undercurrent of melancholy. Characters recognize the world's sacrifice and give props to dead friends and family members. When Terra attempts to fly with the Falcon, she has a final moment with the Magicite form of her father, and as he congratulates her efforts, he bursts into dust. All of the Espers follow suit, and there's a brief moment when you realize that an entire half of the world of Final Fantasy VI, the Esper half, is now gone. I should also mention Shadow and how he ambiguously makes amends with his long-lost friend. Other endings in the series utilize an element of melancholy to make their final moments feel more grounded. Still, Final Fantasy VI stands in a class of its own. It's one of the few games in the series where I have no idea what would happen next, and I'm perfectly okay with that. This game should NEVER get the Final Fantasy X or IV treatment, and that's all that needs to be said.
Part 19: The Credits In The Pixel Remaster Are A Historical Travesty

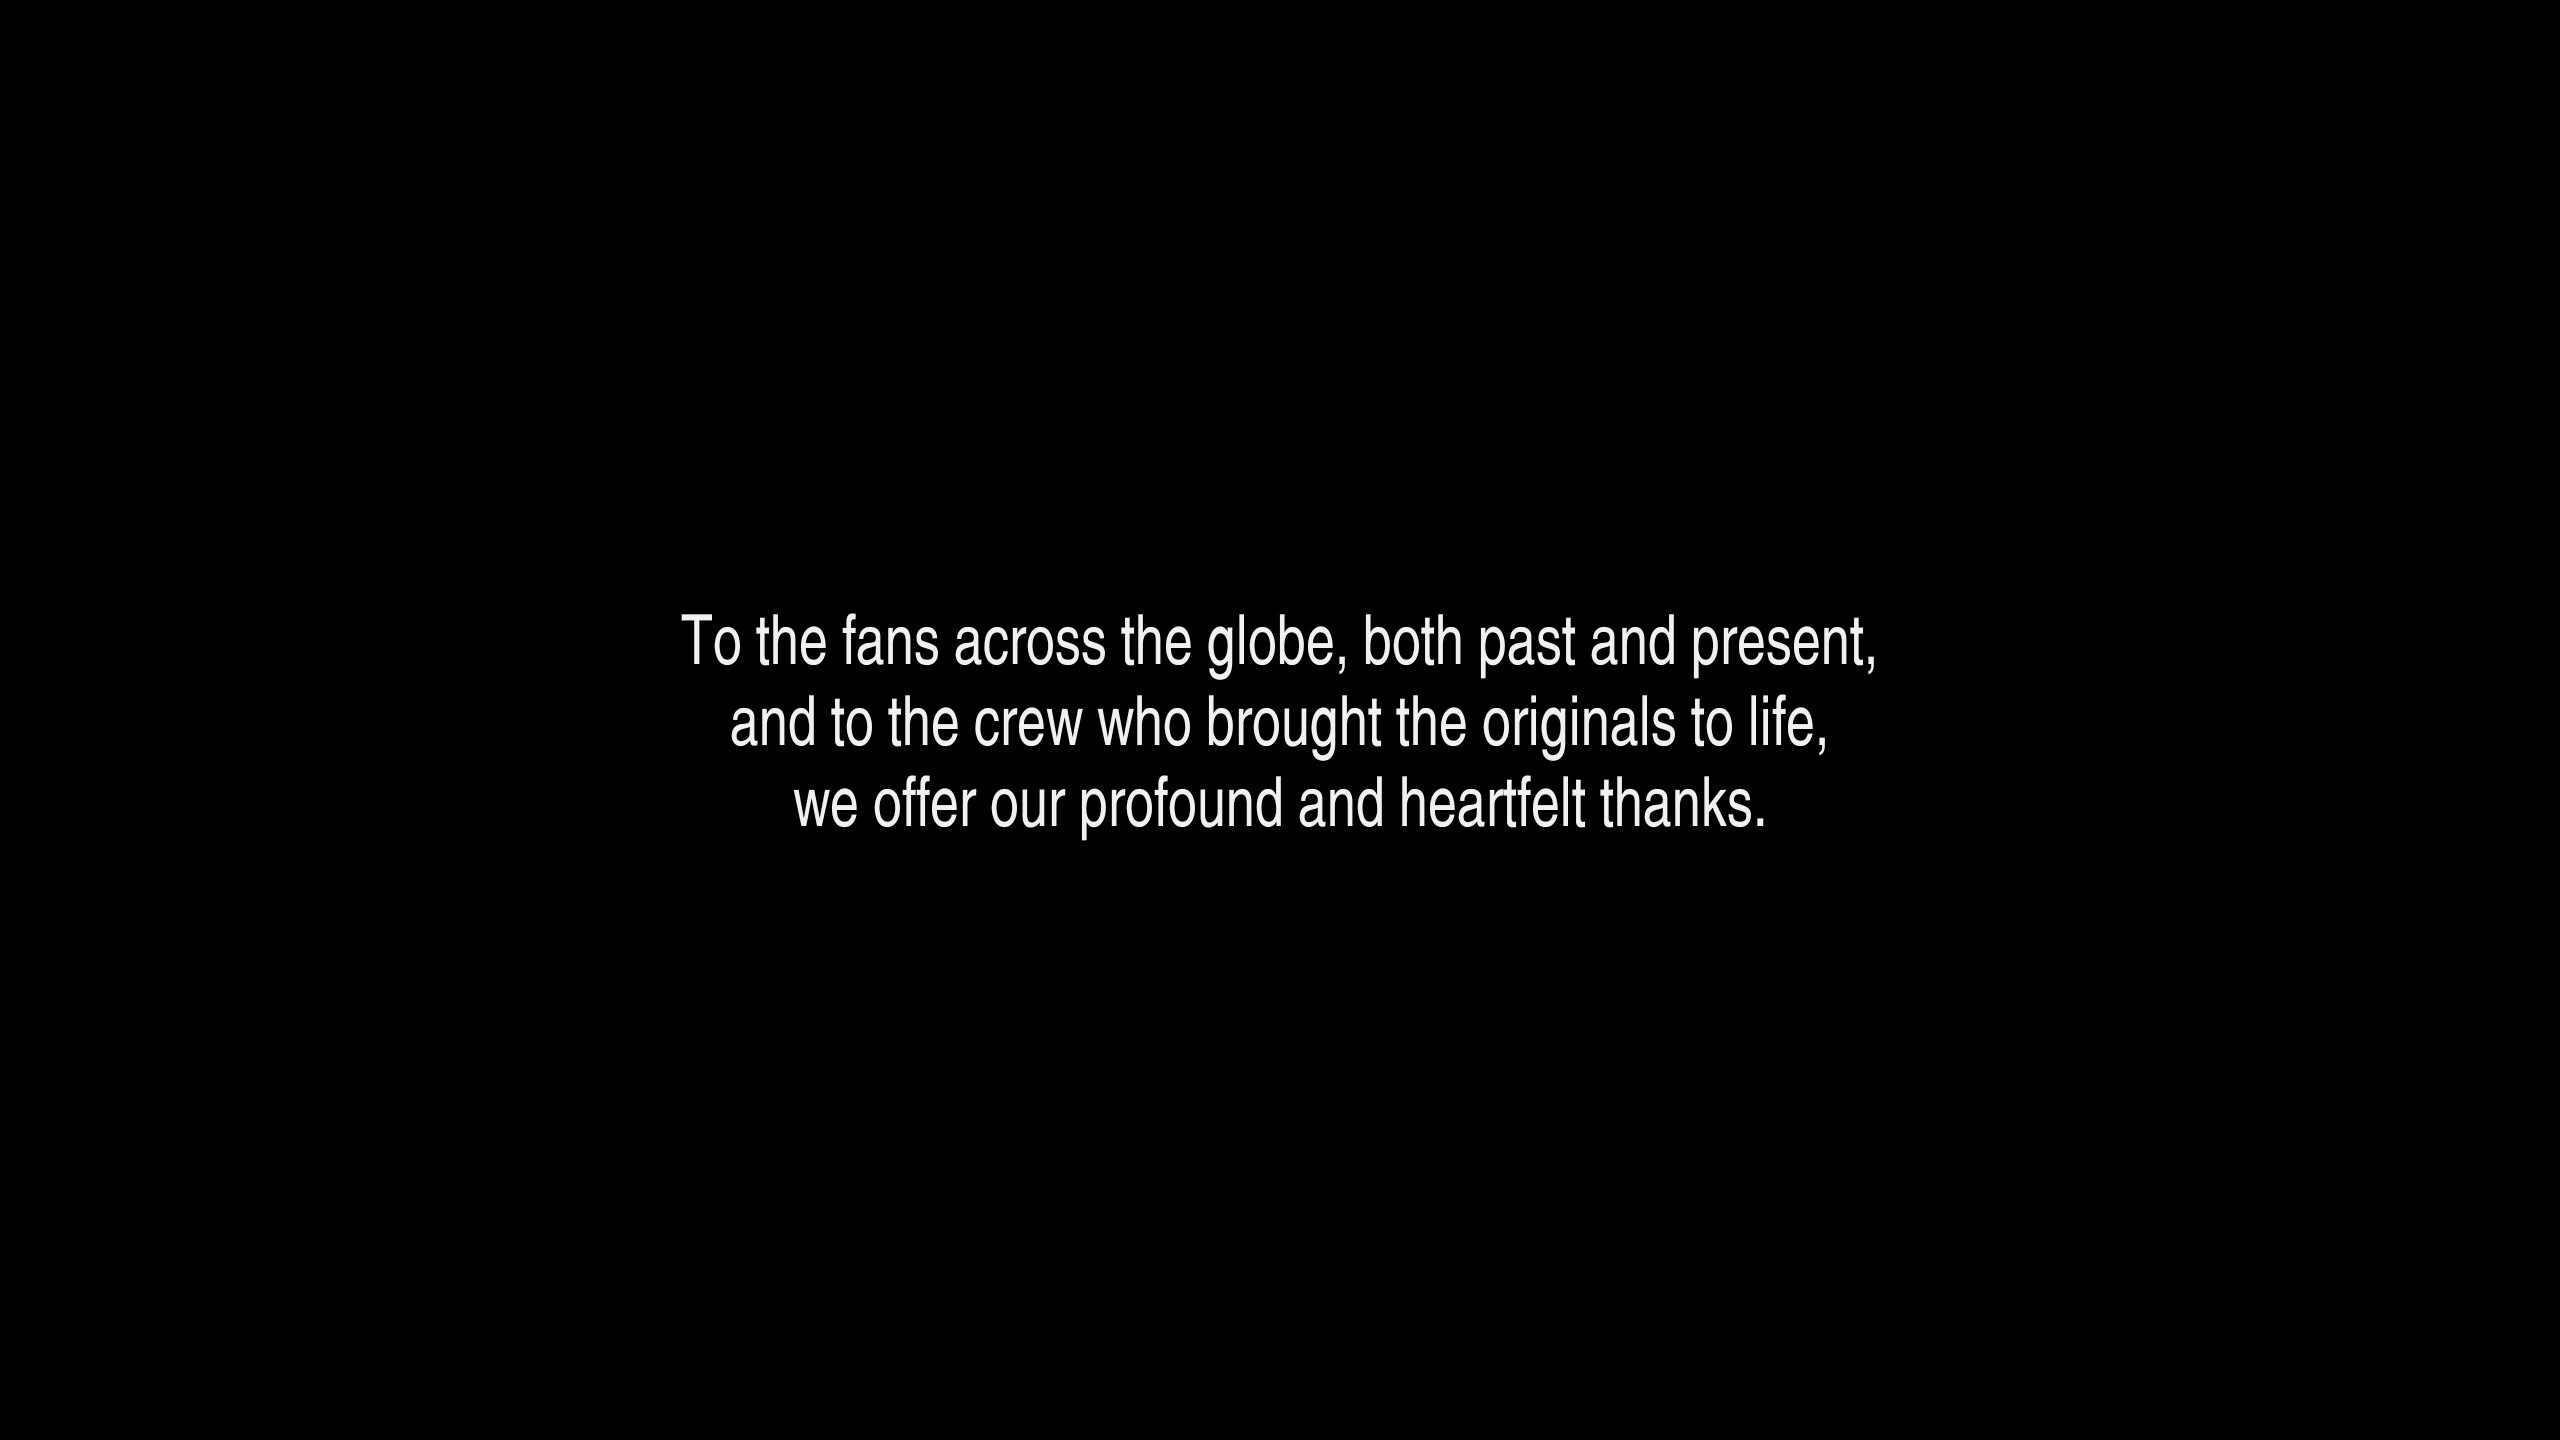
Mostly, I have been upbeat about Final Fantasy VI, and in this case, the Pixel Remaster of the game. With the North American release of Final Fantasy VI exceeding its 28th anniversary at the time of the publishing of this blog, replaying the game was an enthralling trip down memory lane. While I had not played the original SNES release of the game, replaying Final Fantasy VI caused me to recall the treasure trove of similar titles I played when it took the world by storm. That nostalgia is something everyone reading this blog can understand, and it leads me to the one part of the Pixel Remaster that caused me to spiral into a frothing rage. As the game transitions from its epilogue to its final credits, you'll immediately notice that the end credits are entirely different and largely omit the staff that worked on the original release of Final Fantasy VI. This change, combined with removing the opening credits crawl at the start of the game, is particularly problematic. Hironobu Sakaguchi and Nobuo Uematsu get individual callouts near the end of the credits because, OF COURSE, THEY DO! However, unless a person working on the original is still a part of Square-Enix today, their name has been entirely removed from the record books. They get a nice "We would also like to thank all of the people who worked on Final Fantasy VI in the past!" note right before the game says "The End," but even that is entirely inadequate.
The Japanese video game industry has always had a problem with giving developers, designers, and localization teams their due. In the last Final Fantasy VI blog, someone pointed out how the erasure of the original localization team started with the PS1 port of Final Fantasy VI in Final Fantasy Anthology. I can also confirm that the since-pulled iOS/Android and original Steam release of Final Fantasy VI fails to name most of the original team that worked on the initial release. Instead, like the Pixel Remaster, it ends with a vague "thank you" to everyone who toiled away at any prior version. It is unforgivable that Hironobu Sakaguchi is the only directly credited member of Final Fantasy VI's original design and programming team in the Pixel Remaster. That's doubly so when you consider that since the initial SNES release, no subsequent releases have mentioned or directly thanked Ted Woolsey, the unforgotten figurehead that played a massive role in Final Fantasy VI's success outside of Japan. I appreciate the monumental task of keeping track of over twenty years of developmental history for the sake of staff credits most people ignore, but Square-Enix can and should do better.
People not part of the design team also deserve their flowers in the Pixel Remaster for other reasons. The clearest example has to be, as mentioned earlier, Ted Woolsey, the original English translator of Final Fantasy VI and Chrono Trigger. To say Ted Woolsey played a role in popularizing the JRPG genre outside of Japan and assisted Squaresoft in becoming a mainstay in the industry is an understatement. Ted Woolsey is why Final Fantasy VI had the international success it did when it first hit North American shelves on October 11, 1994. The SNES translation of Final Fantasy VI was not "perfect." Still, Woolsey's ability to navigate the Draconian standards of Nintendo of America while keeping the original game's spirit intact was nothing short of a miracle. Likewise, many of his creative embellishments, which some give him guff over, have stood the test of time and been canonized by Square-Enix. The original Japanese version of Kefka is a goofy jester but lacks any of the larger-than-life sensibilities that have since gone on to define him.

While TVTropes and some translation communities continue to characterize him as a dictator, with the term "Woolseyism" used as a curse word in certain circles, he is critically important to the state of the franchise. Finally, he legitimized localization as a career in the video game industry! While translation circles have existed since the dawn of time, Ted Woolsey tirelessly worked to advocate for Squaresoft and Nintendo to expand the scope and budget of their translation teams. In doing so, he helped set industry standards that are still appropriate in some areas today. Removing Woolsey from the record books is not just a blow to the series; it's a blow to the localization community and the people who work to translate media. There are no standards to ensure localization leads and directors have a fixed position in remasters or re-releases. And when I get off my soapbox about Ted Woolsey, how can I forget all of the quality assurance leads, designers, and programmers that made this game possible and are bound to be lost to time? It is depressing and a problem with no immediate industry or fan appetite to fix it.
Part 20: Why Final Fantasy VI Is STILL Required Reading & Will I Continue To Write These Blogs
From time to time, almost like clockwork, I am asked which game in the Final Fantasy franchise is "the best." After covering the series and its many crossovers and media tie-ins, some on the internet believe I can authoritatively speak on the series. Honestly, I'm not too fond of the question, and my answer flips between three to four games, depending on my mood. The question I find far more compelling is what titles I think any self-respecting hobbyist or appreciator of the history of video games MUST PLAY. Final Fantasy VI is the most essential game in the series for people to play. Final Fantasy I was the first; VII made the franchise an international hit; IX is a storytelling masterpiece; X moved millions of PS2s. However, to understand why Square-Enix still clutches to Final Fantasy as a tentpole franchise or why fans swoon if they see so much as a smidge of Tifa Lockhart's taint, Final Fantasy VI is your answer.
In between blogs and articles, I'm a full-time public education teacher. The concept of accepting more than one possible answer when providing a writing prompt is familiar to me. When people share what they consider "the best Final Fantasy game," I am willing to hear out a cornucopia of possible answers. You can tell me it was Final Fantasy I because it introduced you to RPGs. I will allow you to defend the job systems in III and V. I understand that IV was the first game to honestly give a shit about telling an epic story with named and relatable characters. Final Fantasy VII is a technical and directorial masterpiece that set standards for the industry and brought millions into the PlayStation ecosystem. Final Fantasy VIII is narratively and mechanically ambitious and challenges what it means to create a sequel to a beloved classic. Final Fantasy IX is the culmination of what the "old guard" pioneered up to that point and features the most complete world seen in the mainline franchise. Final Fantasy X moved away from the aging ATB system and struck an emotionally resonant tone that still holds up to this day. Final Fantasy XI has an active community that continues to persist. The society behind Final Fantasy XIV is even more impressive, with feats of communal cooperation previously unheard of in gaming accomplished daily. Final Fantasy XII sports an incredible motley crew with the best voice acting to grace a modern Square-Enix product. Tactics even deserves some recognition for codifying the conventions of a genre while also telling a complex geopolitical drama that puts current titles to shame. I have even met more than one person who said that Lightning from Final Fantasy XIII means more to them than I could ever understand and that she assisted them in identifying their current gender or orientation.
All of these statements are true. And the last message that I would add is that Final Fantasy VI is a "forever good game," and you owe it to yourself to see why. There's no "timeline" that we exist on where the Opera House scene is not considered a seminal work of art. Even if Final Fantasy VI is not your favorite Final Fantasy game, you need to understand how and why the parts and pieces of your favorite game come from it. If your favorite game in the series predates VI, then it is worth exploring again to understand how it represents a final capstone to the 2D era. The words "they don't make games like they used to" is a regressive sentiment in general, but it applies in this context. Final Fantasy VI includes everything that makes the series worth following in a single package. It has the prototypes of character arcs and trope representatives that persist in the series.
I started the first episode of this retrospective with a tidbit I want to repeat once more as I wrap up things. Compare, for just a minute, the release date of Final Fantasy IV to Final Fantasy X and realize they are only ten years apart. For ten years, this franchise constantly reinvented itself and set standards for everyone besides the CRPG circle and Enix. If the Final Fantasy franchise tried something different in one of their games, then there were bound to be a dozen games that followed suit. Final Fantasy VI represents the inflection point when Squaresoft, and eventually Square-Enix, very honestly ruled the world. That still applies today, but to a lesser extent.
Even then, it's crazy to see the series lurch closer to its thirty-fifth anniversary. Even as newer titles fuel the expected meme-making machines for social media, the number of people who strongly identify with characters in its many titles is far more than most are willing to admit. I've been doing these Final Fantasy retrospectives for seven years. That's an unimaginable amount of time. Unless, of course, these games meant something to me. As cheesy and wild as it might sound, I want to thank Final Fantasy VI and everyone who put blood, sweat, and tears into it. It was a game that put everything into perspective as I repeatedly struggled with writer's block and apathy over whether or not I wanted to continue to put hours into writing text the regulars on the internet may or may not read. So, thanks to Final Fantasy VI, I'm not giving up until this website tells me I must stop. However, a palate cleanser is up my alley for my next Final Fantasy series. I'm excited to announce Lightning Returns: Final Fantasy XIII as my next topic.