Brewing Beer with Andy (VIDEOS AND PICTURES) - Learn to Brew!
By Brewmaster_Andy 33 Comments
It's time again for another excursion into the wonderful world of homebrewing. Since the last time I posted a beer tutorial, I have purchased some new equipment and turned my modest turkey fryer set-up into an arcane amalgamation of beer brewing insanity, adding a pump and double burner. Hyperbole aside, my process has changed dramatically with the new equipment, and I decided that I would put together a new blog documenting my updated process. This post is going to basically teach you how to brew your own beer. I've included several videos designed to give you an overview of the process so that you can see what goes into brewing a batch (and also because Pascual asked me to), from mash in to yeast pitching. I'll even include definitions for those terms!
Apologies for my heavy breathing in all of these videos. I am getting over a cold and have been forced to mouth breathe for days!
HOMEBREWING VOCABULARY
MASH: The combination of heated water and grain that converts starch in the grain into sugar to serve as yeast fuel. Also used as a verb, "to mash."
SPARGE: The process of rinsing residual sugar from the grain after the mash. Heated water soaks the grain and is then drained out into the boil kettle. Also used as a verb, 'to sparge."
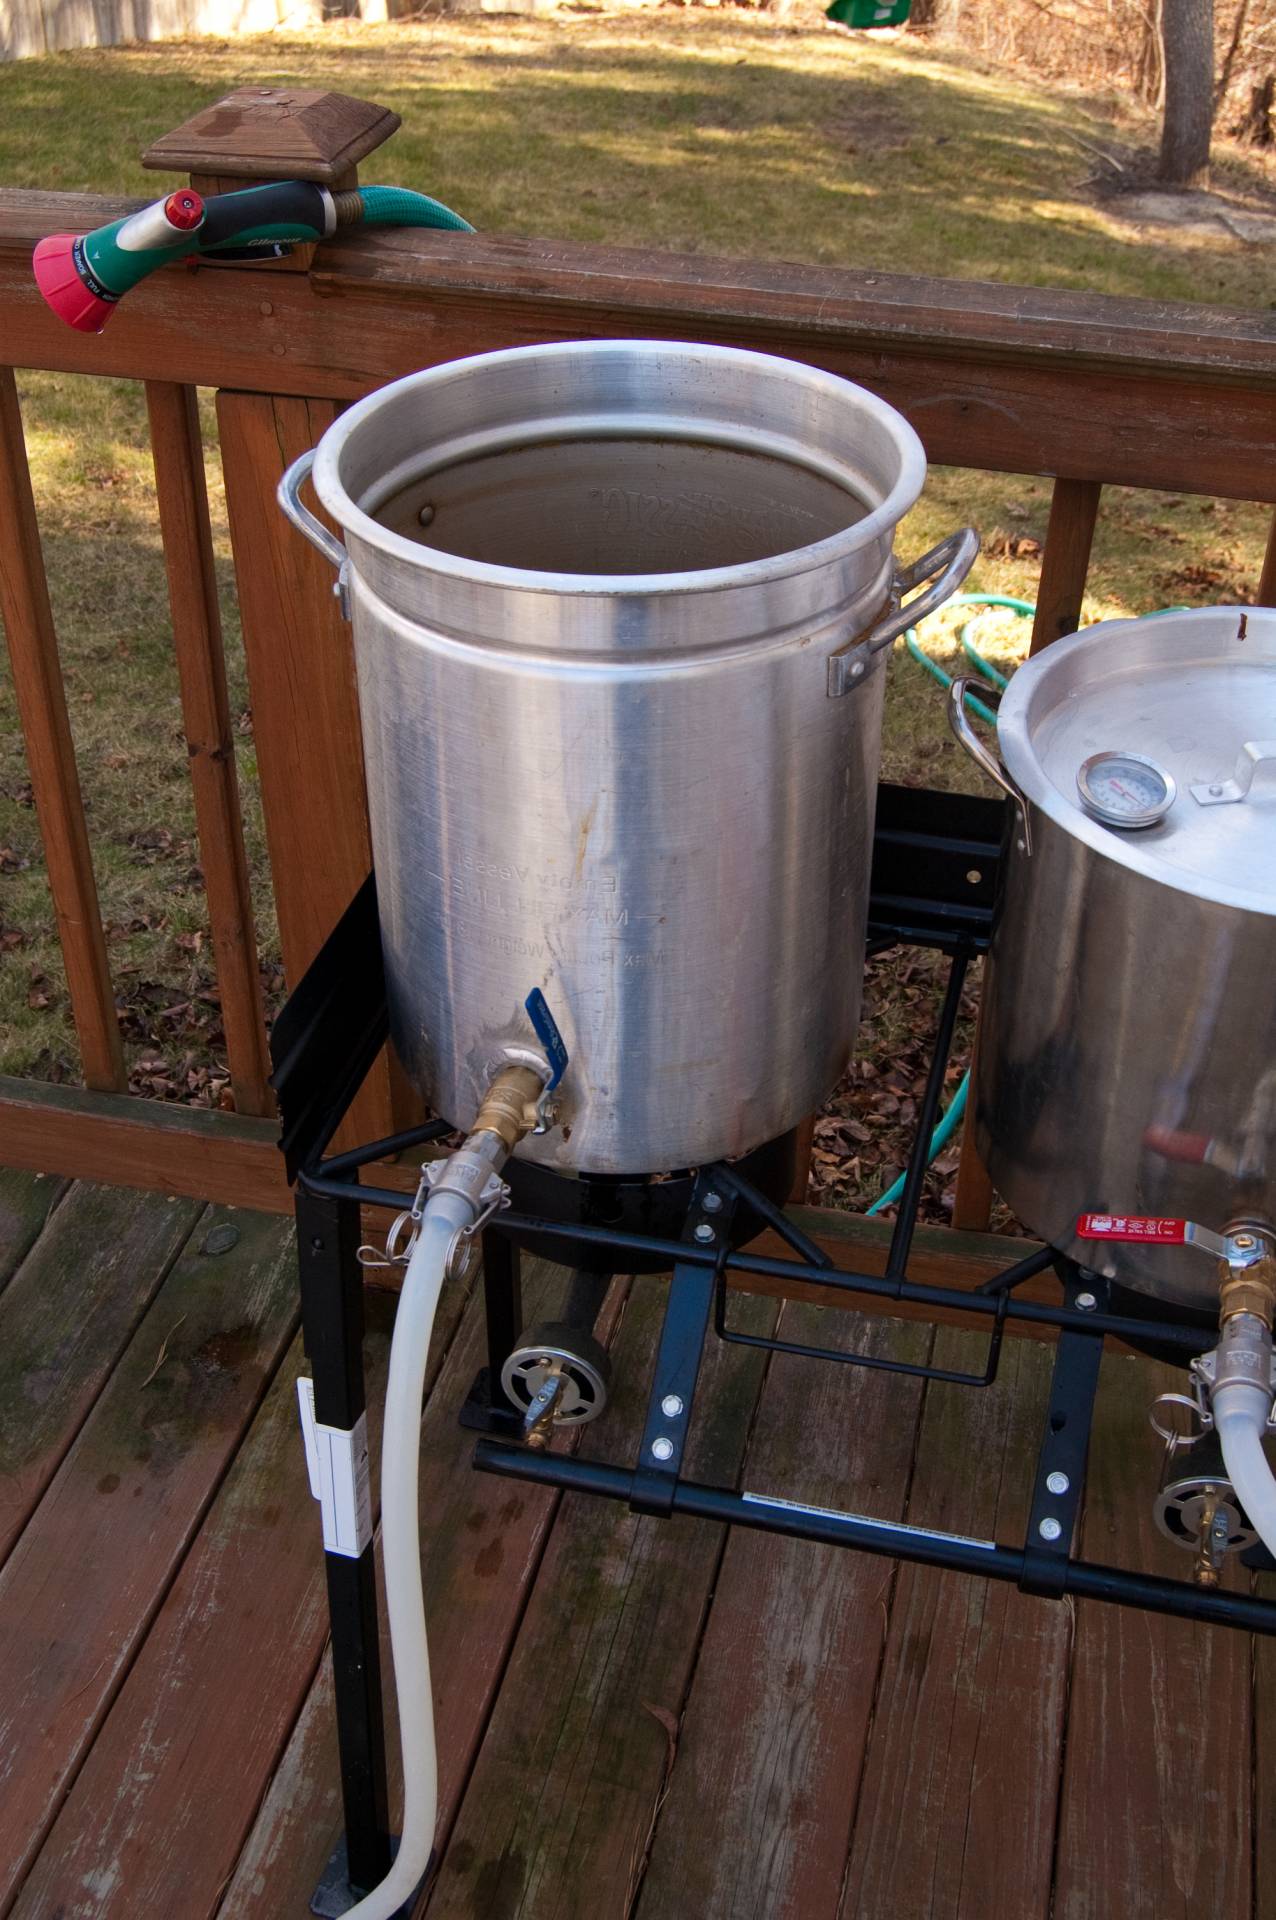
HOT LIQUOR TANK: A vessel for heating water used in the brewing process.
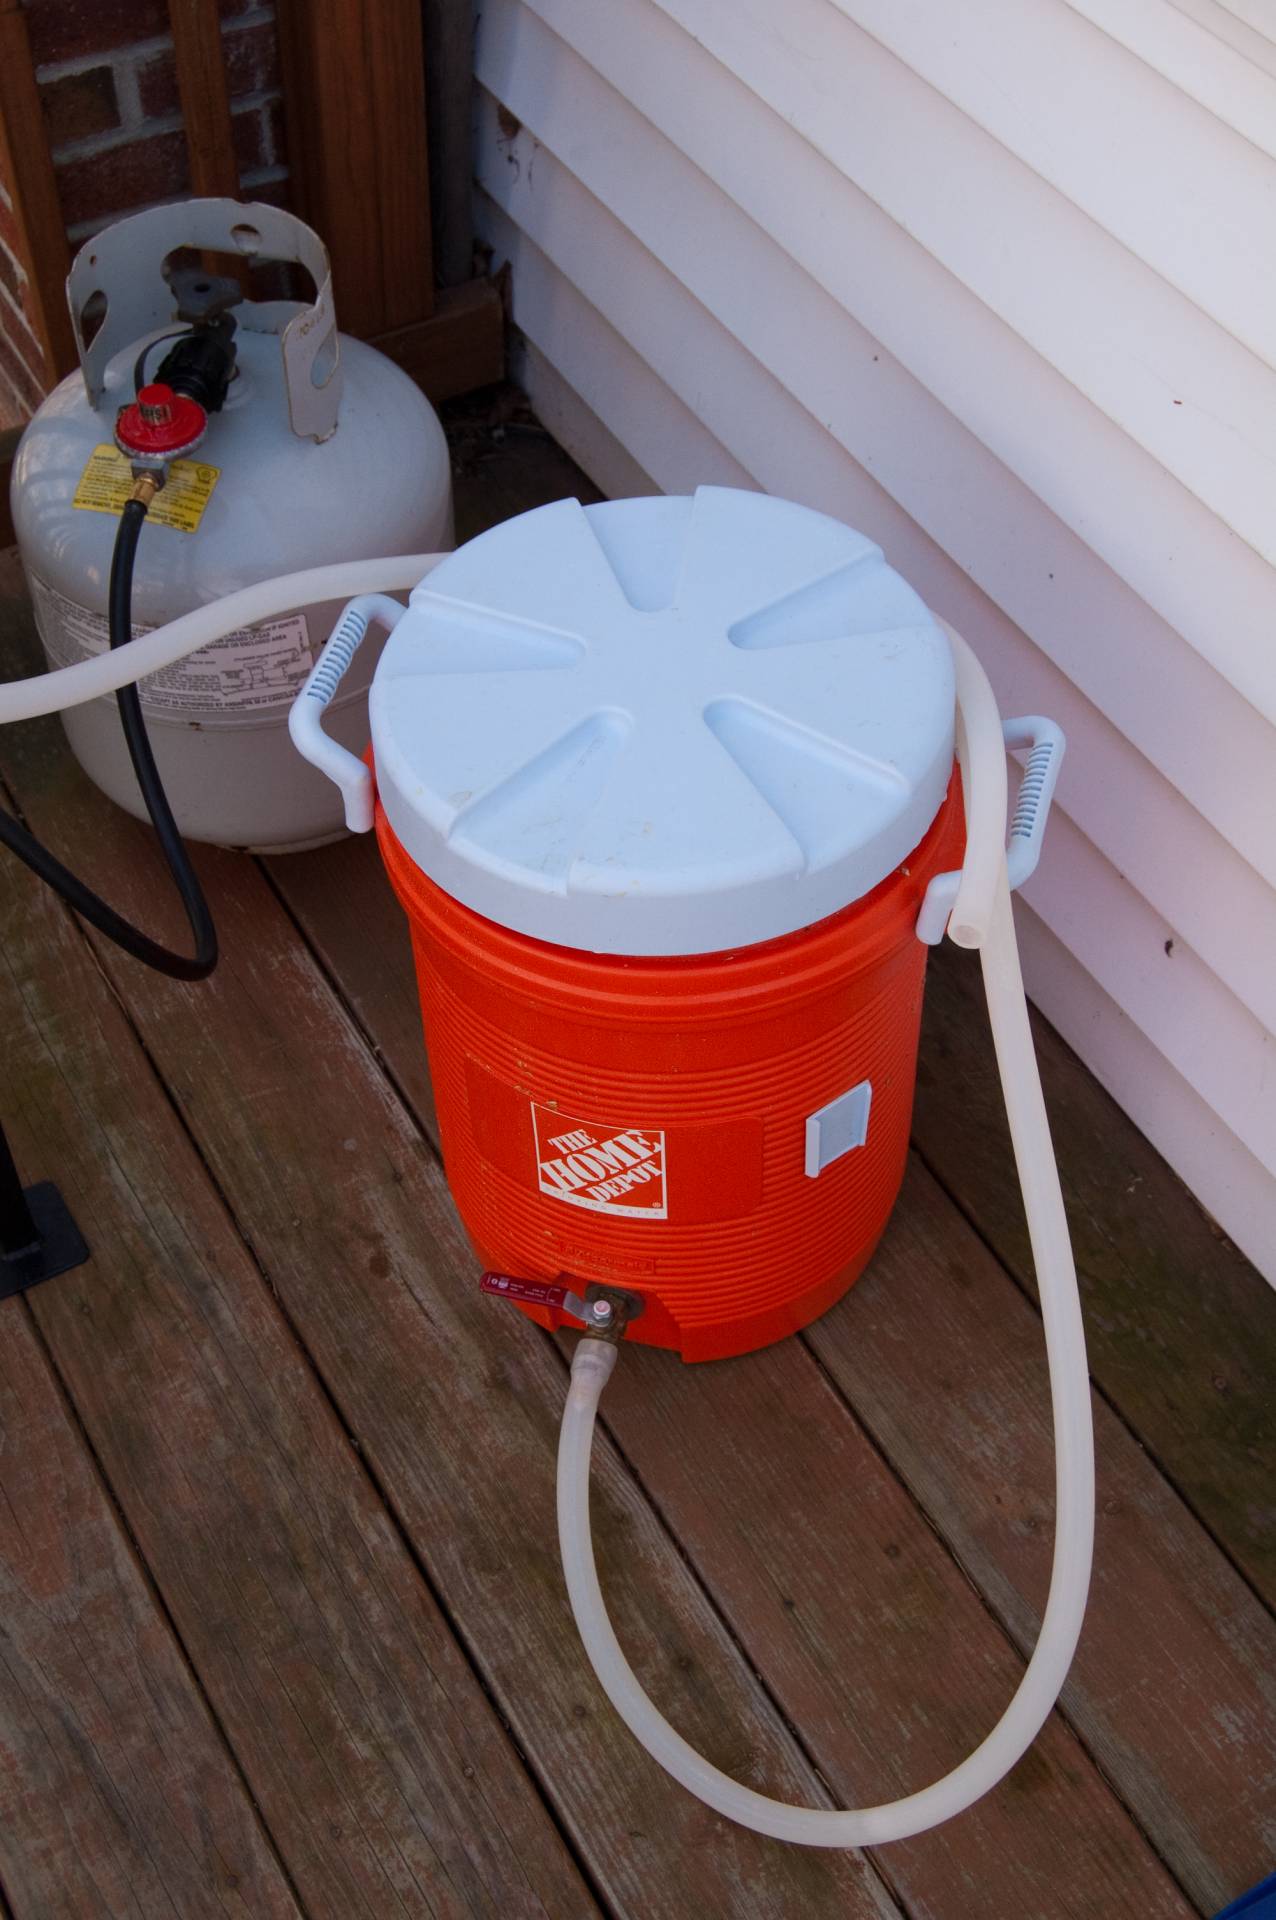
MASH TUN: The vessel used to contain the grain during the mash. This vessel is equipped with a filter to separate wort from the grain.
WORT: Unfermented beer - the sugary water drained from the mash tun into the kettle.
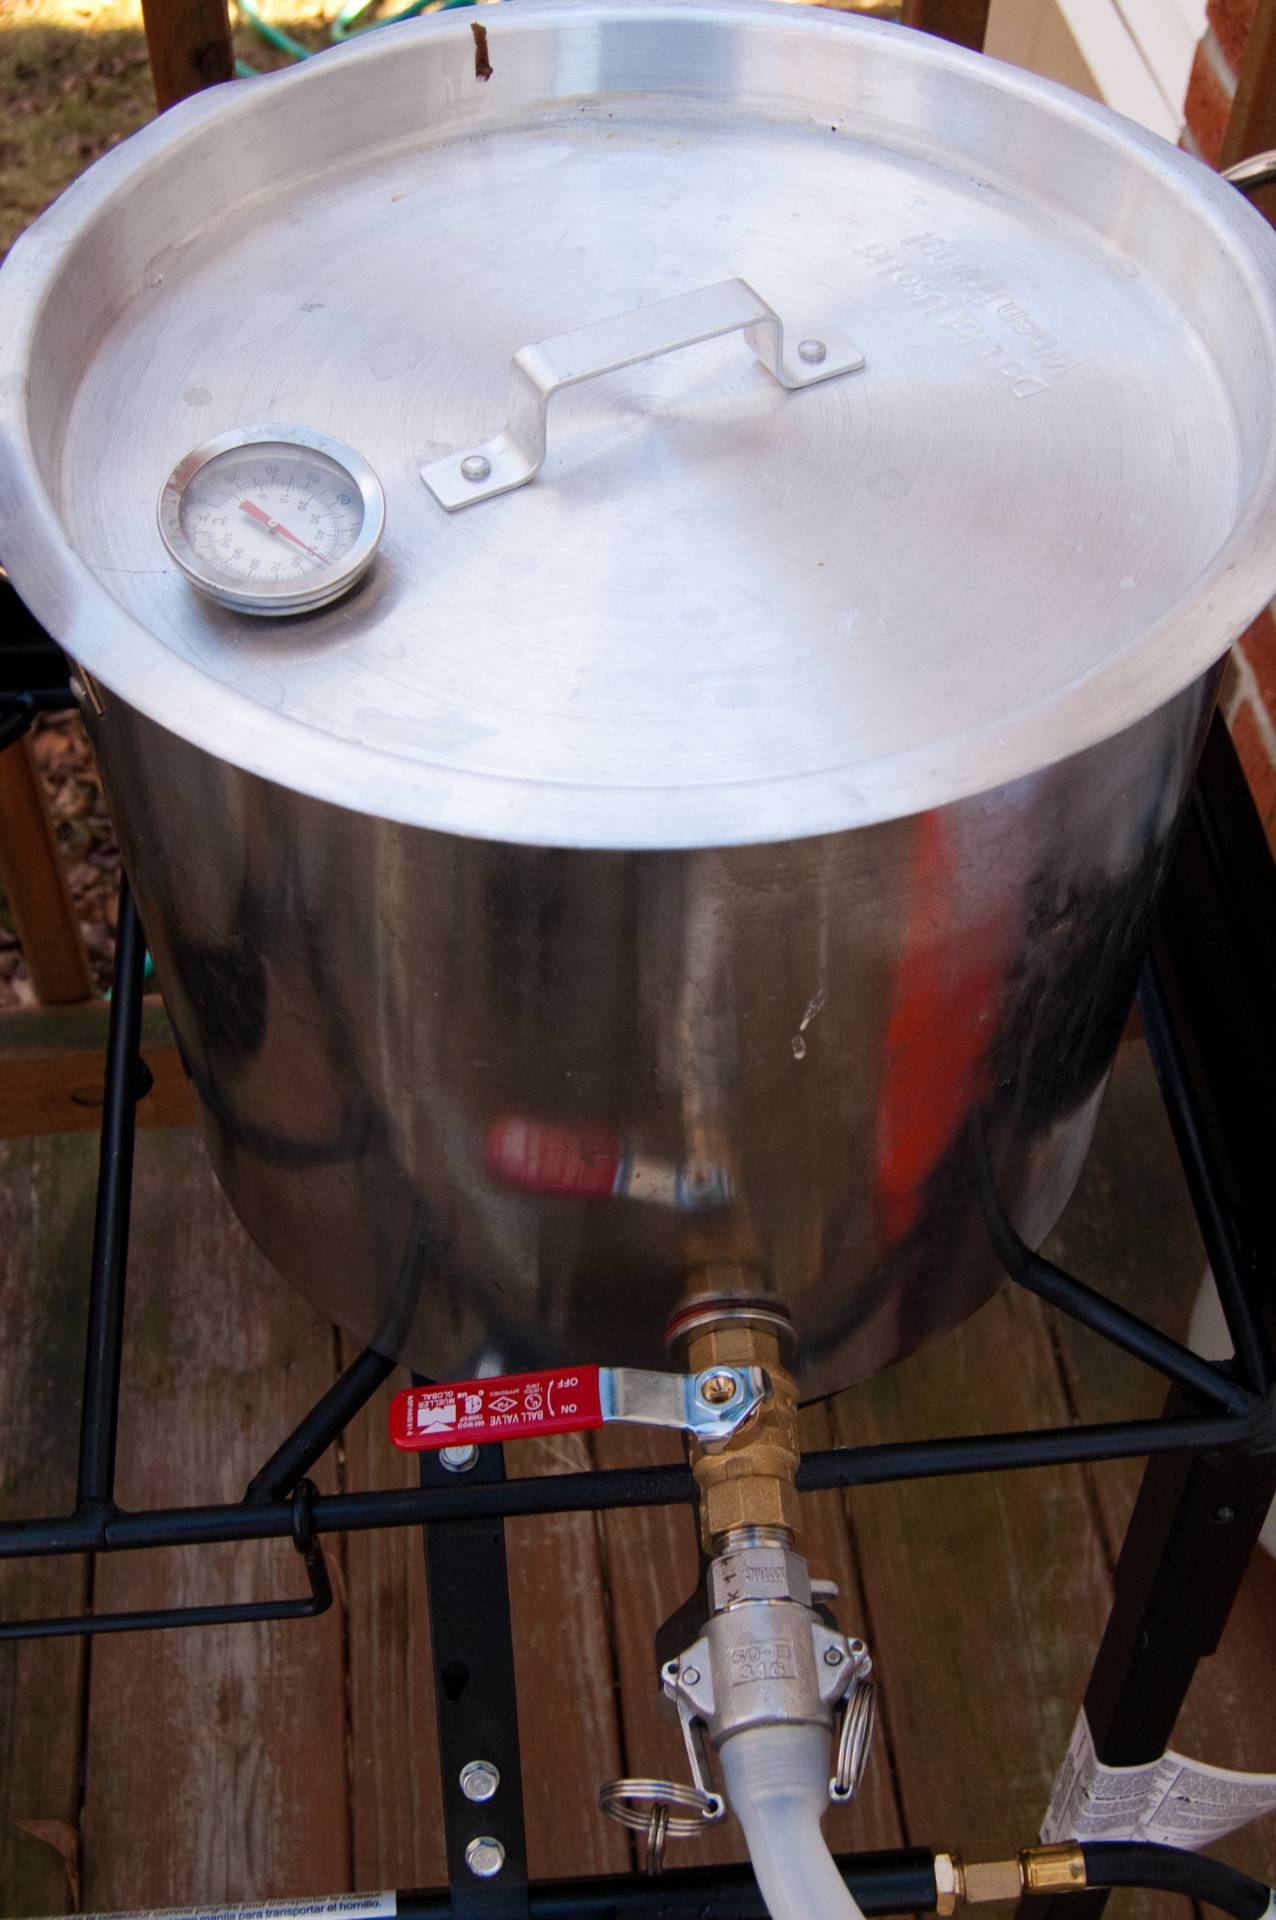
BOIL KETTLE: A boil kettle.
YEAST PITCHING: The process of adding the yeast to the unfermented wort.
INTRODUCTION AND OVERVIEW OF EQUIPMENT
Let's begin at the end, shall we?
My basement is mostly finished, and I have a few beer-related rooms in it. My beer ferments out in my shop area, where I also store my gear. When the beer is finished, rather than waste precious time bottling it, I use five gallon kegs, called Cornelius kegs. They used to be used for soda, before the big companies switched to syrups. Here in the video you can see the two beers I currently have on tap. One is an American amber ale, and the other is the second test batch for Good Luck, Hop Batman - this year's PAX East beer.
This blog post will give you an overview of the brewing process from beginning to end.
First, a look at the common equipment used in brewing beer:

The boil kettle is used to actually boil the beer. All of the hops additions used throughout a brew day are placed in the boil kettle.

The hot liquor tank is basically a holding vessel for heated water. There are multiple additions of water of varying temperatures, and all of them begin at the HLT.

The mash tun is pretty much a filter for the grain bed. This is the vessel in which the starch in the grain converts to sugar.

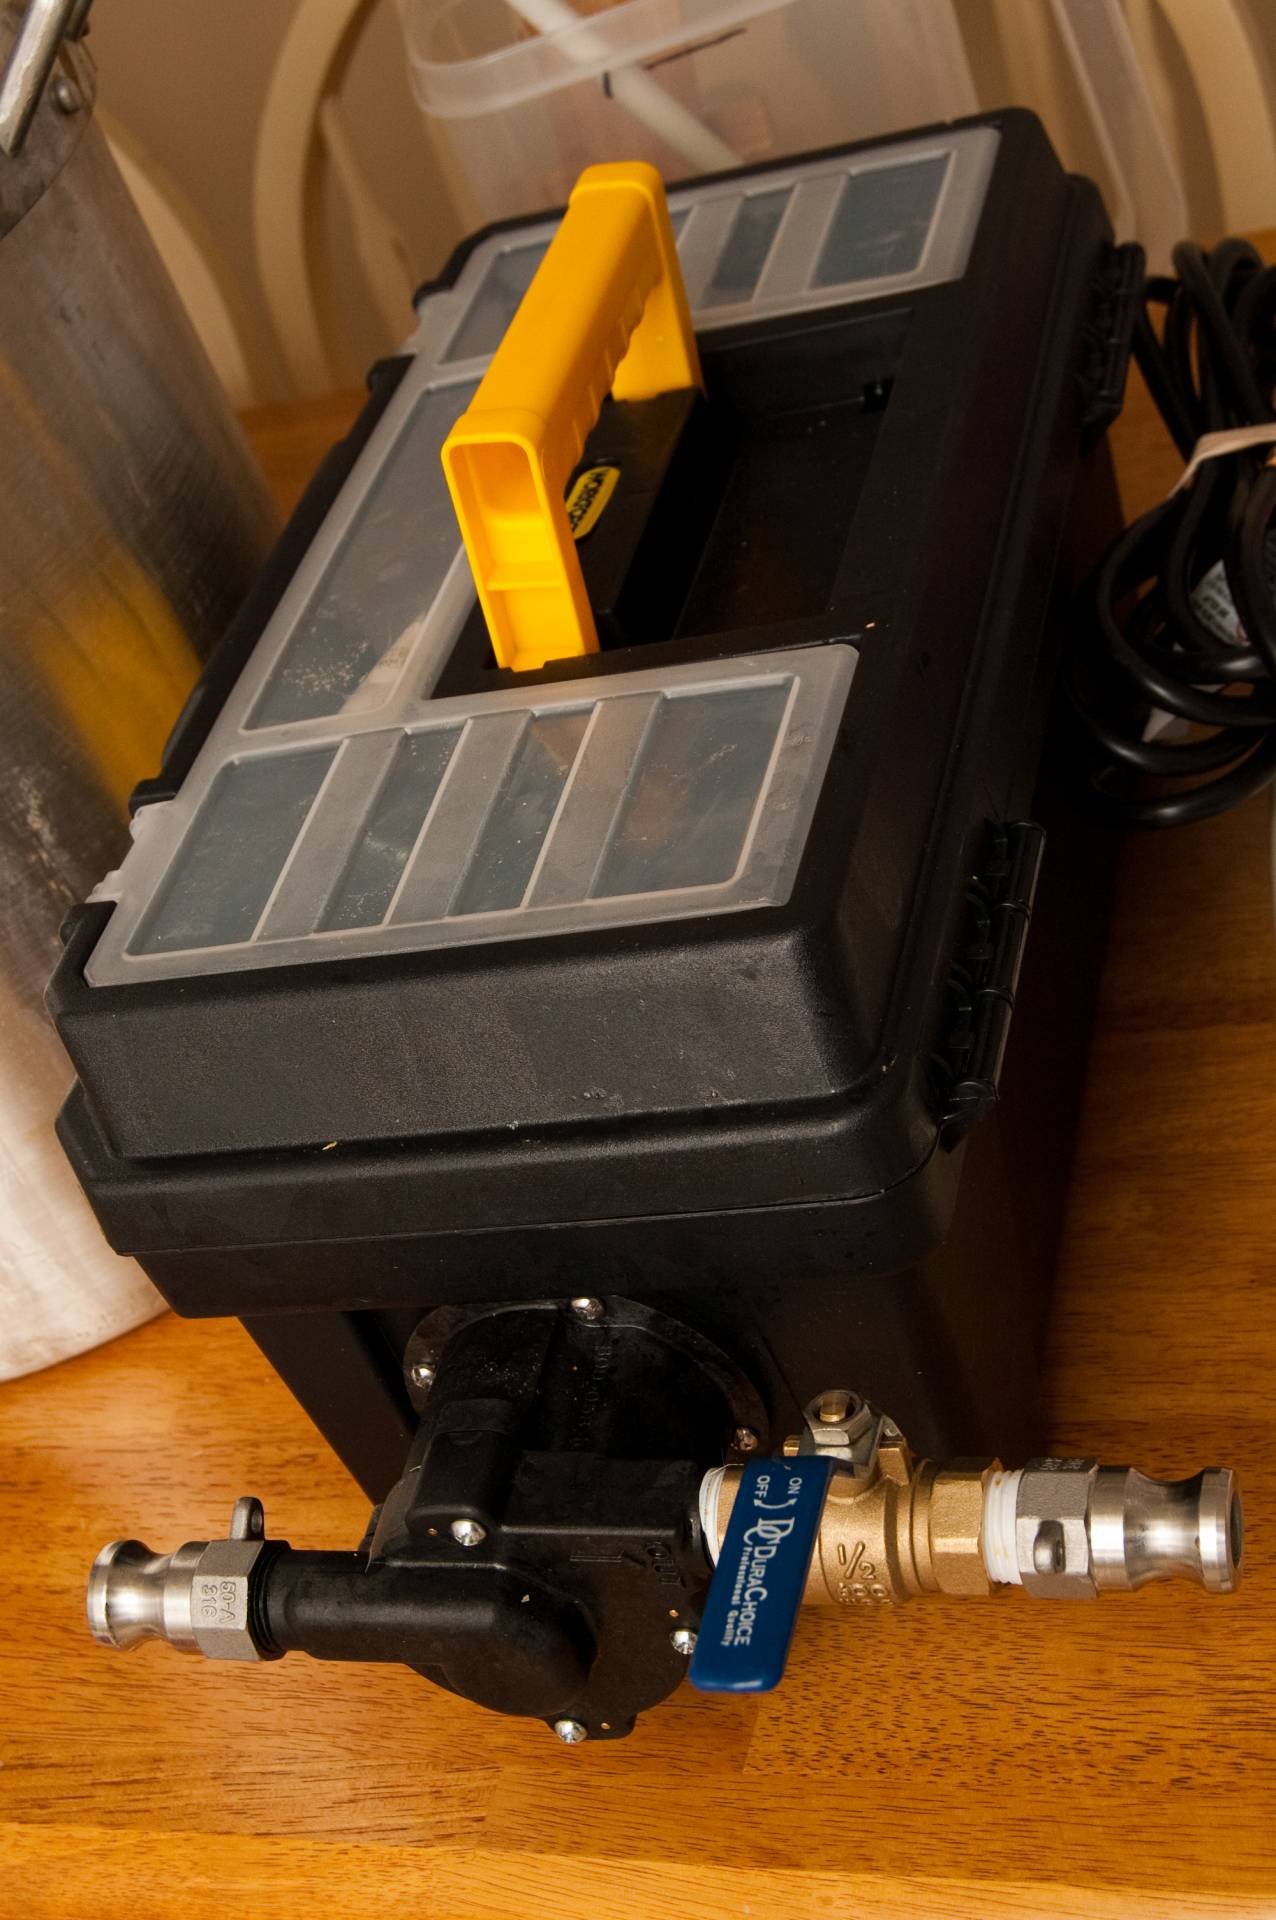
This is my favorite new addition to my brewery. This high temperature pump pumps liquid from various vessels into my kettle.
This following video gives an overview of my equipment and setup:
BEGINNING THE BREW DAY
One of the first major steps to a successful brew day is making sure that all of your equipment is sanitized. I use an acid-based sanitizer called Star San (http://www.austinhomebrew.com/product_info.php?products_id=513). Any process during the brew day can contribute to a bad beer. One of the most common problems that new brewers have is a contaminated batch due to an infection. Infections in your beer are easy to avoid if you ensure that everything that your beer will touch has been sanitized. You have to remember that yeast are living organisms - and they can be infected just like any other living thing. Unless you want a beer that tastes like feet (been there) then sanitize!
The next step is to heat up the first batch of water. The volume you use depends on your recipe. For the pale ale I brewed today, I used 2.5 gallons of water for this first step. Temperature also matters. When you stir your grain into the water, you are trying to hit a target temperature. This is called your mash temperature. This temperature varies from beer to beer, but the general rule of thumb is that a higher temperature (154-156 *F) will leave more of a residual sweetness in your finished beer, whereas a lower to medium temperature (150-152 *F) will allow the beer to finish a bit drier. You usually save the higher temperatures for sweeter beers, like stouts, porters, and double IPAs (in the case of a double IPA, the sweetness is meant to balance out the tremendous hop flavor). For this beer, my mash temperature needed to be 152 *F. I heat my water to well over that, to account for the temperature change from grain absorption. I heated my water to 170 *F.
One the water is heated, I drain it into the mash tun. The mash tun is basically a filter. There is a stainless steel braid at the bottom of an insulated cooler. The water goes into the cooler, then the grain gets added to the water. I stir the whole thing up (like making a big bowl of oatmeal!) and then the concoction sits for an hour. Over the course of that hour, all of the starch exposed in the cracked grains converts to sugar. That sugar will later act as yeast fuel, giving the little buggers something to munch on, a process which produces the alcohol in beer. After that hour, I drain the mash tun using my pump, and heat up two more batches of water. This water is called the sparge water. Sparging is the process of rinsing the grain of residual sugar, ensuring that your wort (unfermented beer) has the proper amount of sugar in it. You have to heat your sparge water to a higher temperature in order to forcibly stop sugar conversion. Then you repeat the draining process until you have your full boil volume in your kettle.
Once the full volume of liquid has made its way into the boil kettle, I fire up my burner and start it on its way to boiling. This can take anywhere from 15 to 20 minutes, depending on the weather. While my wort is heating, I ready my hops additions. Different beer styles also have different hops schedules, but all beers follow the same basic rule of thumb. Your first addition, usually done right as the beer begins to boil, is a bittering addition. This is where the beer gets its bitterness. Hops additions with around 15 minutes remaining in the hour long boil are called flavor additions, and hops added closer to the end are aroma additions.
The recipe I made today uses three hops additions for a total of 2.5 oz. of hops. This is a pale ale, and is mildly hoppy.
THE BOIL
When the water reaches its final temperature, the wort begins to boil. Most beers will need to maintain a boil for a full hour. If you've ever tried Dogfish Head's 60 Minute IPA, it was boiled for an hour. Their 90 Minute IPA is boiled for an hour and a half. Generally speaking, the longer your bittering hops remain the boil, the more bitter your beer will be. That's why a beer boiled for a longer period of time is generally hoppier than one that has only boiled for an hour.
As the beer comes to a boil, the proteins from the grain coagulate at the top of the kettle, forming a foamy mess called break material. Break material is perfectly fine for the beer, but it needs to clear before you actually add your first hop addition. When the boiling wort breaks through the surface tension of the proteins, this is called the hot break. (There is also a cold break, which I neglect to mention in any of the videos. The cold break occurs when cooling the beer and all of those same proteins drop to the bottom of the kettle).
Once the hot break has occurred, you can add your first batch of hops and start your timer.
Continuing the boil is just a matter of adding your hops additions at the proper times. Once the hour is up, you are almost done!
CHILLING AND PITCHING
It is very important for the brewing process to chill your beer quickly. This leads to clearer beer down once it has fermented, as well as a better tasting brew. To cool quickly, I use an immersion chiller. This chiller is a length of copper coil that immerses itself in the wort. When the boil is over, cold water from a garden hose is pumped through the chiller, cooling the wort from the inside out. I also recirculate the wort. This means that the wort runs through my pump and back into the kettle. Because it is constantly moving, it cools much quicker.
The final step to making beer? Pitching the yeast. This just means adding the yeast to the wort. I ferment in a food grade 6.5 gallon bucket with a sealed lid. Once the yeast is pitched, the lid gets snapped on and I set up a blow-off tube, a length of tubing that runs into a container of sanitized liquid. This makes the fermentation vessel a closed system, meaning that nothing can get into the fermenting beer. Then, it's just a matter of patience!
FINAL THOUGHTS
I hope you all enjoyed this post. Please feel free to comment or ask questions!
