My Second Blog Post - PC Building Edition
By ch3burashka 8 Comments
I was going to call this "My First Blog Post" but apparently I did one already, back in the day when Giant Bomb had achievements. I still remember those somewhat fondly...
Anyhoo, this second post is about my first time... building a PC. I had thought about it for some time, and decided it would a good decision for both the savings and experience. From what I understand, the savings aspect has diminished significantly - my friend used to build and sell PCs up until a few years ago, and I recently saw an article about how CyberPower is offering builds that are ~50 bucks above component prices. Still, building sounded like fun.
First things first: components. One reason I hadn't built before was the anxiousness associated with fears regarding compatibility - what it the parts don't fit? Obviously, I could exchange and/or return parts, but had that happened (spoilers: it didn't) it would have put a great damper on the whole affair. Thankfully, there's a great website, PCPartPicker. I fooled around, picked some parts, asked for comments, fooled around some more, and finally settled on a build based on performance and good Newegg deals (got the 7870 for like 180 bucks, and the i5-3470 for like 180 as well - not crazy, but definitely good for someone on a budget). All in all, I spent <700 bucks on the build, plus 150 bucks on a 24" monitor from a discount store. The only thing that still concerned me was the PSU - people were saying that Raidmax was shit, and it was Corsair or bust, but it had a 4-star rating on Newegg from 1000+ people - surely that's good enough?
Alright, enough foreplay.
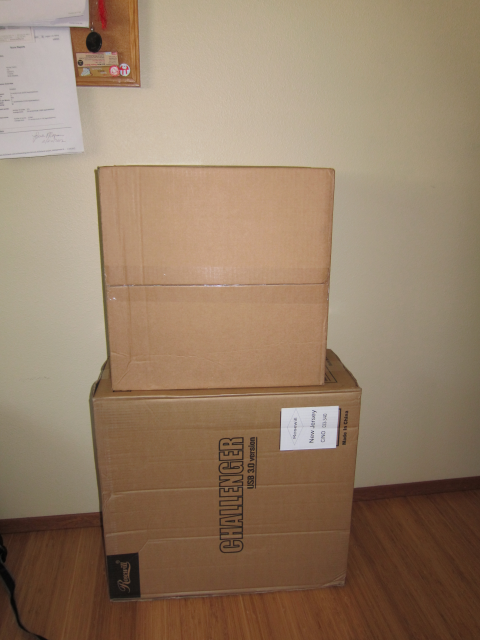
First things first, the boxes. I can't wait for the future in which we have instantaneous delivery, preferably through a series of tubes, because waiting sucks. I got 2-day shipping, but that doesn't take into account that second day, when you're counting the minutes until the truck arrives. Anyway, here we are. Two big-ass boxes. GET HYPE.
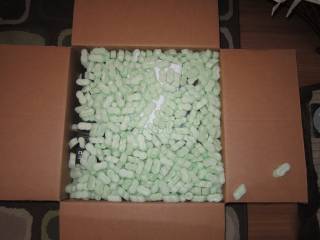
Fucking packing peanuts...
After unpacking all that shit, this is what I'm left with (NOTE: the DVD drive and Wi-Fi adapter are salvaged from some shitty Compaq).
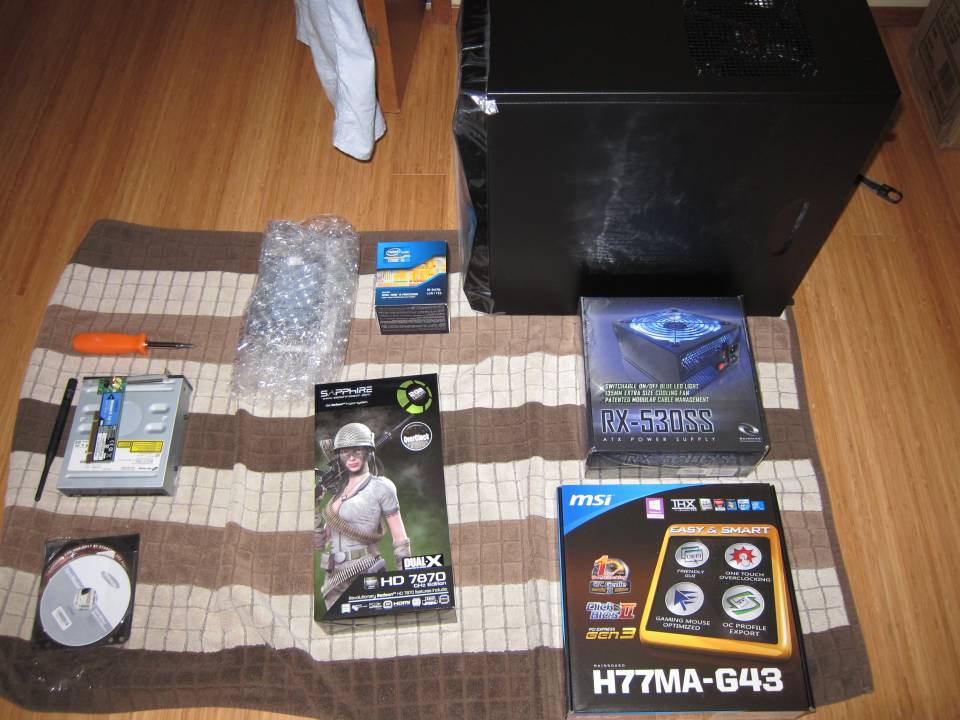
...wait, that's it? That... that doesn't seem like a lot. CPU, GPU, PSU, mobo, memory and hard drive... looks like it's all here... so far, looks good. Time to break open this motherfucker.
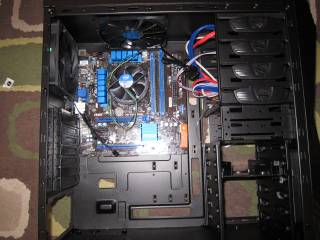
Alright, I skipped a few pictures, because I wasn't interested in documenting every minute detail. At this point, I was somewhat concerned about handling the mobo. They don't really have handles or "SAFE TO TOUCH" signs, so I was careful to only touch it on the sides, on the plastic as opposed to putting my hands on any circuitry. I "installed" the metal punched-out sheet that outlines where each input fits in the back of the case, and lined up the mobo (I keep wanting to say MOBA...).
Hm... it's... it's not really lining up. Is it supposed to be off-kilter like that? Let's read the manual.
Oh, I didn't screw in the "adapter" screws onto which to place the mobo. Fuck. (*insert Benny Hill montage of unscrewing mobo, screwing on screws, screwing in mobo*).
(NOTE: At this point, things started going kinda wrong, so I said, "Screw taking pictures", so the next pic will be the completed computer installing Windows. Fuck, I spoiled the whole thing.)
Alright, that's over with - no more mobo insanity. Installing the CPU was fine as well. Like I said, CPUs are generally regarded as fairly delicate, and videos place emphasis on "DONT TOUCH THE FUCKING PINS". I take it by the sides, put it in, and shut the gate. I nearly have a heart attack when I hear scraping/metal groaning noises, but it turns out to be the gate scraping the mobo plastic. Phew.
Alright, install the memory sticks, install the video card, screw in the PSU. Getting the hard drive in took a second (I hadn't deal with tools-free cases before), but that was easy. Now, to install the DVD drive and the WiFi adapter.
Oh, the DVD drive is an ancient piece of shit that has a pATA interface and the mobo doesn't have one. Fuck.
Oh, the adapter is PCI, not PCI-E. Double fuck.
In retrospect, that was kind of funny because of how unprepared I was for the fact that fundamental aspects of hardware interfaces had changed. I quickly got my ass down to Best Buy, got a SATA drive and a USB Wifi adapter (probably will change out for a PCI-E, but it's alright so far, even at 36mbps...).
Alright, now to connect everything to everything else.
Aaand... queue the panic.
The case has three fans, with three-pin mobo connectors. The mobo has approximately zero three-pin connectors. holyshitholyshitholyshit oh wait, three-pin connectors fit perfectly on the four-pin connectors. Phew.
Time to connect the front panel USB/audio/LED light/power button cables.
FUUUUCK.
In the course doing all this, I had bent a single pin on the USB 3.0 interface on the mobo. The cold sweats started. Long story short, I was able to fix it by bending it back and pushing in the cable. Having heard how important it is to NOT touch the pins, I was understandably concerned, but apparently, computers are more resilient than I thought (spoilers: the USB ports work).
The audio cables fit without a hitch.
Now the power/LED cable. They interface via two-pin connectors.
WHERE THE FUCK ARE THE TWO-PIN CONNECTORS.
This is the part where Benny Hill could have helped pass the time, as I spent the next half hour experimenting with various pins. There were a few two-pin connectors that worked (I tested this with the LED light) and looking back, I assume they were connected to the mobo battery. The LED works, but plugging in the power connectors did nothing. As a last, final resort, I looked into the mobo manual again. Ooooh, they already provide an adapter into which you can slot the three two-pins and use the 9-pin connector in the corner. Apparently reading is an important skill - you should try it sometime, kids.
Alright... at this point, everything is looking good - PSU is plugged into everything, everything is plugged into the mobo. The messy cables are annoying, but I don't plan on cracking the case every day - let them hang in the air like they just don't care. Time for the ultimate test... WILL IT BLEND WILL IT TURN ON?
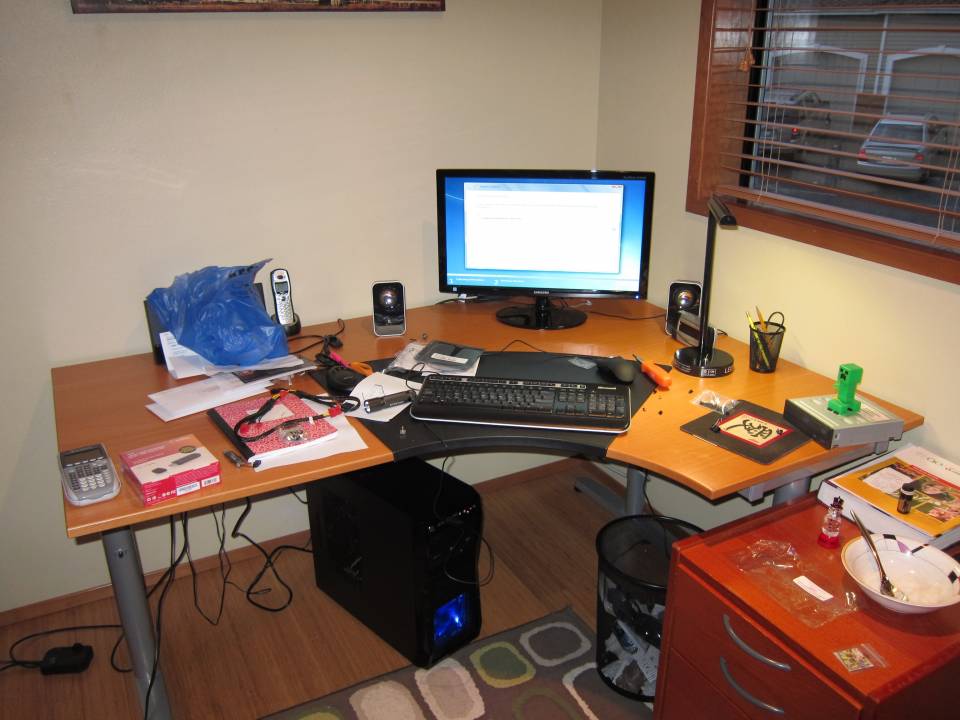
It works... it's a miracle. Take note of the DVD drive on the table on the right - still kind of baffles me. Granted, that Compaq was about 7 years old, but it still seems weird that such a basic, fundamental, core function would change, and that the mobo wouldn't even have the option to interface with it. At the very least, I got a chuckle at the master-slave ribbon cable in the Compaq.
And... that's basically it, folks. I hope this goes to boost the confidence of some people too nervous to pull the trigger on their own build. To be perfectly transparent, it definitely is a stressful operation (for a first-timer), but unless you're building at your local saw-mill or greenhouse, there's very little that can go wrong. Think of it as a 700-dollar LEGO set... with 8 expensive pieces. At this point, I'm much more confident in my decision to buy and play around with some Arduino/Pi boards (obviously these things aren't the same process, but I've been looking into Arduino for some time).
PS Like I said, this is my second blog so, aside from comments on the build, I'd appreciate comments of structure and format. Looking over the post, it's kinda huge and unwieldy, but I can't think of a better alternative.
