Super Mario 16: My Quest to Speedrun Mario 64 (Part 2)
By generic_username 0 Comments
Hey guys! What was supposed to be a weekly piece turned into a monthly one, thanks to intense procrastination combined with a computer meltdown that left me without my laptop for about a week. For those of you just jumping in, I'm documenting my attempt to learn the basics of speedrunning Mario 64. I don't plan to be, like, competitive or anything, but playing the game this way shines a brand new light onto it. Last time we covered up to the first half of Whomp's Fortress.
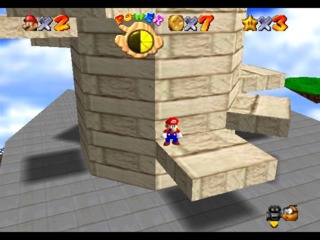
The only thing worth mentioning about the remaining stars in Whomp's Fortress is that when climbing the tower for the second star, you jump straight from the first platform up to the last platform using a well-placed wall kick. Otherwise, getting there is the same as getting there to fight Whomp in the previous star. After that, you simply ride the owl into the caged star and move on. There's an extremely difficult trick that allows one to get into the cage without using the owl at all, but it's "frame perfect" and not within my capabilities at this point. The speedrunning guide I saw showed them just using the owl, so for now, I'll stick to that. I just need to get used to controlling it and get a feel for where Mario lands when dropped.
Next up is Cool, Cool Mountain. You can skip literally the entire slide by going off the right edge at the very beginning and falling onto the bottom part of the slide. Just make sure to dive before you hit the ground, or the falling damage will kill you. I knew there were ways to shortcut through this level, but didn't realize you could skip the entire thing. Kinda cool.
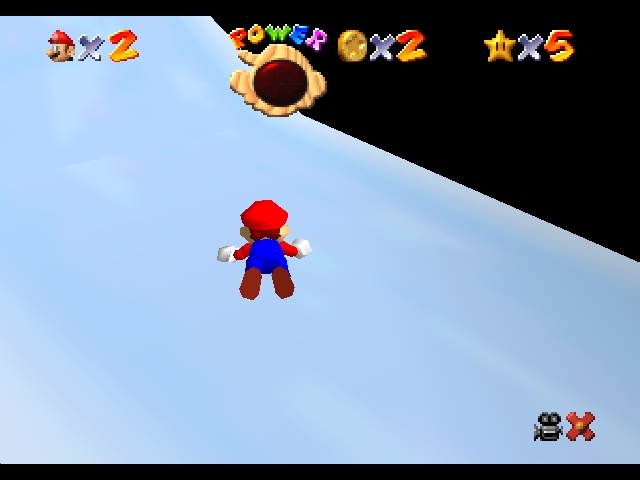
The next star is a bit more... well, a lot more complicated. It's the one where you bring the penguin baby to its mom. The way to do this quickly is by sliding off the side of the level and using the momentum to get all the way down to the mother penguin without engaging with pretty much any part of the level. It's tough, and I couldn't quite nail it. I managed to get about halfway there, but at that point, it's faster to use the teleport, I think. Can you teleport holding the little guy? Not sure. Either way, I've gotta practice this one later.
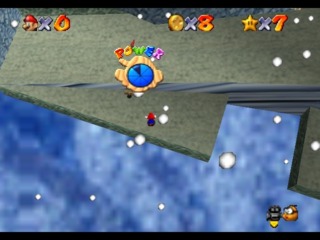
The third star we get on this level is my favorite one, Wall Kicks Will Work. Now normally, in order to access the part of the level where this star resides, you have to take the cannon there. This involves making your way to the lonely platform where the red bob-omb resides, then watching the cannon-opening cutscene play out, then getting to the cannon, then firing it… it's a long process. Thankfully, you can skip all of that, because if you fall off the edge of the map above the little section where this star hangs out, then dive or kick on the way down, you can land right in the normally off-limits area. From there, you do the cool-looking wall kicks and make your way to the star in an extremely flashy way. I don't do that part perfectly most of the time, but I'm getting close.
At this point, we have 8 stars, so it's off to face Bowser in the Dark World.
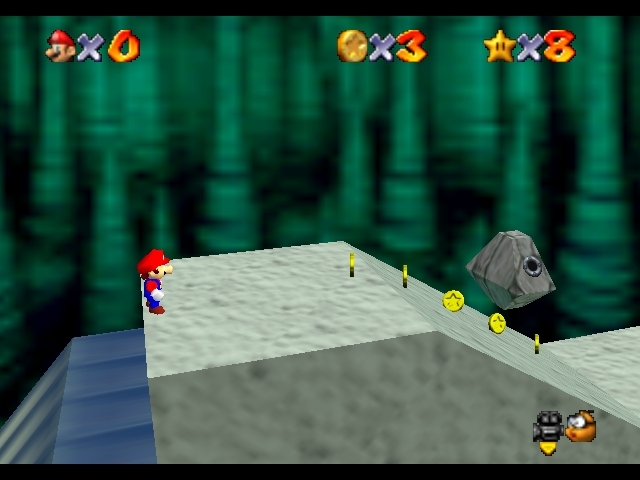
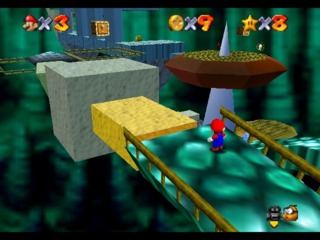
This level was rough for me. As far as tricks go, you can triple jump up the blue slide, which was easier than I thought it would be and saves a decent amount of time. After that, you make an awkward jump to reach a platform you're not supposed to. This took a few tries, but wasn't too difficult.
The last bit has you jumping across relatively small platforms, then wall jumping to skip the whole seesaw-esque area. I couldn't quite nail the jumps, and got slowed down significantly by Mario sidling along the wall here. The tricks themselves aren't actually too hard, but this whole level is very much about efficiency of movement, which I don't have down at all yet. I felt like I was fumbling my way through it the entire time. On top of that, I've never been great at timing my Bowser throws, so that's something I need to work on, too.
I did actually beat him fast than I expected, only needing two throws to blow him up instead of the three or four I thought would happen. I can definitely do better, but that was surprisingly alright.
Next up, we go into the basement! There's some preeeetty difficult stuff down there, so it should be fun. Hopefully I get the next part up sooner this time, it's going to be a fun one, I think. And a longer one, too.
