
The Quest For The Worst Adventure Game Puzzles - The Journeyman Project 3: Legacy of Time (Part 1)
By ZombiePie 6 Comments
Author's Note: Here are links to previous episodes of this series:
- Episode 1: The Dig
- Episode 2: Atlantis: The Lost Tales
- Episode 3: Loom
- Episode 4: Drowned God
- Episode 5a: Indiana Jones and the Fate of Atlantis Part 1 & Episode 5b: Indiana Jones and the Fate of Atlantis - Part 2
- Episode 6: The Journeyman Project: Pegasus Prime
- Episode 7a: The Quest For The Worst Adventure Game Puzzles - The Journeyman Project 2: Buried in Time (Part 1) & Episode 7b: The Quest For The Worst Adventure Game Puzzles - The Journeyman Project 2: Buried in Time (Part 2)
Preamble

Upon the conclusion of my two-part examination of The Journeyman Project 2: Buried in Time, I briefly mention my effusive affection for The Journeyman Project 3: Legacy of Time. To me, the series' third outing strikes the perfect balance between the multimedia format of the first game and the Myst-like gameplay of the second. The lack of game overs is the masterstroke of genius that sets this game apart from what preceded it. Legacy of Time does not have a single puzzle or sequence that forces the player to work within a time restraint or face the consequences of inputting incorrect data. It is a breezier and more enjoyable adventure where players can interact with every character and environment at whatever pace they see fit, making it a far easier recommendation. And much like its predecessors, it shoots for the stars with its banana story and downright gratuitous use of FMV. On the latter of those two notes, Legacy of Time is the game that most resembles what most people think of when they see the words "full-motion video." The acting is over the top, and the written dialogue is endlessly hilarious. It's an indulgent affair only conceivable during a very narrow window in the history of video games.
However, as we will discuss in more detail, Legacy of Time has two black marks against its case. The first problem is something I debated during my final write-up for The Journeyman Project 2: Buried in Time. You cannot hop around the entries of this series by how much the games appeal to you. Instead, you need to play these games chronologically, or else entire characters and plot threads in the second or third game will make no sense. Even if I consider the second game a formidable challenge, I cannot recommend skipping it for people interested in this game. Legacy of Time assumes that you already know who Arthur and Agent 3 are and does very little to remind you of their accomplishments in Buried in Time besides passing remarks.

The second problem is a more pressing one. Legacy of Time is a painfully incomplete game. Presto Studios, before their shuttering, made it clear after the game came out that they ran out of money when making Legacy of Time and cut back on certain levels so they could make their release date. Legacy of Time has one environment (i.e., Atlantis) that feels genuinely complete. Shangri-La is almost there until you reach the back half, where it ultimately falls apart. El Dorado is at best a twenty-minute sequence, and the epilogue amounts to a single puzzle and then an end cinematic. It's disappointing, but when you examine the game's successes in a microcosm, you can come to terms with some of these shortcomings.
When playing Legacy of Time, "streamlining" is the "word of the day." This game takes the clunky BioChip interface from the first game and streamlines it into two essential options. The first is a tool that translates foreign scripts into English, and the other summons Arthur, the wisecracking artificial intelligence from the last game. Unlike the past two games, you will spend the lion's share of your time combing through inventory items and merging them or clicking them on environmental objects rather than scanning for clues or engaging alternate modes on your time suit. The benefit of this streamlining is that the game is far easier to play, and Legacy of Time cuts out the bullshit logic puzzles or vehicle sequences of the past two games. You won't need to worry about translating an alien script into Arabic numbers or clicking on random bullshit while piloting a spaceship. On the flip side, the game requires you to play telephone between various NPCs much more than its predecessors. Several puzzles need you to speak to a person to learn about something and then go to another person to learn more about it so you can return to a third character to answer a riddle. If you hate backtracking, this game will drive you up the wall, but I feel I have said enough. Let's review and rank some puzzles in the first part of a two-part series!
Ratings Explained: I'm using a continuum ranging from 1 to 10. Puzzles ranging from one to four are accessible sequences or set pieces that can be solved without guides or hints, regardless of your puzzle game expertise. Puzzles ranked between five and six are ones that only intermediate puzzle game players can solve, but beginners can solve in-game through clues, hints, or significant trial-and-error. From seven and above, we get into puzzles that most players cannot solve without consulting outside resources. Also in this category are puzzles that have major accessibility issues.
Atlantis Destroyed [October 6, 1262 B.C.]
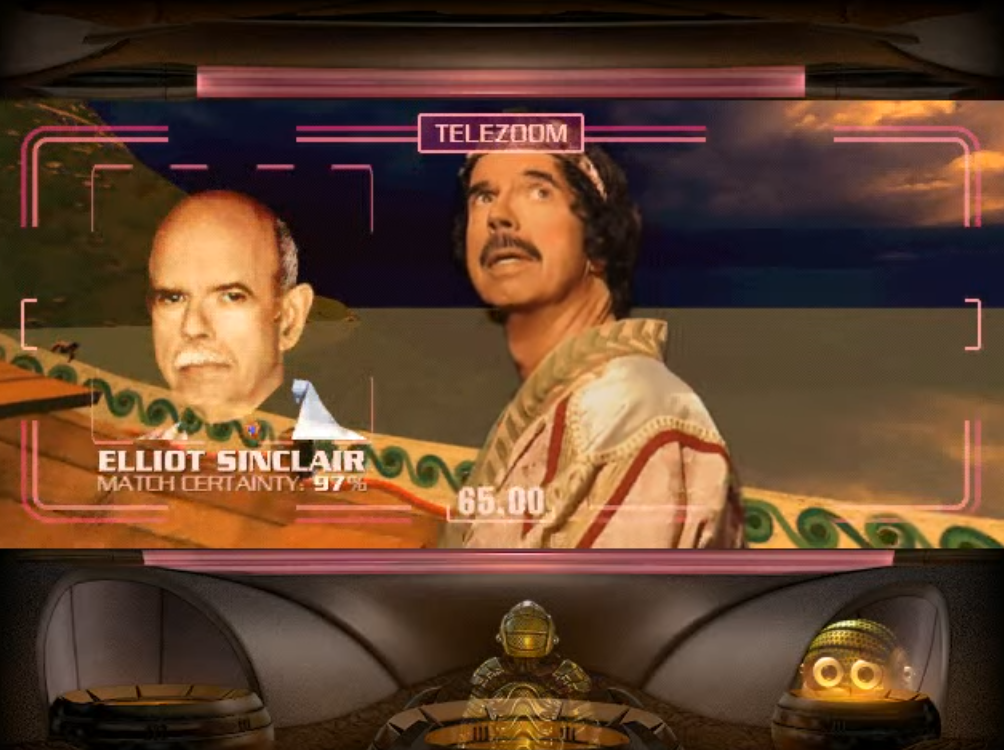
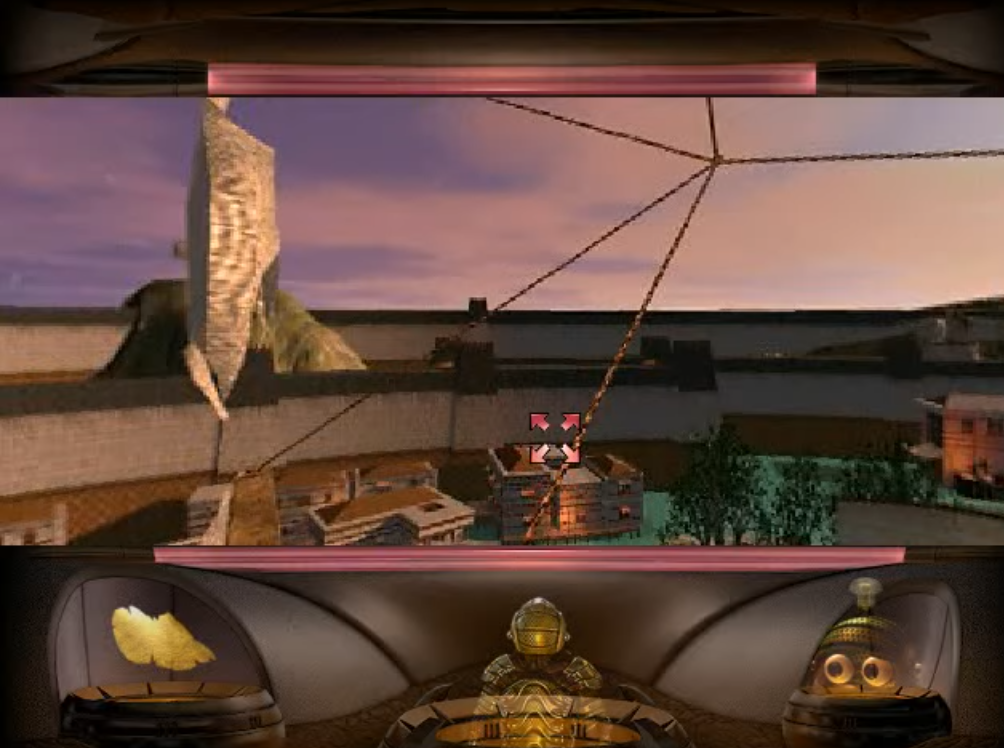
Locating Arthur And Dr. Elliot Sinclair - [Rating: 1/10] - Atlantis was real, and aliens sunk it into the ocean! Don't tell The History Channel about this, or we won't stop hearing about it for the next fifty years. Regardless, after warping to ancient times, you find the legendary city of Atlantis in ruins. After moving forward to a windmill, you bump into Agent 3's time suit and encounter Arthur. The wacky artificial intelligence copies himself onto your Translation BioChip and relays an audio recording from Agent 3. For those that may have forgotten, Agent 3 is the female TSA (aka, Temporal Security Agency) agent that framed Gage Blackwood for committing crimes against the Space-Time Continuum. After listening to her little spiel, you learn she has hidden three timecodes across three locations that can transport Gage to one day before aliens destroy them. As you continue past the windmill and to a nearby pier, you scan the horizon and find Dr. Elliot Sinclair on a departing boat. Sinclair was the antagonist in the first game, and this scene reveals him to be an ancient citizen of Atlantis, somehow capable of living for thousands of years.
This "puzzle," if we can even call it that, tasks you to become accustomed to Legacy of Time's streamlined inventory and movement interface. It doesn't sound like much on paper, and that's part of the point. There's nothing for you to gather or combine. All you need to do is explore your environment, and the game will do the rest. Simply moving around an environment and exploring your surroundings for a scannable object or person would have taken at least twenty to thirty clicks in the first or second games. In Legacy of Time, it takes a mere ten to fifteen. I can only imagine this game being a shock for fans of the previous two games, but as I have stated already, it is a much-appreciated step in the right direction. As such, this particular puzzle gets a low mark from me.
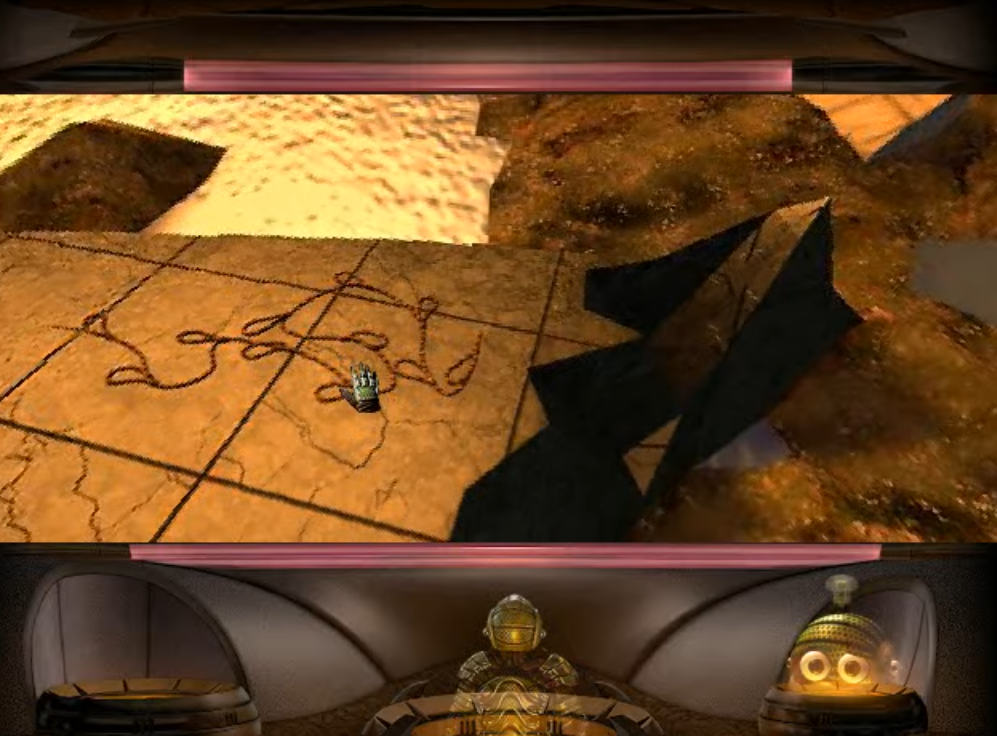
Locating The First Timecode - [Rating: 3/10] - With Sinclair scanned, your next objective is to locate the first timecode Agent 3 mentioned during their audio recording. To accomplish this task, you must find a coil of rope on the pier, add it to your inventory, return to the windmill, and enter its destroyed interior. While inside, you need to use the rope on a broken stairwell. After climbing to the top floor of the windmill, you click on a trapdoor to reach the roof. You will find a timecode on the floor that transitions to a cinematic showing alien spaceships blowing up Atlantis. There are only two tricky parts to this puzzle. The first involves finding the rope, which blends into the ground texture and can be challenging to find. The second possible problem is knowing to use the rope on the broken walkway. Additionally, there's only one part of the fractured walkway you can use the rope on, and you need to be on a particular screen in the windmill to combine the two. It's a bit of your usual "adventure game bullshit" but nothing too hard to figure out on your own; plus with Arthur in tow, you have a handy hint system to assist you.
El Dorado Destroyed [January 29, 524 A.D.]
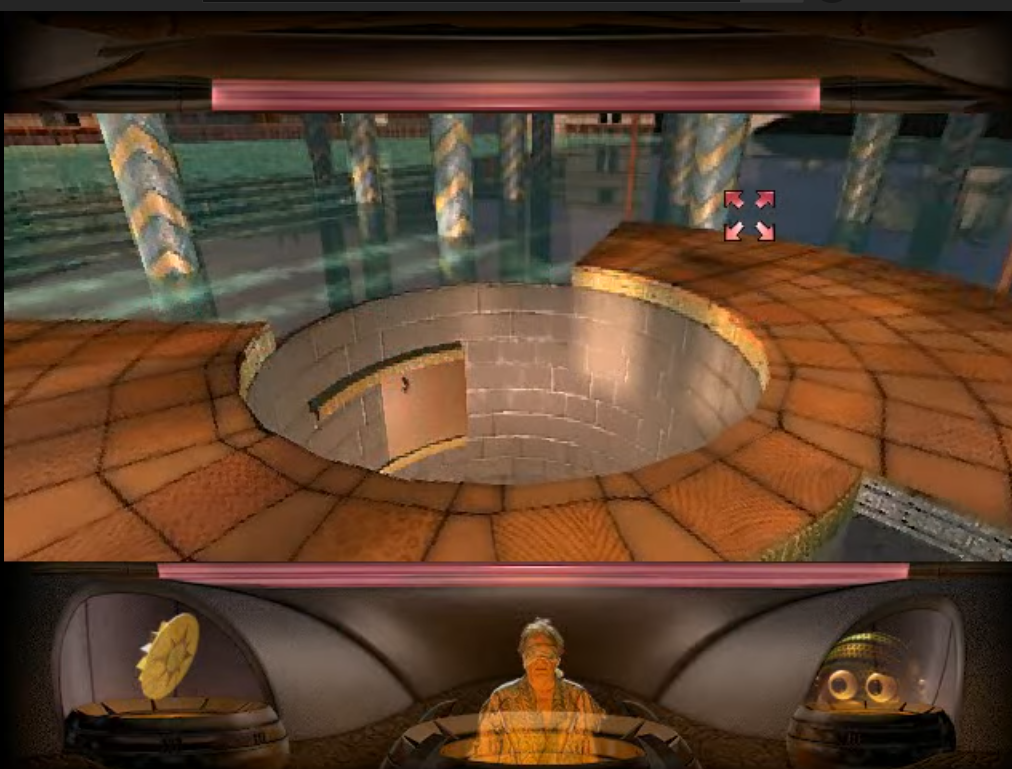
Getting Out Of The Well - [Rating: 3/10] - The aliens that destroyed Atlantis felt like impersonating Francisco Pizarro and also leveled El Dorado. Unfortunately, before you collect evidence on who those aliens might be, you first need to get out of a well. To escape, you turn to the right, click a stone plug, and then flick a lever to fill the well to the top. After getting out of the well, you must remember to pick up a stone disc from a nearby lever. This task is not too difficult and serves as the game's tutorial on interacting with parts of an environment or level. The last puzzle at Atlantis relayed how to collect and use inventory items, and this one shows how you will interact with the usual adventure game gadgets and gizmos. The last part with the stone disc is tricky to remember during your first playthrough, but when you reach the vehicle that requires it, Arthur will provide a clue about where you need to go.
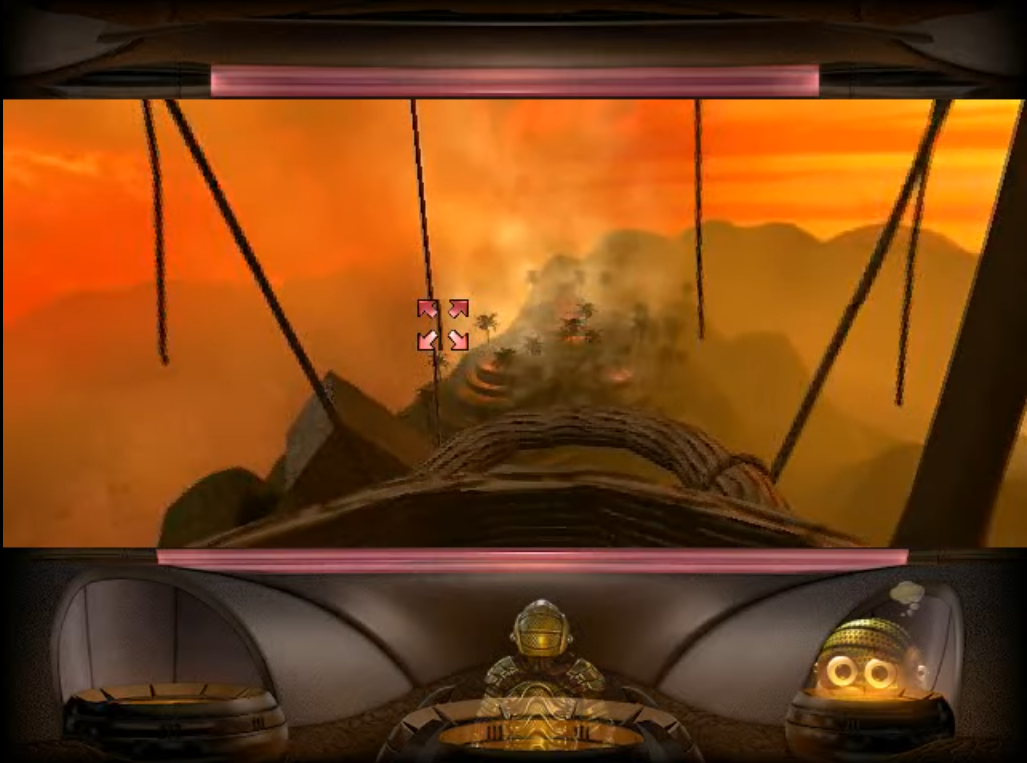
Fixing A Balloon And Jumping To The Airship With The Timecode - [Rating: 4/10] - As you move forward from the well, you can notice floating balloons on the horizon of El Dorado. These hot air flotillas provide transportation from one cliff to the next. Past the well, you will see a landing platform with a still working dirigible, but it lacks a holding compartment for any passengers. Before you enter the walkway that leads to this vehicle, you first need to go left at a fork on a prior intersection and find a destroyed building. In the ruins, you will locate a basket you can collect and then use to attach to the broken airship. However, to lower the airship to allow Gage to repair it, you need to use the stone disc from earlier on a wooden pillar to fix a broken crank. This action enables you to lower the balloon and connect the basket to it.
When you enter the airship and raise it upwards, you need to identify a rope with a hook at the end and click it twice. After the second click, Gage will throw the rope towards another balloon, allowing him to hop over to it and record the timecode written inside its basket. Overall, I found this sequence only slightly harder than the previous puzzle. The left fork on the pathway leading to the airship loading bay is easy to pass by without a care, and the basket doesn't immediately stand out among the rubble. Likewise, the wooden plank you must attach the stone disc on is a little on the fiddly side and will only accept the disc on a specific screen, a recurring issue you might have already noticed. Other than that, it is a fun puzzle that's not too challenging, thanks to you only needing to use two items, and it has some impressive visuals to boot.
Shangri-La Destroyed [April 15, 1219 A.D.]
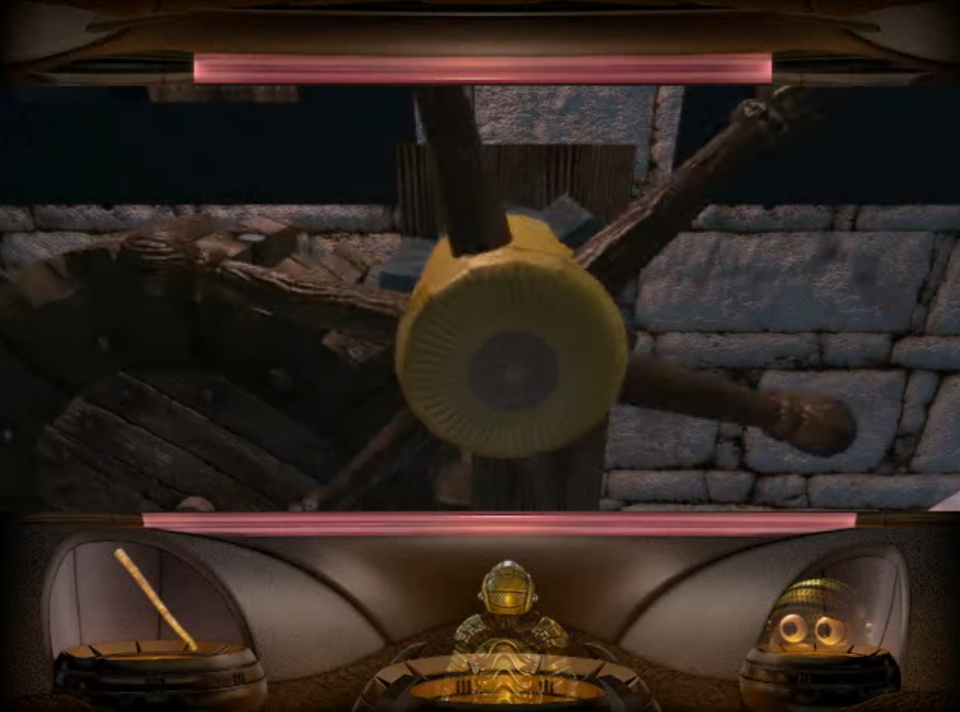
Finding The Timecode In The Monastery - [Rating 2/10] - Guess who destroyed the fabled city of Shangri-La! Yup, aliens, yet again! However, another timecode exists somewhere in the rubble, and you need to find it. First, you need to turn right from where you start and pick up a wooden wheel and a hiking staff. You use the wheel on a mechanism housed in a destroyed building to the left where you started. After clicking the wheel while it is attached to the tool, you can proceed down the building and forward into a snow bank. You continue moving forward until you notice a monastery and use the staff on its windows until you locate the one you can push open. Inside the monastery, you continue and climb on top of a Buddha statue and record the final timecode written in the snow. This sequence is the quickest to complete of the three tutorial levels, and it seeks to reinforce all of the basic concepts from the two prior ones in a single environment. However, it is the most straightforward tutorial to complete because everything to need to accomplish is in front of you. Now, if only that were the case with the rest of Shangri-La in Legacy of Time.
Mediterranean Sea - [October 5, 1262 B.C. - First Visit]
Getting Off/Out Of The Windmill - [Rating 4/10] - When you first teleport to Atlantis one day before its destruction, you do so on top of the windmill where you found the first timecode. Mercifully, when you warp in and out of timelines, Legacy of Time saves where you were rather than restarting you at a default start position. From your starting position, you locate the trapdoor, go down, pick up two giant metal cogs, and then use the cogs to repair a nearby mechanism. With the gadget inside the windmill fixed, you can turn a crank to adjust the sails on the windmill. You keep clicking the crank five times, and before you ask, Arthur chimes in if you need to continue turning the crank and tells you when you can stop. If you miss these audio cues, you can also observe the one broken sail with enough space for Gage to hop on and assume that is the one you must stop at to exit the mill. You hop on this sail, turn around to face the crank, click it, and then end up on the terrace of a different building.
From the terrace, move forward and jump on a ship's mast. Pivot to the left and click down when you reach the center of the mast. You must pick up a silk scarf when you get to the ship's deck. Near the scarf is a gaff which will play a more significant role in the future. Getting out of the windmill is convoluted, and adjusting the windlass is annoying if you are not careful. Still, I have to say if this exact sequence were done in the first two games, it would have been far more miserable. When I noticed the screen wobbling as Gage walked on the mast, I was relieved to discover I would NOT have to interact with a terrible balancing minigame. The complete absence of player death is a relief, allowing you to explore your surroundings more freely. Yes, the item collection is still "of an era," and the silk scarf is an annoyance, but that's about it in terms of this puzzle trying to kick you in the crotch.
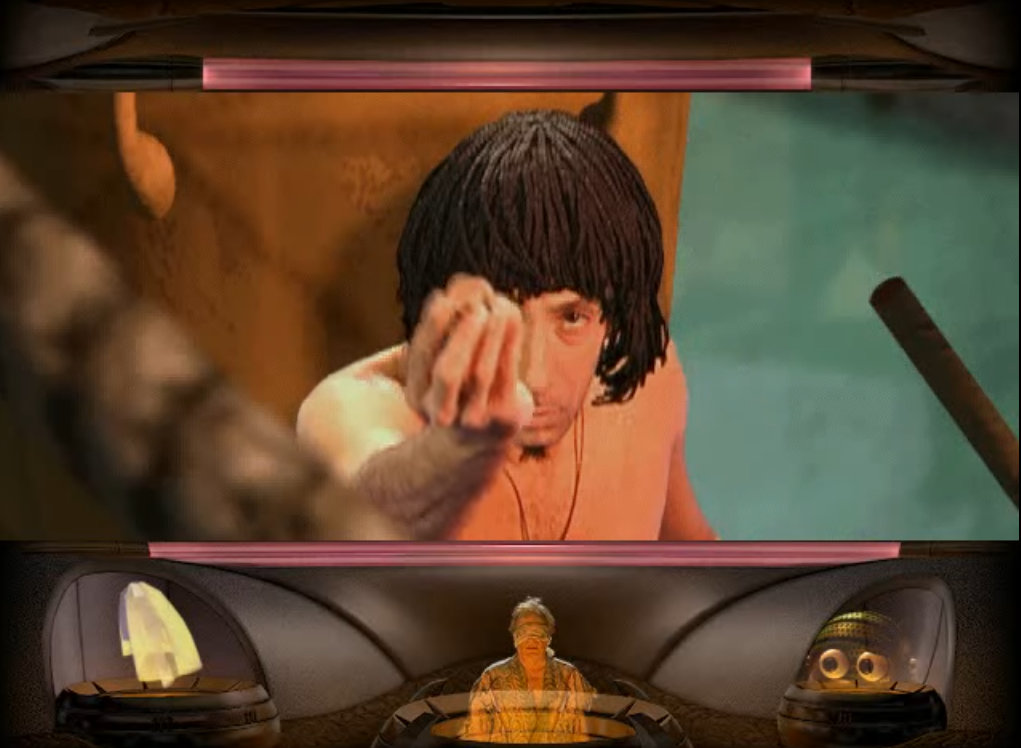
Getting To The Temple - [Rating: 5/10] - It is time to review one of the core mechanics of Legacy of Time: assuming guises. The time suit Gage uses in this game is an improved prototype of the one he's used in the previous games. This time, the suit can record the appearance of NPCs and then allow Gage to camouflage himself as them. Before moving further into the city of Atlantis, you will need to register your first guise. To find this, leave the ship and move to the right side of the dock. Eventually, you will find a blind beggar whom you can record and immediately transform into so people will not freak out over the site of your spacesuit. As the beggar, return to the ship and observe a captain in shackles who provides a handful of coins after you grovel. Capture the captain's appearance, leave the boat, transform into the captain, and locate a nearby ferryman. When the ferryman asks where you'd like to go, reply, "The Temple." Don't worry about running out of money, as your supply of coins is endless. Quick note, whoever played the ferryman deserves an award because their performance is one of the best in the game. Whoever that man was, he had a fun time.
When you arrive at the temple, capture the disguise of the ferryman and the temple guard to your right. A guard will stop you as you ascend the steps to the temple entrance. The guard reveals that the only people allowed to enter are full citizens with an accompanying medallion that verifies their citizenship. Even if you swap your disguise, the second part of the equation prevents you from moving forward. It is worth noting that a lot of the game's storytelling mileage comes from you encountering NPCs and seeing how they react differently to your many disguises. You can tell Presto put most of their budget into recording lines of dialogue and getting actors willing to read them. To return to why I gave this sequence a five, it all comes down to the design of Atlantis. The city has tons of dead-ends and avenues that lead to nowhere. It's also open-ended about how you want to explore and reach the temple. It is incredibly easy to get the guise of the captain and his coins and not know what you need to do next unless you use Arthur's hint system, which I avoided for this write-up. The good news is that when you meet the temple guard, he tells you exactly what you need to do before entering.
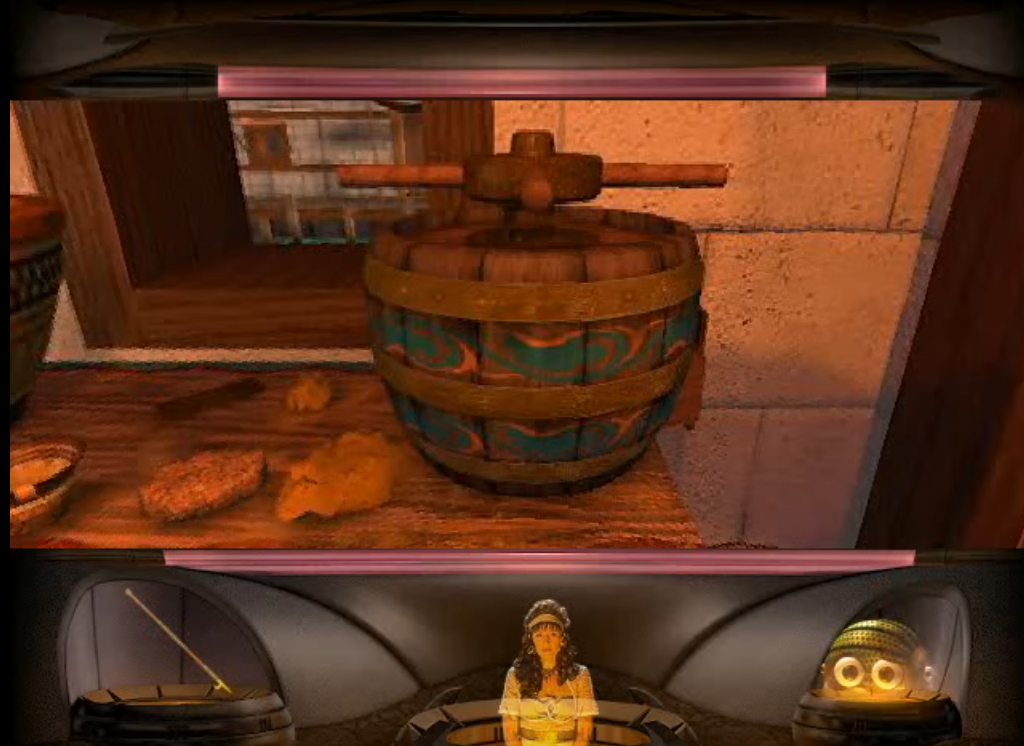
Making An Impression Of The Seal - [Rating: 6/10] - The good news about what the temple guard said is that you already have half of what you need to enter. The beggar is technically a citizen and can enter if they have a medallion, so that's your focus for now. To get that part of the puzzle, you must return to the ferryman and ask him to take you to a potter. While you listen to the ferryman, you learn that Atlantis is celebrating one of its yearly holidays, which is the game's excuse as to why there are not a ton of NPCs in the city. When you enter the potter's workshop, you can talk to them for a while and discover his sister is the oil merchant, but the important thing is capturing his guise. In the back of his workshop is a barrel with a crank; if you click it, it will release a stream of clay. After you pick up the clay, exit the workshop and turn around to find the oil merchant. Observe her appearance and talk to her for a bit. The fun Easter Egg is that you can discover she has a crush on the ferryman. However, if you explore her shop, you'll find a seal on one of the jars. You can use the clay on this seal to create a mold for your own medallion. However, the temple guard noted that medals proving citizenship were made from gold. Curiously, there's no gold in Atlantis, and Arthur directs you to explore a different location.
I had a blast talking to people in this game and seeing how they would react to different disguises. Presto put a lot of love and care into Legacy of Time's script. No stone goes unturned in this game, and it shows. If you are wondering how the game handles all of these variables without having player death, Arthur will lock your movement if you attempt to get too silly. For example, if you use the potter's appearance, Arthur will refuse to let you enter the clay workshop. However, to return to this particular puzzle, things are a bit murky. On the one hand, you don't have that much to do, and your possible destinations are truncated. On the other hand, finding the clay extruder and knowing to use the clay on a random olive oil jar is a bit of a leap. Neither stands out all that well, and nothing in the game helps you put two and two together. Finally, and we will discuss this more in the next section, the game does a TERRIBLE job of signposting where it wants you to go next—speaking of which.
Andes Mountains - [January 28, 524 A.D. - First Visit]
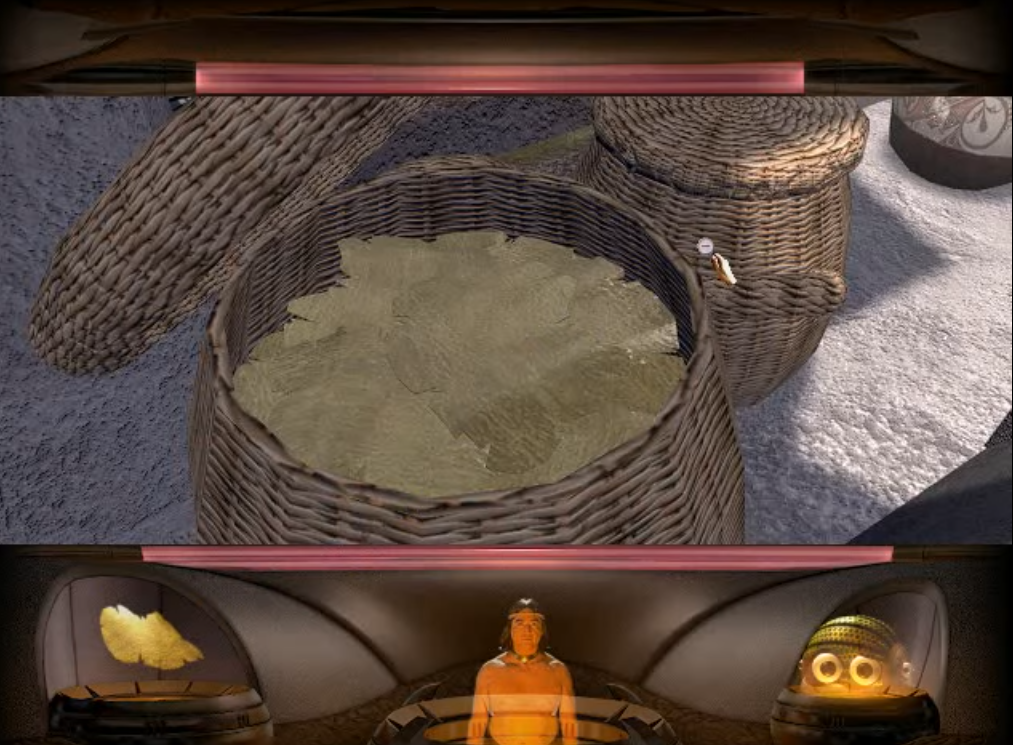
Picking Up Gold From An Artist - [Rating: 4/10] - From where you first warp in El Dorado, you return to the well, but you need to take note of a sleeping child. While obscured in the grass, you can rely on their snores to know where to click to copy their identity. After transforming into this child, you can interact with a farmer who is the child's father and learn about the surrounding town and its inhabitants. The father reveals there is a shaman in the town's center, but he's not the focus of this journey just yet. Nonetheless, you travel to the airship bay from earlier, hop into a hot air balloon, and then reach the city's central plaza. After ascending a flight of stairs, you can enter a temple and observe an artist working on a mural. You can talk to the artist to learn more about the history of the Inca, but your focus is on a basket with gold. After taking some of this gold, you can return to Atlantis to complete your previous roadblock.
Nothing with this puzzle is complicated—however, needing to hop between different timelines is what convolutes everything. There's always a level or two in these games where your first folly only involves you warping into an environment and picking up one or two inventory items. In this game's case, at least Arthur remarks that Gage should explore a different timeline for a metal material to make the medallion. However, that's all he provides, and he fails to suggest what material would suffice or which of the remaining two civilizations has it. If you accidentally decide to explore Shangri-La, you will run into a different roadblock there because an item you need to progress further only appears until AFTER you complete all of Atlantis. I understand this structure is a continuation of what the series has always done, but I wouldn't say I liked it the first and second time, and, still, I wouldn't say I like it here.
Mediterranean Sea - [October 5, 1262 B.C. - Second Visit]
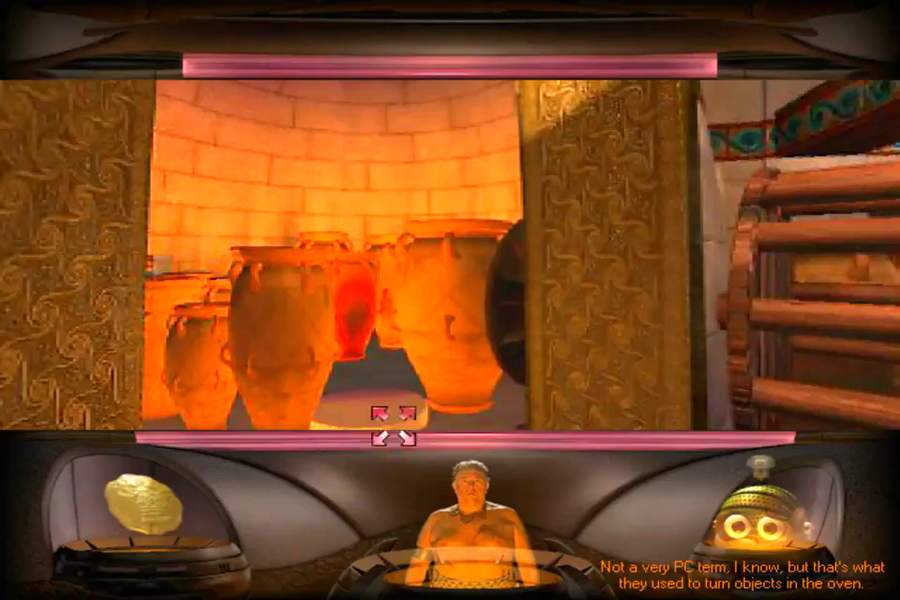
Making The Gold Medallion - [Rating: 4/10] - With some gold leaf in hand, you can return to Atlantis to complete the second phase of the level. First, you need to assume the guise of the oil salesperson and then offer to watch over the potter's workshop so he can attend the ceremony. With the workshop wide open, turn to face the kiln. After opening the door to the kiln, place the clay with the impression you collected earlier on a platform, and then layer the gold leaf on top of it. Exit the kiln, close its doors, and then locate the wheels that stoke the fire inside the kiln. Turn the handle once, then re-enter the kiln to find a perfectly fashioned gold medallion. There's a slightly tricky aspect in knowing what you need to do with all the items in your inventory, but nothing here is too illogical to figure out on your own. You know what to do in the workshop, and everything you need to interact with is before you. Therefore, I can't be too harsh on this puzzle.
Collecting Oil & Healing Water - [Rating: 4/10] - It is time to collect some items! After successfully fashioning the medallion, locate a bench near the kiln. Next to the table are a bowl and pitcher. To fill the bowl, go to the oil store, but don't enter it. You will find drying racks and bowls of olive oil near the entrance. You can use the bowl on one of these to fill it with oil. With that out of the way, it's time to cash in that medallion! Go to the ferryman and ask him to transport you to the temple. Remember to be in the guise of the potter or oil merchant when you arrive and then present the medallion to the guard that blocked you earlier. When you arrive at the temple, use the pitcher on a water bowl. Before you leave, select the gaff and use it to close a shutter and stop water flowing into the temple. There are a few parts of this set piece that annoyed the fuck out of me. You'd think the oil would be inside the shop, but it isn't. The only bowl you can get olive oil from is a random one outside the shop. The only tricky part of the water temple is knowing to use the gaff to unflood the temple's inner sanctum. The angle and specific screen where you can use the gaff are hard to pin down the first time you play the game.

Transmitting Messages To The Abolitionists - [Rating: 7/10] - Return to the ferry and ask the ferryman to take you back to the windmill. Enter the windmill, capture the guise of a worker, and locate a chest next to the entrance. Open the chest and notice a map depicting an underground network. If you elected to talk to the beggar, captain, and man who works in the windmill, you might have noticed that they seem to inquire the player about the weather as if they are trying to clue you into a secret verbal handshake. That's the case, and you will need to investigate the matter if you wish to complete the game. When you talk to the worker in the windmill, you can pick up the first part of their secret language. The worker starts every sentence by saying, "Looks like nasty weather." If you say this to the restrained boat captain using the worker's guise, you will discover the second part of the conversation. If you assume the image of the captain and reply to the blind beggar's opening question with "It may even rain," you will discover they are abolitionists operating a secret network that opposes Atlantis' slave trade. It is essential to trigger the beggar as he will disappear and leave behind his begging bowl, which is a critical story item. However, he will only leave his bowl once you return to the windmill and use his line, "Looks like a long winter." This response convinces the worker to depart from his workshop and allow you to investigate his home.
While exploring the windmill, you need to pick up a rope on the floor, attach it to a part of the central mill inside the windmill, and click a crank to pull the cord, which reveals a hidden door. The back and forth nature of this game of telephone drove me up the wall the most. The windmill and dock are NOT connected locations. Each time you transmit a message from the foreman in the windmill to the captain or beggar, you need to waltz back to the ferryman and ask him to teleport you to a different environment. The final bit with the beggar's bowl is incredibly easy to miss considering he tells you to go to the worker in the windmill to "begin the last leg of your journey." If you forget to pick that shit up, you'll be unable to complete the Shangri-La section of the game when you least expect it! Worse, the rope is difficult to locate because it has a matching brown texture to the one for the floor. On top of that, it's unclear what you should connect the rope to in the first place!
Collecting The Pyramidal Artifact - [Rating: 4/10] - After you open the hidden door, enter it. While following a corridor, you enter the temple's inner sanctum, which would generally be flooded with water had you not used the gaff earlier. There are a few murals to examine, but your attention should turn to Dr. Sinclair or "Soros" while utilizing the beggar's guise. After you finish talking to Soros, he passes you a disc you can use on a nearby clock-like mechanism. All you need to do is place the disc where there is a missing cog and turn the crank when you fill this gap. Locate a set of stairs that lead to the top of the temple where you collected the water. Finally, use the gaff on the same block from earlier. This time, unleashing the water results in a geyser that shoots up an artifact. While wild and wacky at times, this part of the game is more a story device than a full-fledge "puzzle." Your conversation with Sinclair forms the lion's share of the scene, and the machine you need to use his disc on is right next to you. Remembering to use the gaff to release the artifact is a little tricky, and the temple can be confusing to navigate at times, but it is nothing too hard. It's also an excellent-looking set piece.