Something went wrong. Try again later

Mento

Check out Mentonomicon dot Blogspot dot com for a ginormous inventory of all my Giant Bomb blogz.

4974 552454 219 915
Forum Posts Wiki Points Following Followers

A Randomized Link to the Past - Episode IV: Odie the Dog: Last Theft? Kennel Plaza!

No Caption Provided

We're back once again with Garflink, America's favorite heroic tabby, and me, the guy who makes you go alt-tabby (wow harsh). We're still navigating a Hyrule gone mad with this The Legend of Zelda: A Link to the Past Randomizer playthrough, so be sure to visit here to get all caught up and then follow the links in the table at the bottom.

I'll level with you: between my own half-remembered mental maps and some moderate bad luck, this playthrough is in dire peril of reaching a stalemate unless I hit pay dirt soon. There's a few items we could use right about now to keep this train a-rollin': the Pegasus Boots, the Book of Mudora, the Bow, the Titan's Mitts, the Zora Flippers, the Magic Mirror, or a single bottle - any one of these would lead directly to more items, or at the very least give me access to a new dungeon or its boss. Currently, we're down to Death Mountain and its cave network, and then the Tower of Hera dungeon at its peak...
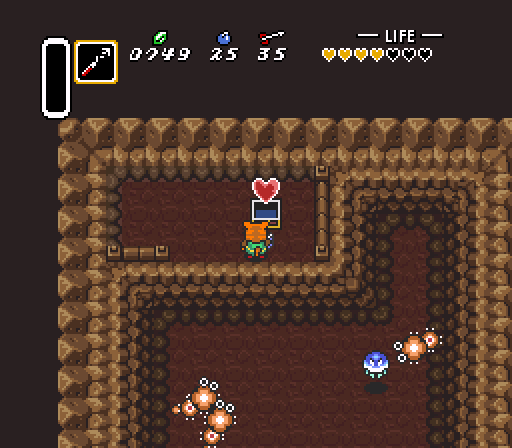
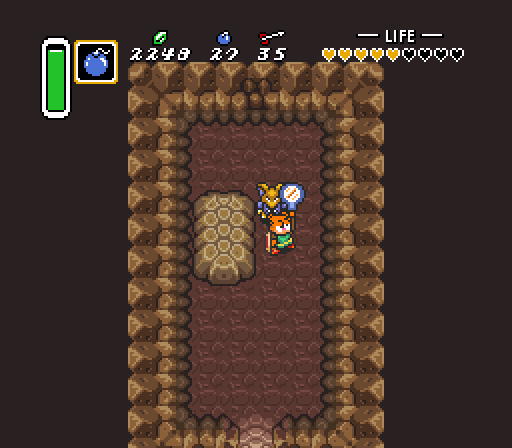
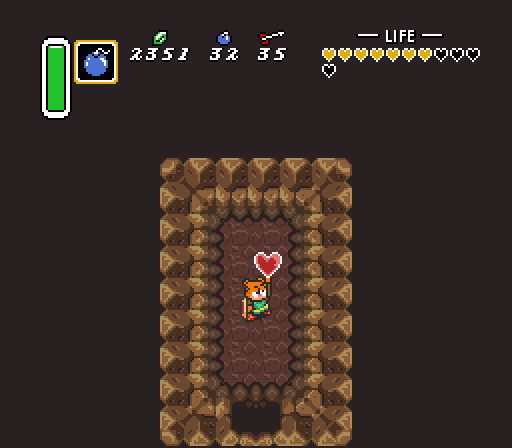
Off to a good start. I'm just poking my head into every accessible cave up here. Obviously, I'd have some trouble finding chests in the pitch dark, but there's plenty of caves with natural light.
All right, that's less exciting.
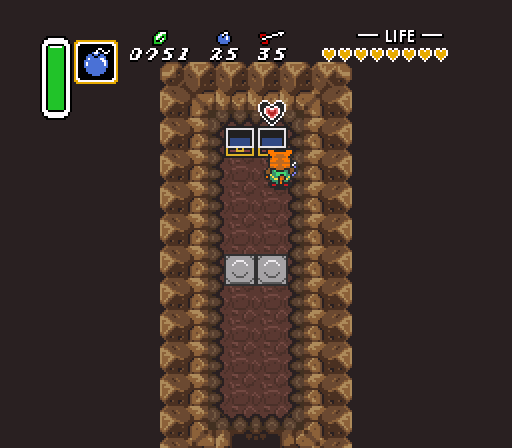
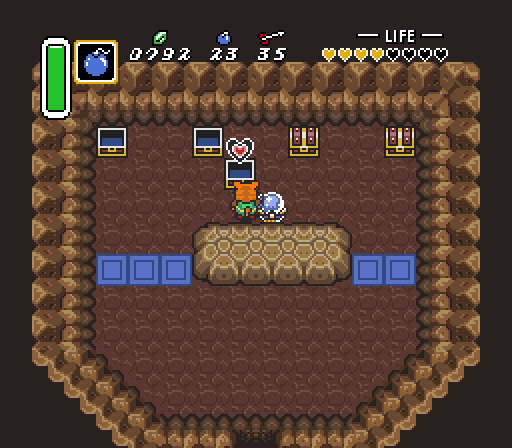
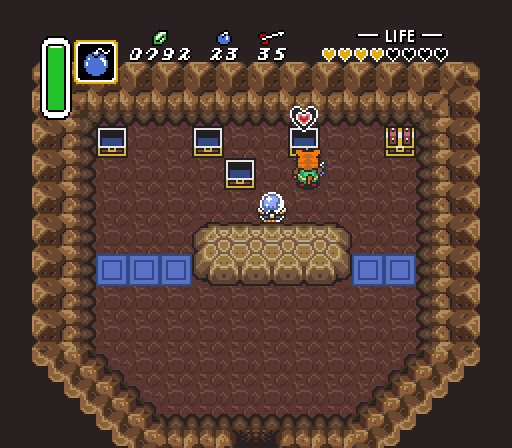
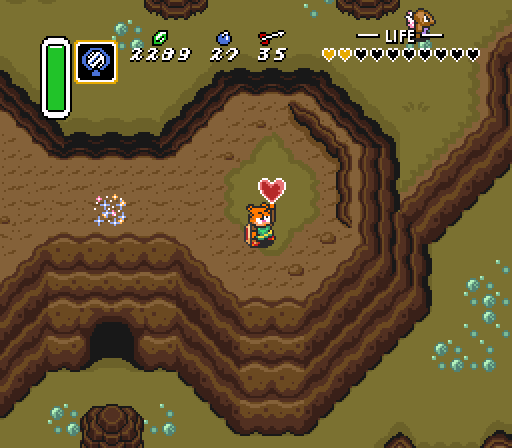
More heart pieces. Won't turn my nose up at a bit more vitality, but I could use some actual gear.
No Caption Provided
No Caption Provided
No Caption Provided
No Caption Provided
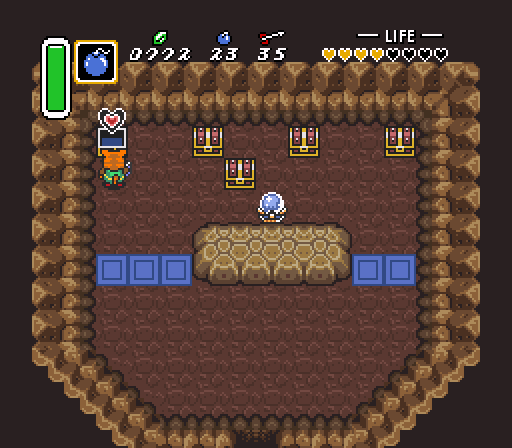
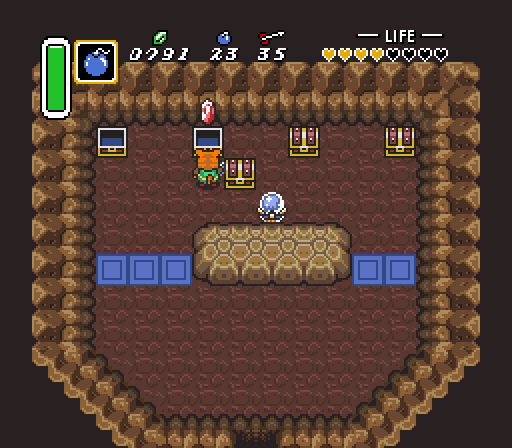
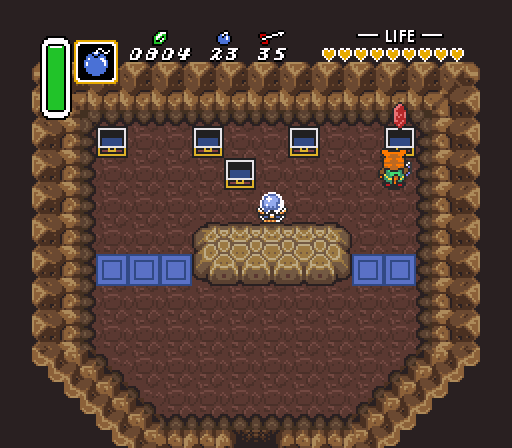
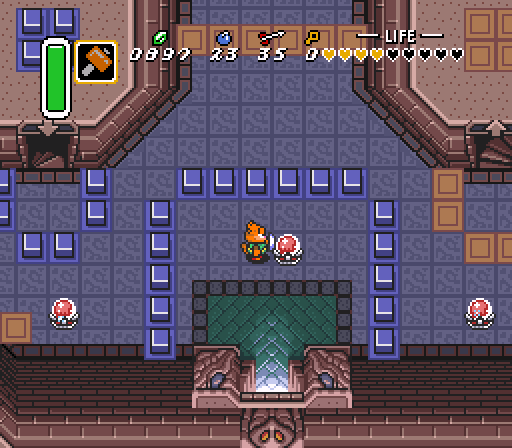
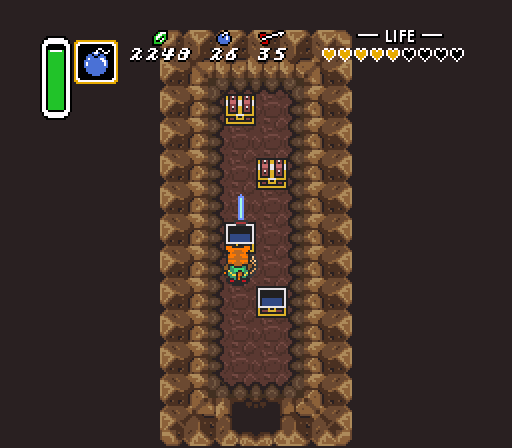
For a room with five chests, it proved to be particularly underwhelming.
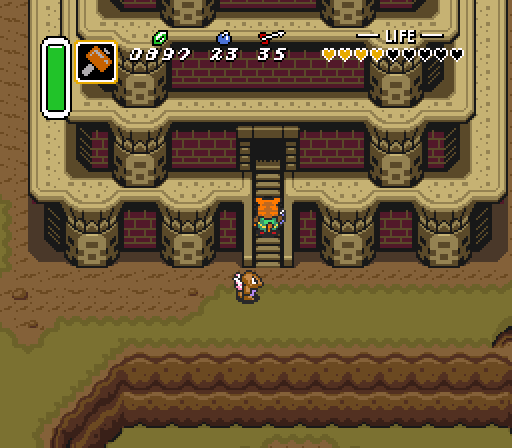
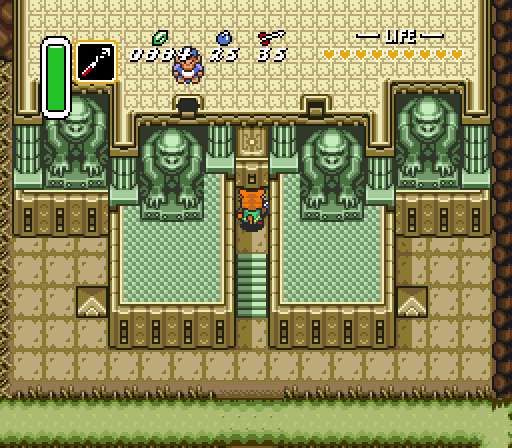
All right, there's not much more I can do up here without some late-game items like the Titan's Mitts, so let's cross our fingers and enter the third Light World dungeon.
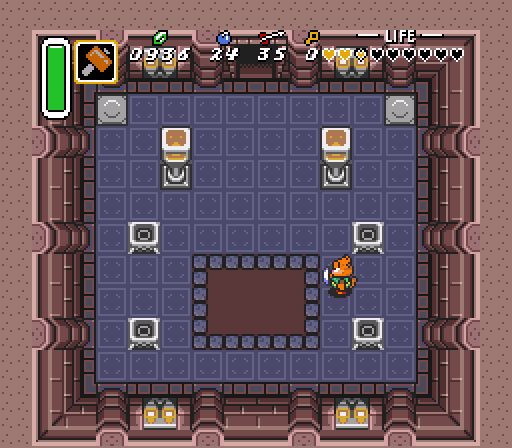
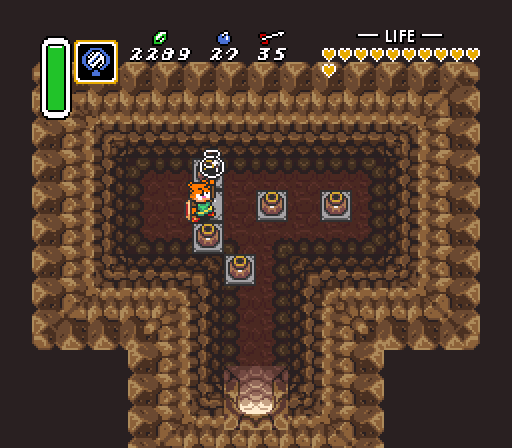
Ah yes, it's the one with the switches. I vividly remember this nonsense.
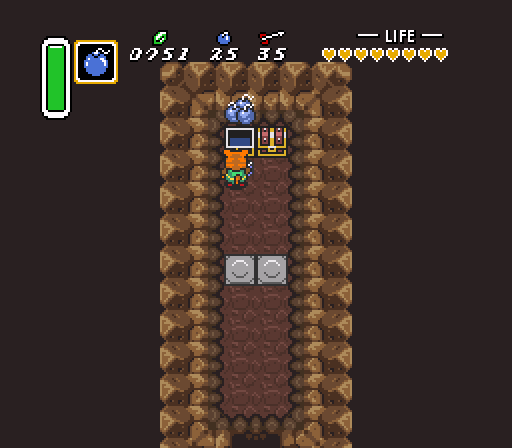
Dang, that doesn't bode well. If I'm getting a bomb upgrade here, it means it supplanted the
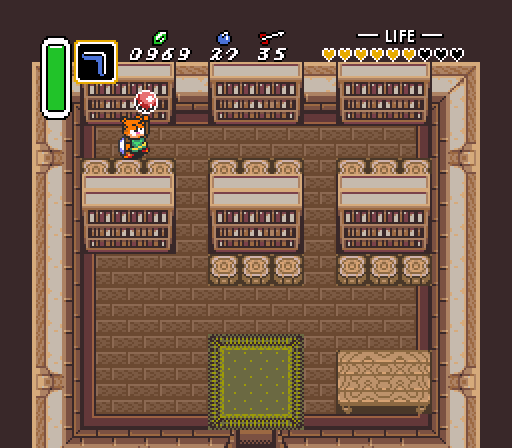
Dang, that doesn't bode well. If I'm getting a bomb upgrade here, it means it supplanted the "dungeon item". In the Tower of Hera's case, the dungeon item would've been the Moon Pearl, except we already know that's been relocated to Kakariko Library.
No idea what this chest had, because I lack any way to light these torches. I just hope it was the compass or something equally useless. Mental note to come back and check once I command the power of flames.
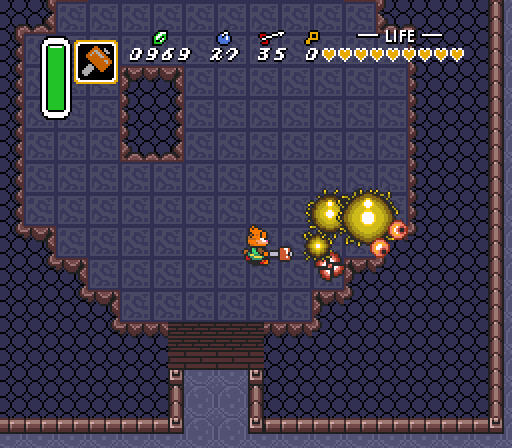
All right, so I guess this is our first boss fight. The biggest danger while fighting Moldorm is getting knocked to the floor below, which resets the boss's health counter. However, I have a couple of unexpected advantages coming into this fight: an absurd amount of health and the Magic Hammer. I just need to hit his tail three times with this thing and it's all over.
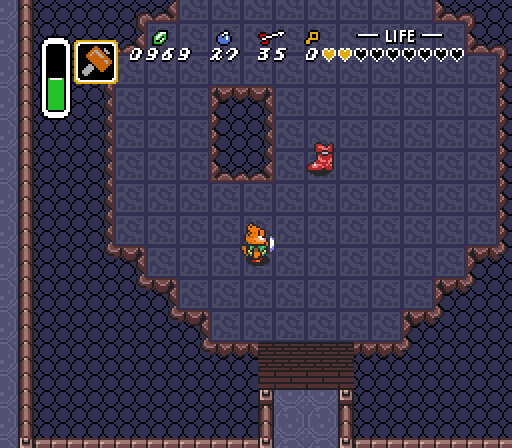
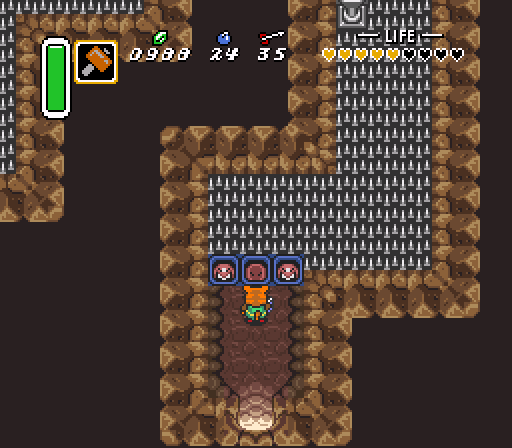
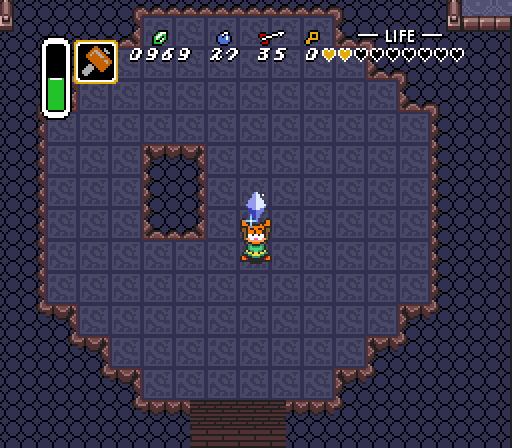
YESSS, that's a godsend. The Pegasus Boots are mine!

Side-Note: The Pegasus Boots, introduced in this game and usually given by Sahasrahla after completing the Eastern Palace, are a passive upgrade that allows Garflink to charge in a straight line. It has a number of applications: the charge can be a powerful tackle, it can get me to places faster, it can bash through certain walls and piles of rocks, and it can also be used to dislodge the item sitting on a bookshelf in Kakariko Library. The very last one of those is why I need it, though I'm sure I'll make use of the rest.

As per the suggestion provided by this comic, I've tried them against Tektites already. The results were disappointing. Those guys can really jump out of the way of anything.
We also get our first Dark World crystal too. I believe it's the third one, normally earned from Skull Woods.
So this is why I've been looking for the boots: to get the Moon Pearl. It's the single most useful item for progress right now.

Side-Note: The Moon Pearl, the dungeon item for the Tower of Hera (despite the fact you don't actually need it in the Tower of Hera), is a passive item that allows Garflink to retain his usual form when entering the Dark World. Say goodbye to that useless Odie transformation, because now the Dark World is ours to explore.

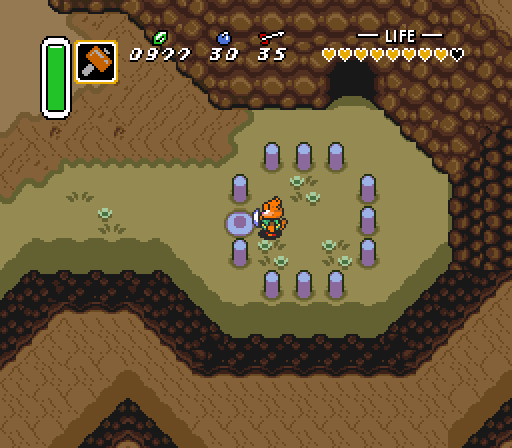
Eh, close enough. Also, was there a joke here, or...?
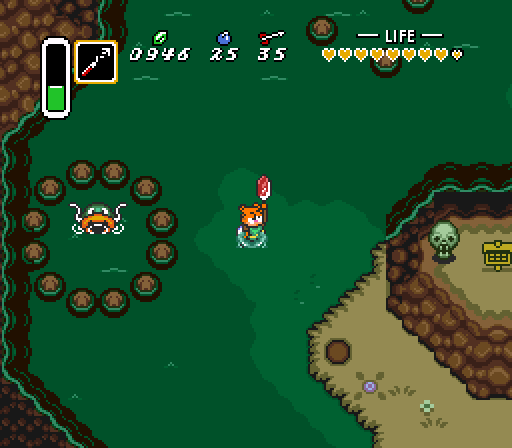
We passed by three entry points to the Dark World. This one's located to the east of the map, just beneath the Eastern Palace. We also have one on Death Mountain (at Spectacle Rock, where you first learn about warping) and the marshland to the south. There might be others, I'd have to do some digging.
Anyway, since I'm right next to it and I already have the hammer, I thought I'd explore the Palace of Darkness first. I had a heck of a time getting past these Dark World enemies like Hinoxes and Peahats - my level-1 sword might as well be a feather duster here, but between the hookshot and hammer I've got a handle on things.
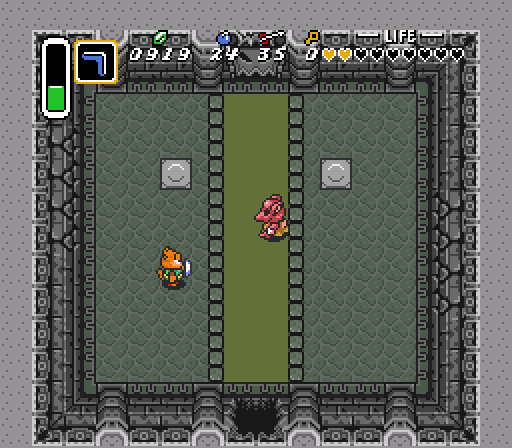
Alas, some 75% of the way into the dungeon - and before I could find the new dungeon item - I get stuck at this guy. The Goriyas are enemies that copy Garflink's movements, and the red one is apparently immune to every weapon I have. I suspect the bow would make short work of him, were I to own it. I guess this is another dungeon we can cross off the list for the time being.
Tossing a rock into this guy's pool nets you a useful magical item - the Quake Medallion - but all he was willing to give me was a bunch of rupees. Maybe I'll just keep tossing trash in here then. How about that, Careless Whiskers?
Still exploring, this is the only place worth visiting up at Dark Spectacle Rock with the gear I have. It's actually where the Cane of Byrna's supposed to be, but we know it's going to be something else.
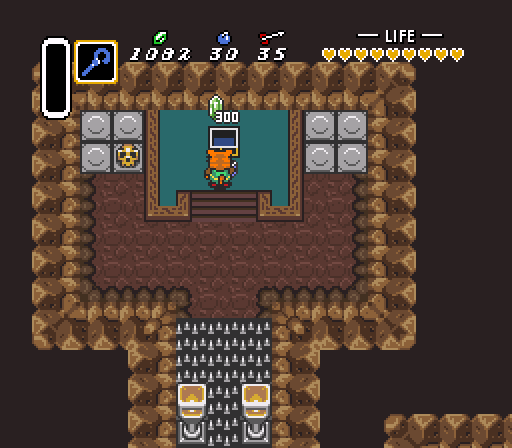
Ah, it's more money. Well, that sure was worth running across all those spikes.
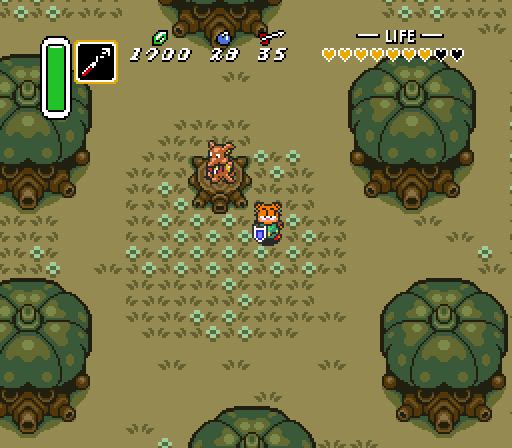
The transformed Ocarina Kid's supposed to give me the shovel, which I can use to dig up a few items elsewhere. Instead? More rupees. I'm almost at 2000 now, I hope I find something to spend it on soon.
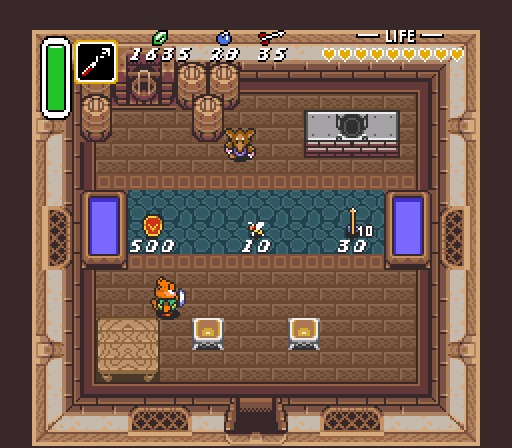
You know what? That shield will do.

Side-Note: The Red Shield, or Shield L-2, is really more of a cosmetic purchase. It does provide one benefit over regular shields - it blocks fireballs in addition to normal projectiles like arrows and rocks - but it's mostly there to convince you to spend money (or you can upgrade your normal shield in a fairy pool that we can't access right now, if you want to save your rupees). Once we find the Mirror Shield, it'll become obsolete.
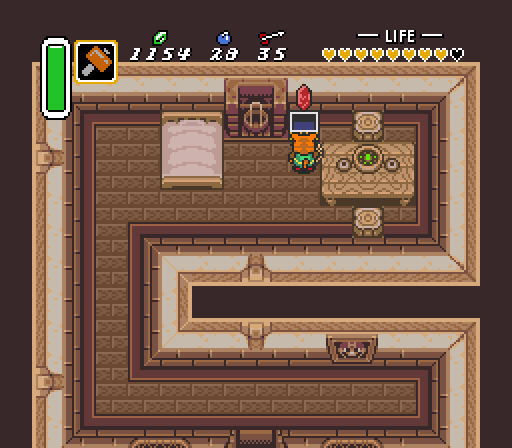
Getting a little tired of these rupee chests.
Marginally better.
Marginally better.
That's more like it. With the Magic Mirror, I can really start conquering the Dark World.

Side-Note: The Magic Mirror, found on Death Mountain, is the only way of accessing the Light World from the Dark World. It can be used anywhere, provided there's space for you to warp into, and leaves behind a residual gate that you can use to get back to the Dark World. There are a number of spots across the Dark World where you can hop back into an otherwise inaccessible part of the Light World for a useful item, and I'm going to go check them out now.

I feel like this one could've used a preceding panel, because otherwise it just makes Jon seem like a dick. More so than usual, I mean.
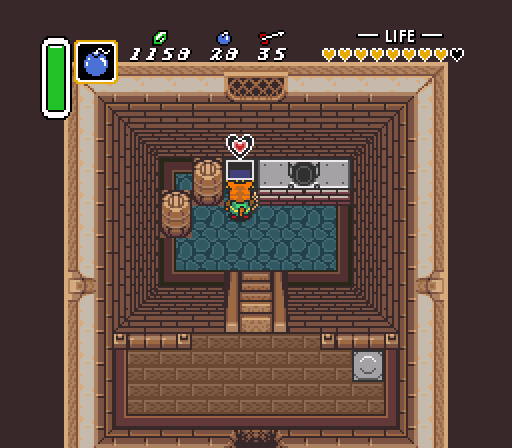
Meanwhile, we still have the back room of this guy's house, so let's rob him blind. Another bomb upgrade, which is giving me an idea I'll elaborate on during the round-up at the end.
Well hello there Master Sword. I'll be needing you if I'm going to be fighting any Dark World bosses.

Side-Note: The Master Sword is Link's most recognizable weapon - a holy blade capable of defeating Ganon and his accursed minions. It does twice the damage of the normal Fighter's Blade, but it also has a couple of extra bonuses: the first is that it can be used to defeat Agahnim at Hyrule Castle, should I want to enter the Dark World "legitimately". The other is that it can fire a magical beam when I'm at full health, which honestly doesn't happen too often.
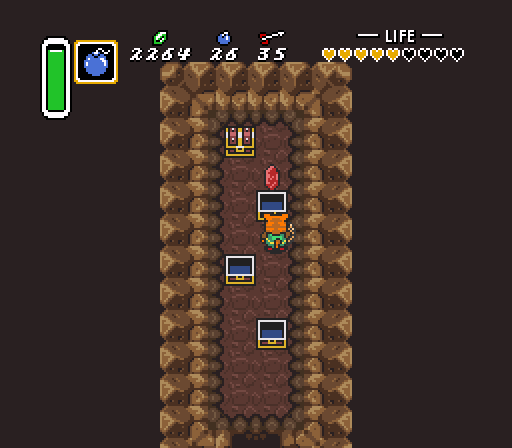
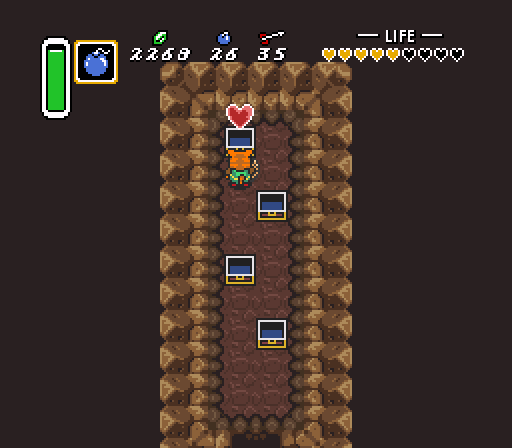
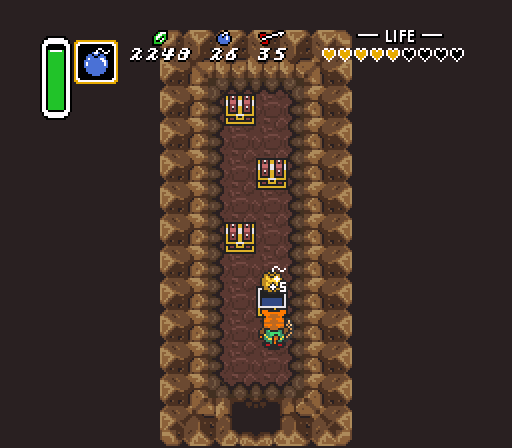
Rupees? Whatever. Too blessed to be stressed.
That's a pretty good fourth item to get here. You can never have too much health.
See above, really. I just hit my second line of hearts, and I've only defeated one boss so far. If I don't find an armor upgrade soon, though, I imagine I'll burn through these pretty quickly depending on what I'm fighting.
Well, speaking of contingencies for tough boss fights, I now have one of the best items for staying alive: a bottle.

Side-Note: The Bottles are versatile items in the Legend of Zelda series, used to contain various items that could benefit Garflink in some way. The most readily available are fairies, which can resurrect me if I should fall. I can also buy colored potions now, or use the bottle to capture bees. The game has four bottles in total: how has it taken me this long to find just one of them?

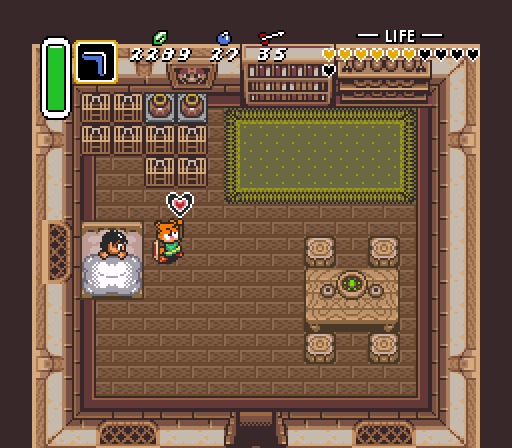
Maaaan, remember when Garfield was hideous?
We've probably been going on just long enough. Just a few last stops so I don't forget next time. Remember the sick kid? In the original game, he gives you his butterfly net if you show him a bottle. We already found the net elsewhere, but we'll still get a random item now that we have a bottle to show off. It's another heart piece though, which leaves us halfway to our next container.
Finally, there's another Magic Mirror-accessible raised platform near the sanctuary. Far as I can recall, this is the only remaining Magic Mirror spot I can reach right now. Twelve hearts for the Agahnim fight seems like more than enough.
No Caption Provided

All right, it's time for the big check-in after Episode IV:

  • Collecting the Moon Pearl and Magic Mirror was our biggest coup, as they give us almost full access to the Dark World. There's still a few environmental obstacles we'll need either the Flippers, the Titan's Mitts, or another item to overcome, but we're free to visit most of the Dark World dungeons right now. However...
  • We have nine dungeons left, and despite our Dark World mastery they're all inaccessible right now. Let's run through them all real quick:
  1. The Eastern Palace (Light): Halfway complete. Need the Bow to progress (mini-boss).
  2. Desert Palace (Light): Inaccessible. Need the Book of Mudora to enter.
  3. Palace of Darkness (Dark): Halfway complete. Need the Bow to progress (red Goriya).
  4. Swamp Palace (Dark): Inaccessible. Need Zora Flippers to enter.
  5. Skull Woods (Dark): Halfway complete. Need one of the three Medallions to awaken the final door with the rock centipede, but I forget which.
  6. Thieves' Town (Dark): Inaccessible. I need to get past the statue in the town square, I think. It either needs the Ocarina or the Titan's Mitts to move. Either way, I don't have what it wants.
  7. Ice Palace (Dark): Inaccessible. It's smack-dab in the middle of Dark Lake Hyrule, so I'm guessing I need the Zora Flippers there too.
  8. Misery Mire (Dark): Inaccessible. I actually forget what I need to do to get into that little self-contained swamp to the southwest. I'll try some stuff for next time.
  9. Turtle Rock (Dark): Inaccessible. Pretty sure I need the Titan's Mitts to get here too, but it's really hazy.
  • Still, thanks to the discovery of the Master Sword, I can at least go fight Agahnim in the Light World. I'm pretty sure he drops a heart container after that fight, which gives us another item possibility. It's been a while, so I don't remember if anything else happens beyond getting booted to the Dark World pyramid. I guess I'll find out.
  • And then there's the other miscellaneous finds for this episode: a whopping five new health upgrades, four of which were from full heart containers; two bomb bag upgrades; and a bottle.
  • So yeah, that epiphany I got after the bomb bag upgrade: in the original game, you buy all the quiver and bomb bag upgrades by tossing rupees into a certain fairy pond out on Lake Hyrule. If I'm just finding those upgrades across the world, it would stand to reason that the prizes acquired from that fairy pond would draw from the randomized pool also, right? So I think if I find the Zora Flippers, make my way to that pond, and toss in as much of this outrageous fortune I've accrued as needed, I should get a whole batch of different items. Worth keeping in mind if I find the flippers next episode.

Next Time, on A Randomized Link to the Past: Time to bat some fireballs back and forth with Agahnim, and then thoroughly check everywhere to make sure I'm not missing something. I'm going to have to ratiocinate (read: check a wiki) on how to enter Misery Mire and Thieves' Town if I can't figure it out quickly enough, even if I'm really trying not to spoil the "mostly blind run" nature of this playthrough.
Episode I: Lasagna Kitten: The Fell Depth Oozed
Episode II: Pasta Fiend Tale: Hell-Zonked Ghetto
Episode III: Lazed Feline Goal: Pet the Dank Thots!
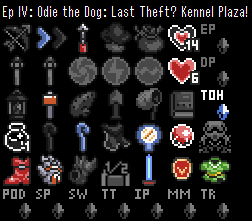
Episode IV: Odie the Dog: Last Theft? Kennel Plaza! <- You Are Here
Episode V: Egad!, PhD: Little Fez Hat on a Skeleton
Episode VI: To Fat Knight Zone: Help Delete Salad
Episode VII: Please, God, No: The Zealand Kilt Theft
Episode VIII: TalkFleet: An Elephant-Sized Hotdog
Episode IX: The Fattened Ilk: A Gonzo Death Spell
Episode X: Old Hazing Poll: Taste the Naked Feet
Episode Ys: Fleshpot Glitz: Needed a Tenth Koala
3 Comments