
The Quest For The Worst Adventure Game Puzzles - D (The Game): A Game That Would Make Kojima And Swery Blush
By ZombiePie 6 Comments
If you enjoy this blog and would like to read my other adventure game retrospectives, here's a list of my previous episodes of this series:
- Episode 1: The Dig
- Episode 2: Atlantis: The Lost Tales
- Episode 3: Loom
- Episode 4: Drowned God
- Episode 5a: Indiana Jones and the Fate of Atlantis Part 1 & Episode 5b: Indiana Jones and the Fate of Atlantis - Part 2
- Episode 6: The Journeyman Project: Pegasus Prime
- Episode 7a: The Journeyman Project 2: Buried in Time (Part 1) & Episode 7b: The Journeyman Project 2: Buried in Time (Part 2)
- Episode 8a: The Journeyman Project 3: Legacy of Time (Part 1) & Episode 8B: The Journeyman Project 3: Legacy of Time (Part 2)
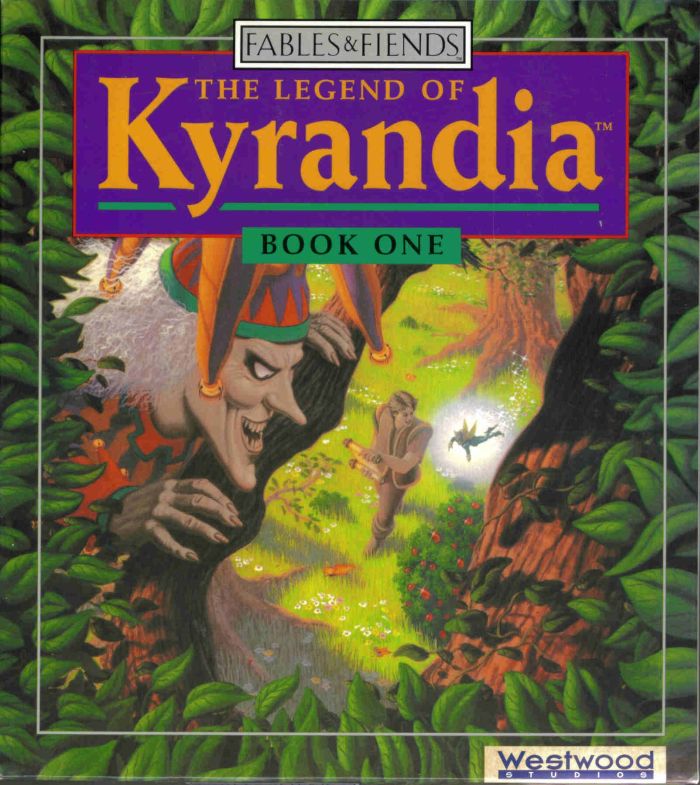
- Episode 9a: The Legend of Kyrandia: Book One [Part 1] & Episode 9b: The Legend of Kyrandia: Book One [Part 2]
Preamble (i.e., Let's Talk About Kenji Eno)

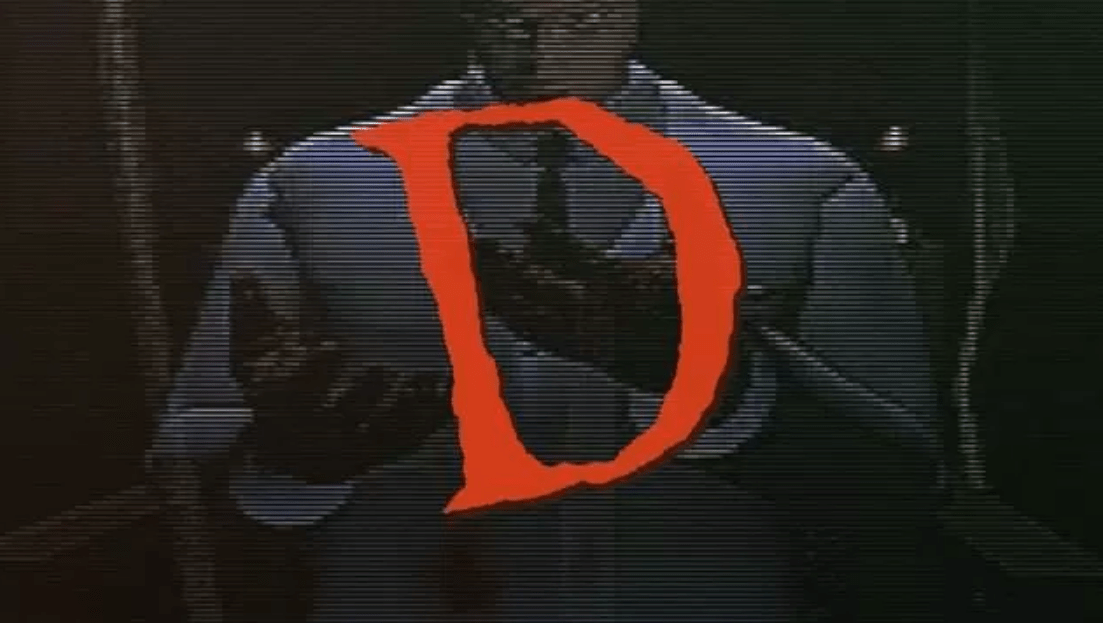
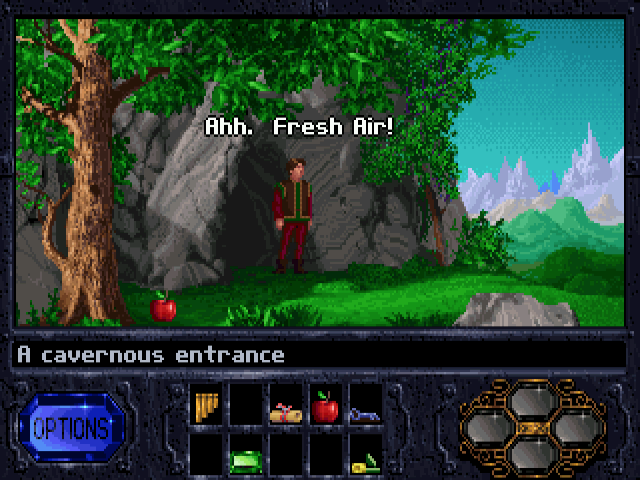
I'm a bit late to do a "spooky" themed edition of my adventure game series, but who's judging? With this retrospective, I'm looking at something outside my "normal" wheelhouse: D or sometimes titled for SEO "D: The Game." Wikipedia, the arbiter of all video game knowledge, calls D a "horror-themed interactive movie and adventure game," and that's mostly on the money. Its byline, however, leaves out how it's less of a game and more of a multimedia slideshow that banks HEAVILY on its psychedelic and downright bizarre visuals and cinematics. Think of it as a cross between Myst and The 7th Guest, directed by Salvador Dali. The game is the passion project of an obscure auteur named Kenji Eno. Eno curiously started in the video game industry by making soundtracks for console ports of arcade games. One of his earliest credits was the soundtrack for the Famicom version of Altered Beast. I note this because his background was never in programming or design, and most of his works reflect that.
D was meant to be his big break as a video game director. There's a funny backstory on how he billed the game as a psychological but tame horror game. However, he changed the masters at the last minute without telling his publisher so he could avoid their censors from blocking him from including vampires, murder, gun use, and cannibalism in the final cut. The game was a financial success, but that would not be echoed in future projects helmed by Eno and D's sequels. That's partly due to Eno holding a grudge against Sony due to a miscommunication about preorders. For almost all of his life, Eno refused to publish his titles on PlayStation consoles, even when that came at a massive financial cost. You likely have never heard of the man because of that and his leaving the industry after D2 completely tanked. He also tragically passed away at 42 due to heart failure, just as he was in the middle of a slight career revival.
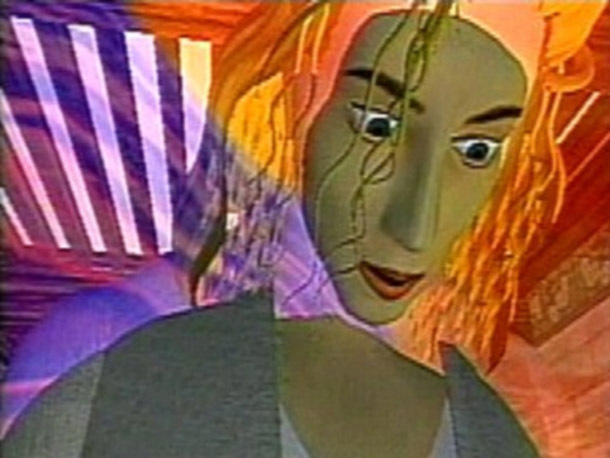
In a nutshell, the best way to describe Eno is he's a cross between Hideo Kojima and Swery. However, he avoids Kojima's neurotic and excessive exorbitance and never sits on the laurels of his "indie cred" like Swery. His background not being in programming or design also means he often takes a much more unorthodox approach to directing and producing. In the case of D, the game is primarily an FMV movie with a handful of puzzles strewn in-between cinematics. Eno also enjoys experimenting with his stories. In this case, the protagonist in D is named "Laura" and is billed as a "recurring digital actress," meaning whenever she exists in a video game, you're essentially playing a person inside a fake movie. Also, the way the game conveys its story is worth remarking upon before I review its puzzle-based challenges. The game starts with a five-minute introductory cinematic about Laura needing to stop her father while he is on a murder spree. When you start the game, you'll find Laura in a mansion, and if you explore different parts of the building, you can watch additional cutscenes which look and feel like LSD-induced dream sequences.
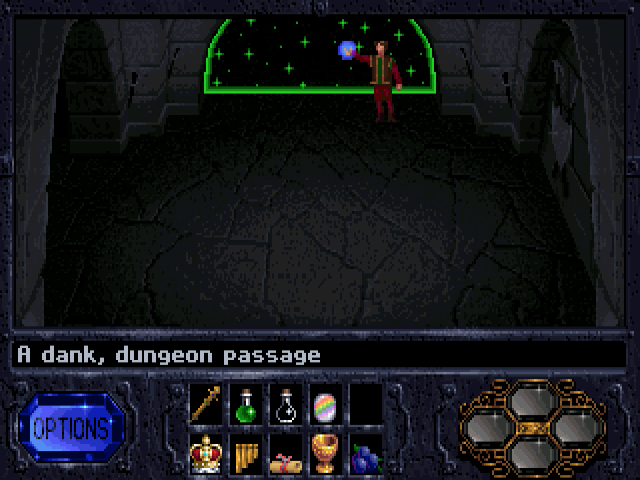
Next, we need to discuss the game's design because it's fucking BONKERS! Because Eno envisioned D as a "digital movie," he put a two-hour timer on the game. You get a bad ending if you fail to complete the final puzzle or sequence before you run out of time. On top of that, you cannot save. You have to finish the game in a single sitting, and if you exit it at any time, you'll lose all of your progress. This game also controls as expected in an FMV game made in the late 90s. Because it uses FMV to deliver most of its visuals and cutscenes, it plays similarly to Myst. Except in the case of D, you control the game using the arrow keys, and your sense of direction is terrible. In one case, there's a desk you need to investigate, but there's only one critical path to that desk, and it started two to three screens ago. Also, there's a snappiness to the movement and transitions in Myst, which some consider jarring. However, D is too far on the other side of that pendulum, with its sense of realistic movement feeling sluggish. In fact, that "realistic" movement is incredibly annoying when the entire game pits the player against a time limit.
Oh, and one last thing before we continue. There's simply NO WAY for me to systematically review the puzzles in D without also SPOILING the game. Each puzzle is deeply tied to the overall experience. If you want an objective and non-spoiler review of the game, skip to my final recommendation at the end. Even then, if you have had an inkling to play the game, try it and then come back to this blog after you have finished it. The game clocks in under two hours and is consistently on sale on GOG and Steam.
Disc 1
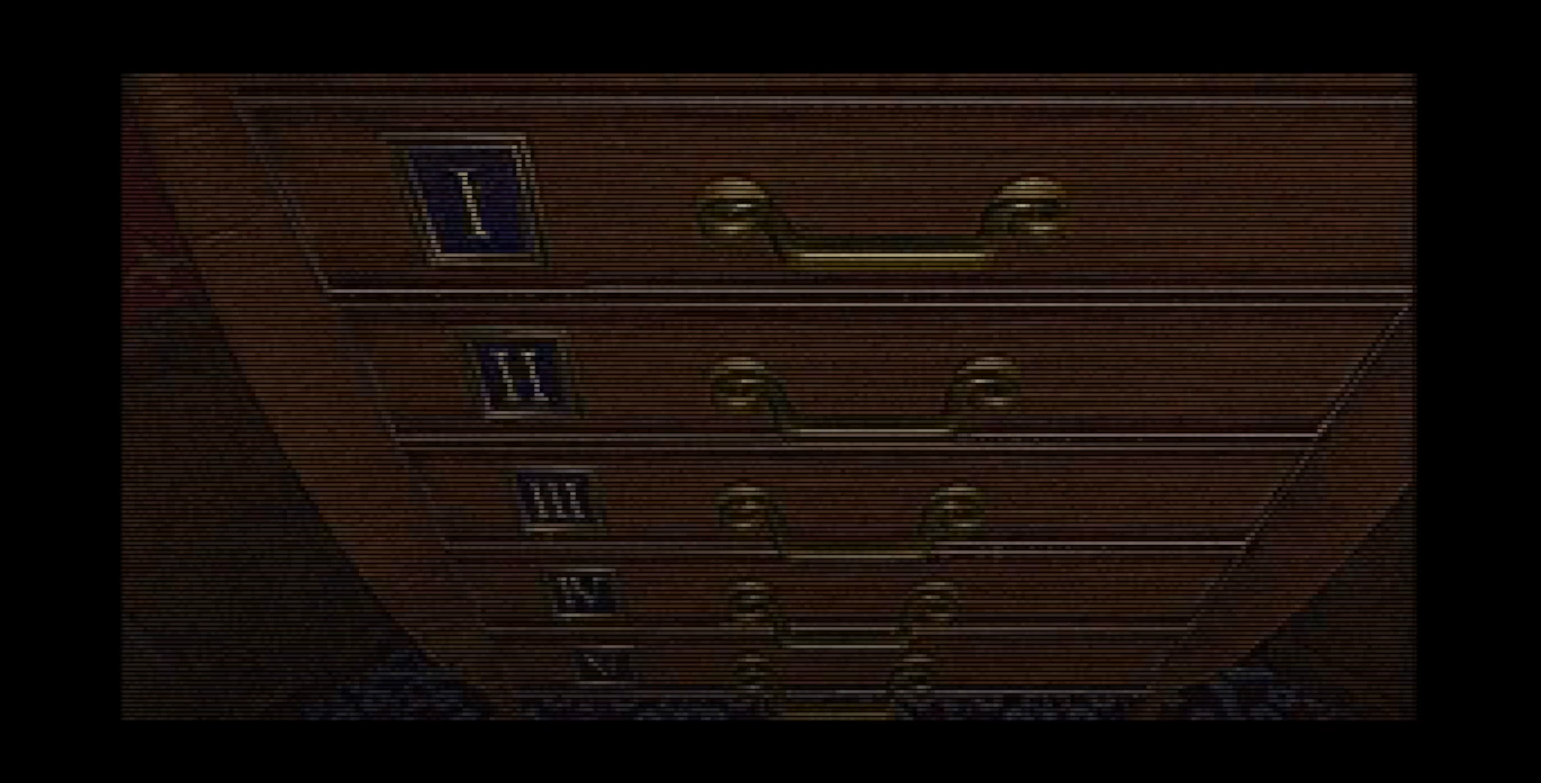
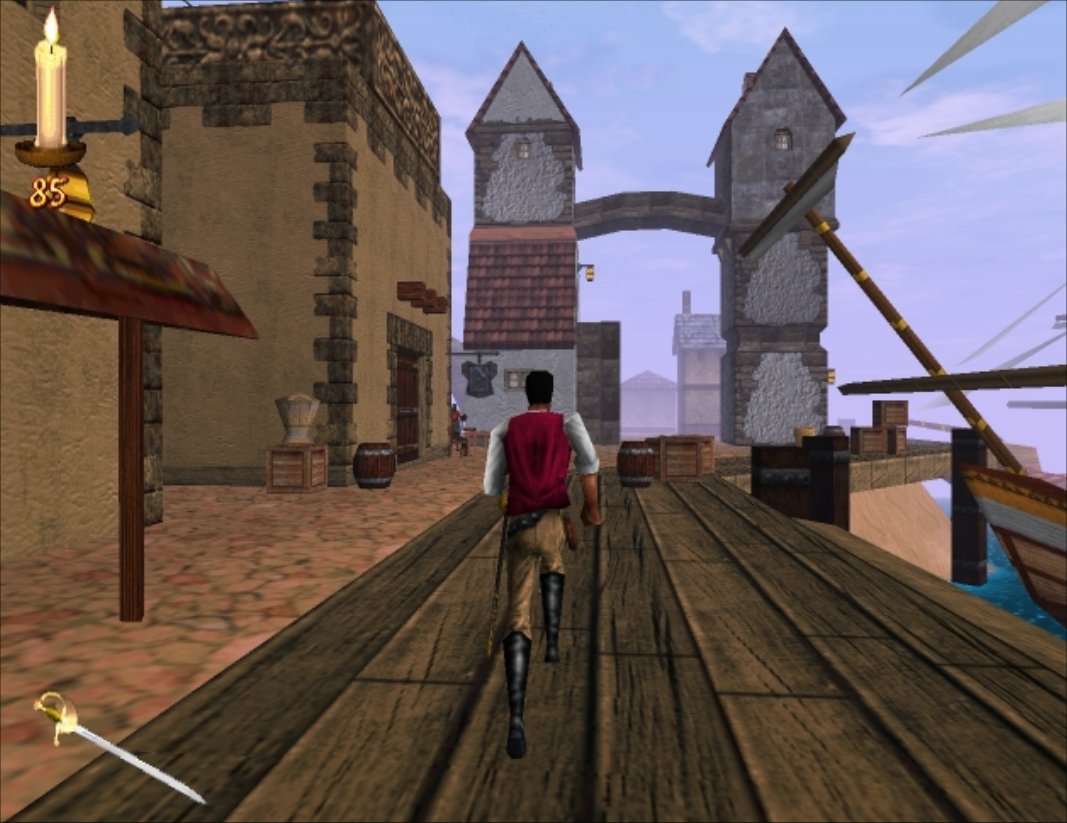
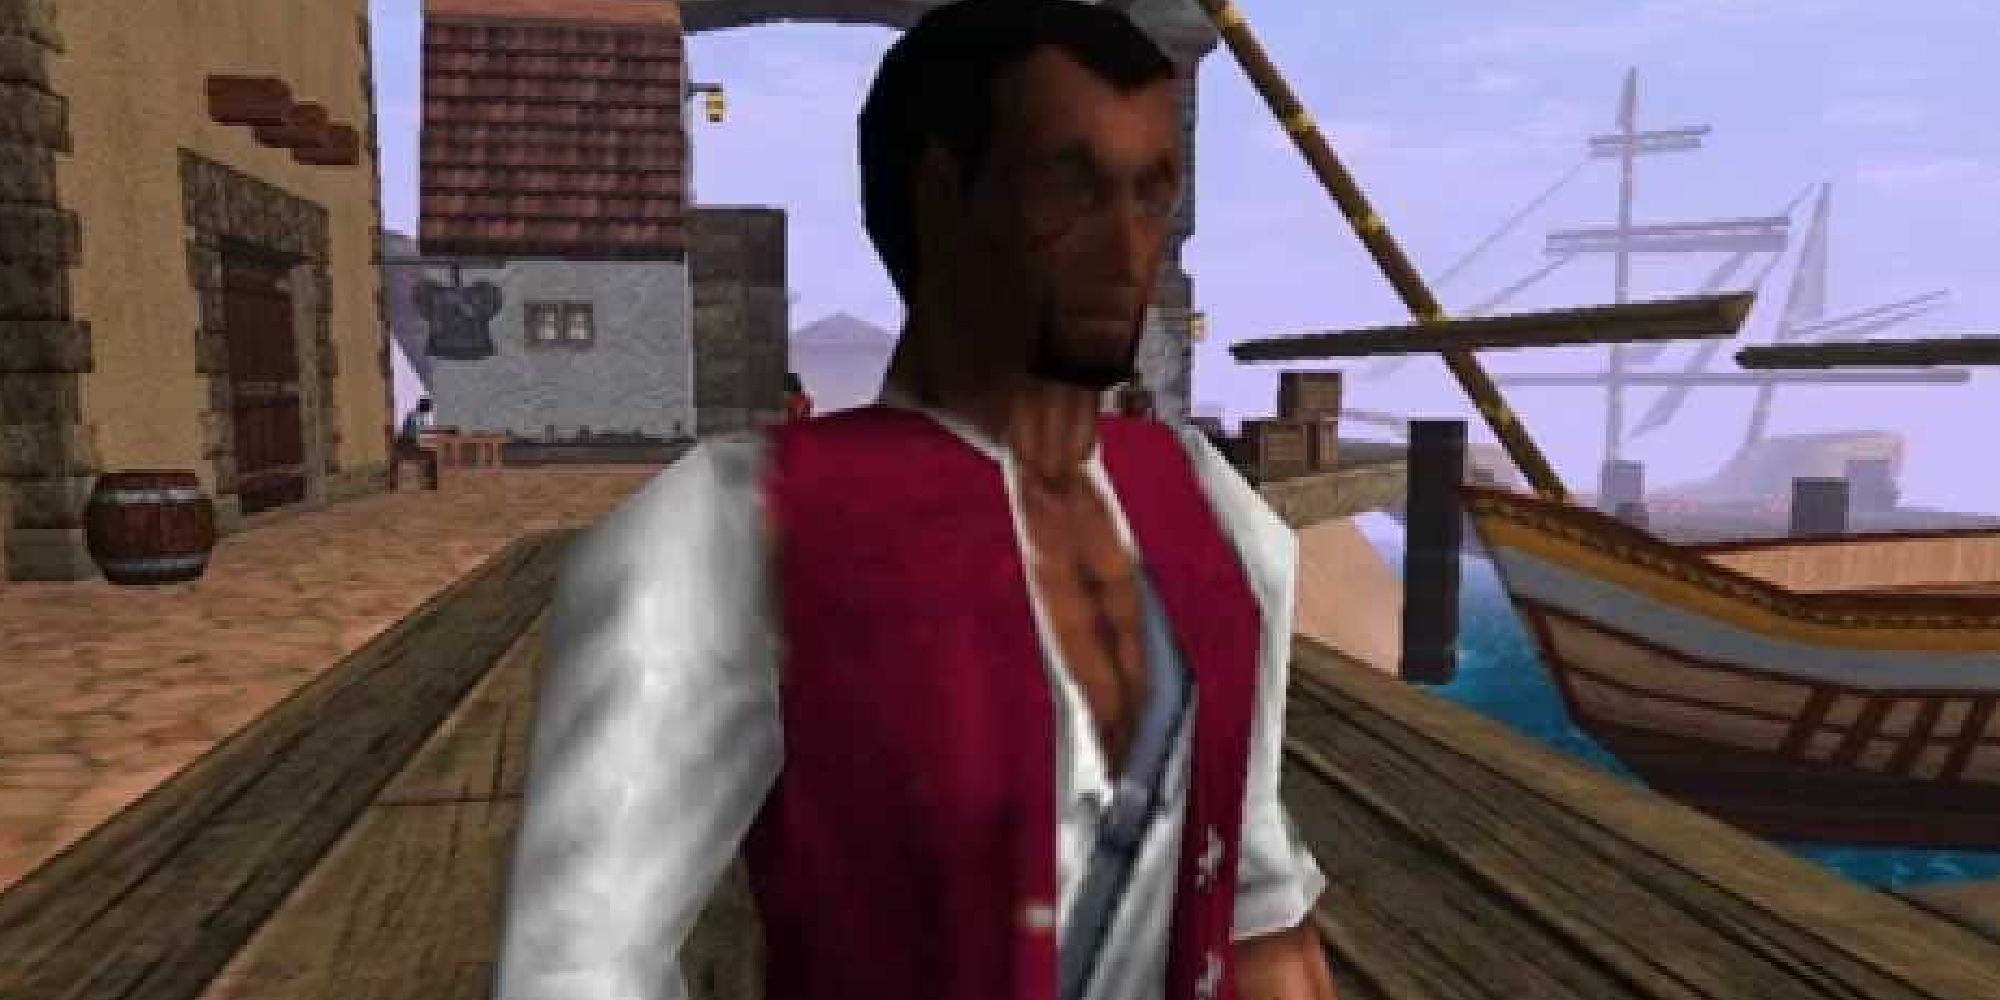
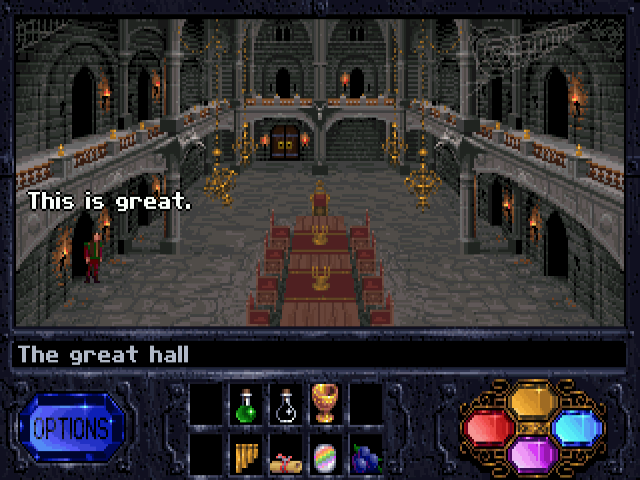
Getting The Barrel Opener - [Rating: 7/10] - After watching the game's opening cinematic, the game's protagonist, Laura, finds herself in an ancient castle dining room. While in the dining room, she can explore different objects to experience different visions or cinematics. For example, if you turn around instead of moving forward on the first screen, you'll unlock a special introductory cutscene that looks like something made by a person on angel dust. However, if you want to complete the game, move to the left of the dining room table and ascend a set of stairs to the second floor. Move forward when you find the door leading to the second floor's main room and locate a drawer with numbers on it. Open the drawer with the Roman Numeral "I" to get a piece of paper and then apply the document to a bowl sitting on top of the drawer. The Roman Numerals IV and II appear. If you pull the drawers in that order, then upon opening drawer II, a barrel opener will materialize. Nothing will ever appear if you yank the drawers in any other order.
So, I don't even know where to begin with this one. It's a bit of a needle in a haystack puzzle with you needing to navigate what is ostensibly an open-ended mansion with no clear indication of what to do. I understand that this was by design to force the player to replay the game multiple times. However, with the average user needing to search every nook and cranny for clues, it's a shitty user experience. Also, we can all agree that the logic for this puzzle is non-existent. How the game justifies materializing a giant metal crank after you pull two drawers in a specific order is beyond me. The only thing preventing me from giving this puzzle a higher grade is that it does not require the player's quick reflexes or calculation prowess.
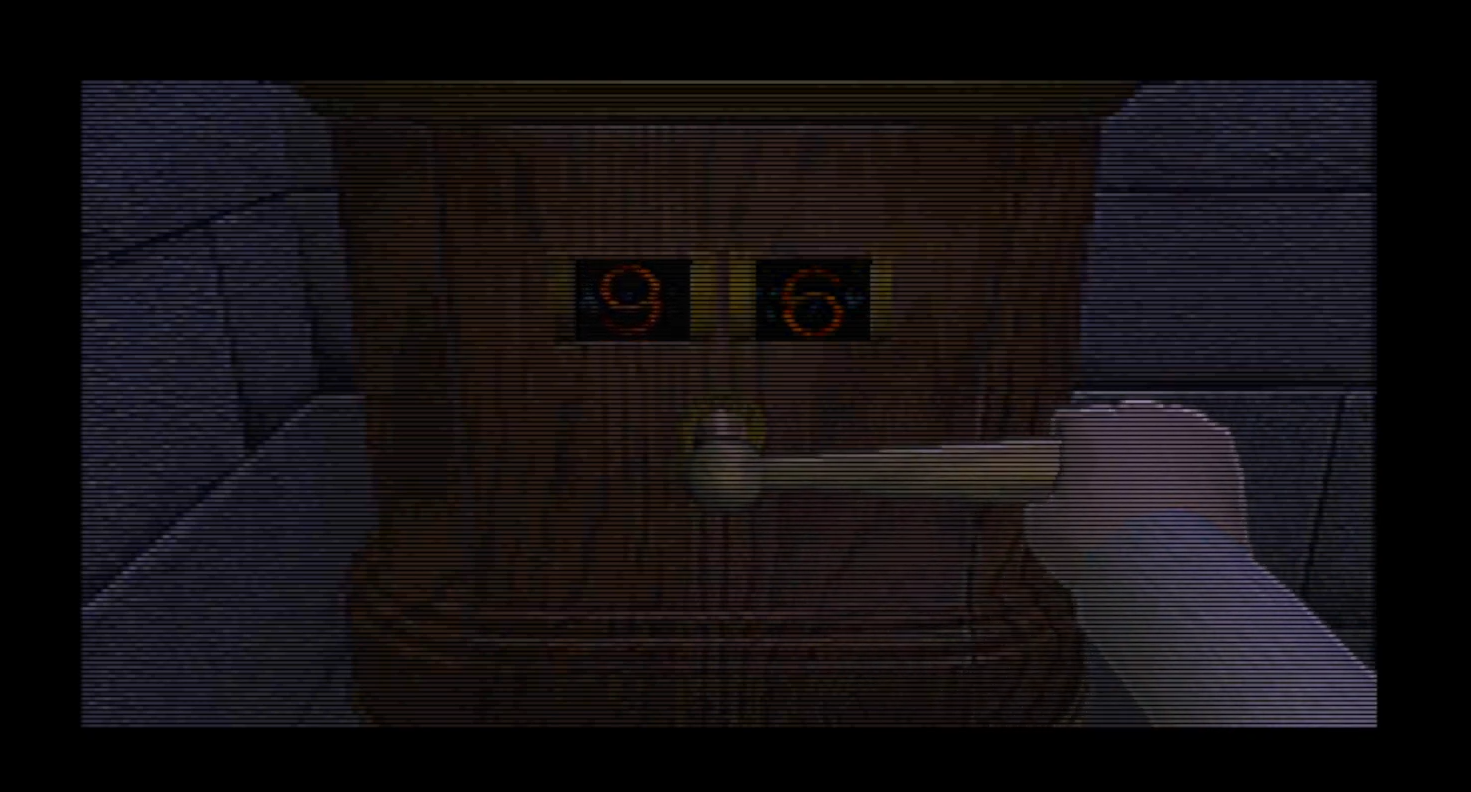
Unlocking The Slot Machine Chest - [Rating: 9/10] - Before you continue further, locate a fireplace near the drawer and move into it to pick up a key and watch a cutscene revealing Laura's father as the antagonist. With this key, it is time to find the barrel room. Exit the room with the drawers and before entering the dining room, notice a large barrel in a side room next to the stairs. Using the barrel opener on the barrel will disable a spike trap in a different room. Next, it is time to use the key from the fireplace to open a locked door across from the one that leads to the second floor. You'll find a locked box with two slots displaying numbers as you progress further in the room. You have to operate a crank, observe the numbers rotating and time your use of the crank to make the correct numbers show in the two slots. It's essentially a slot machine but with player agency. The issue is that the timing for this puzzle is awful, and while the slot for the tens digit works as intended, the one for the single digit number has an unexpected added "bonus" to make the puzzle harder. The machine will move backward eight units upon initially stopping for this slot. The correct combination, by the way, is "78," and the only way for you to know that is if you noticed those numbers above the door leading to this slot machine. Finally, when you open the box, Laura grabs a ring from a zombified hand.
Do you remember the slot machine minigame in Super Mario Bros. 3? Imagine that minigame, but on fire and with a timer looming over you like a Sword of Damocles. There's a delay between when you click to operate the crank and when the game stops the numbers. That hiccup is so considerable that it took me seven to ten minutes to nail the first number. The second number moving backward is so unconscionably a terrible idea I genuinely got angry at the game and considered stopping. Also, the numbers on the door with the solution are so obscure that you could consider giving this puzzle a ten. In this particular case, I was so confident I was missing something I ended up consulting a 2008 forum thread only to discover for this puzzle, the GameFAQs guide said, "persevere." Thanks for the bill of confidence!
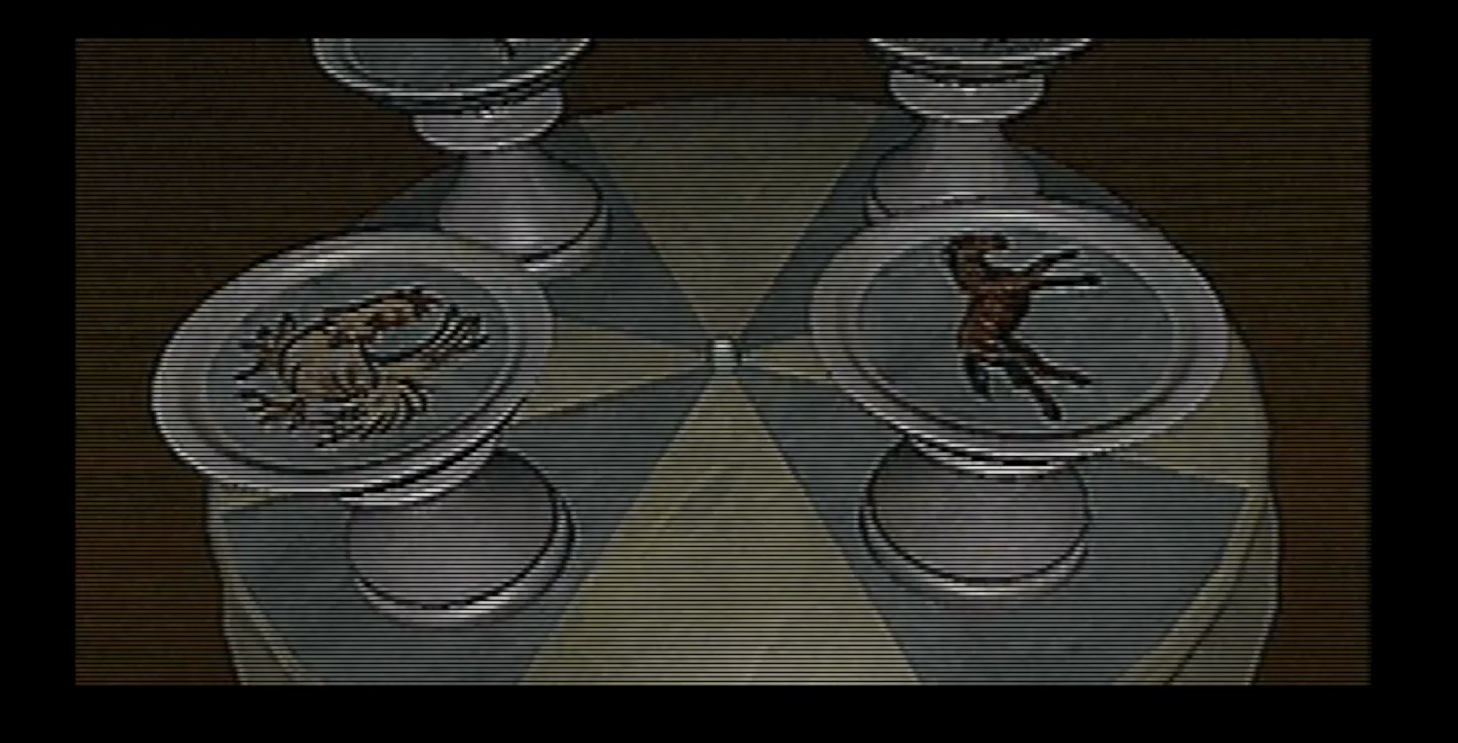
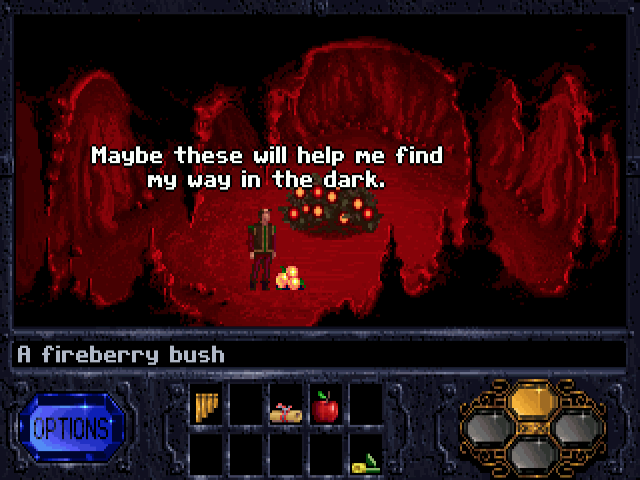
Using The Weird Porcelain Animal Thing In The Bedroom - [Rating: 5/10] - With the ring, Laura can now open the final door in the dining room. When she does, she descends a set of stairs and runs away from a falling boulder like a low-rent Indiana Jones. When Laura finds herself in the second part of the castle, she must locate a picture of a young girl and then watch another hallucination. While this hallucination plays, you need to take note of animals that materialize on the screen, and in which order. For example, the game expects you to notice that a deer is the first animal that appears. This point is important because next to the bed is a turnable set of china with symbols depicting those same animals. To unlock the door to the next room, you'll need to rotate the teacups until you find the one showing a deer and stop on it. This sequence is the least problematic of the puzzles in the second part of the mansion. It's a bit of a leap to connect the animals from the dream sequence with the set of rotating china, but it's one of the more clever escape room moments in the game. If you have any hope of finishing this game, you need to treat everything you see and experience in D as a tell to a puzzle, and at least, in this case, six to seven steps do not separate the connective tissue between two parts.
The Bookshelf Puzzle - [Rating: 3/10] - When you unlock the door in the bedroom, continue moving Laura forward until she finds herself in a room filled with skeletons. Eventually, she'll see a skeletal hand holding a key she can add to her inventory. Return to the bedroom and find the critical path to a nearby desk. When you approach the desk, you'll notice it has a dozen locked drawers, and the key from the skeleton closet can open one of them. When you find the correct drawer, unlocking it will reveal a book. Leave the bedroom and continue into a large room with a set of busts next to a bookshelf. Move towards the shelf and use the book to fill a missing spot that unlocks a hidden door. Much like the previous puzzle, this one feels like something you would experience in a real-world escape room. The steps involved are not so far removed from each other that it feels impossible. Likewise, this sequence is one of the few that feels like it is still operating in some realm of human logic.
Disc 2
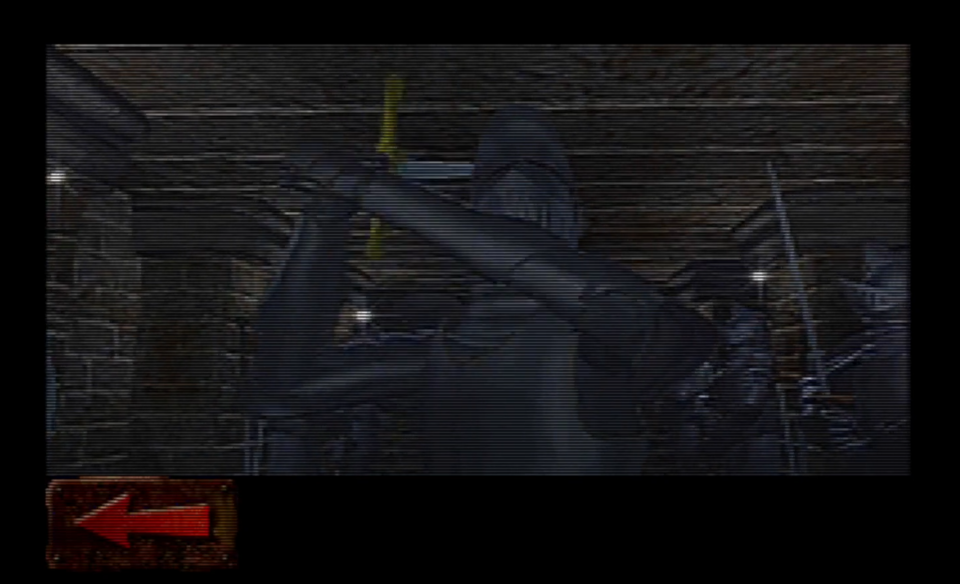
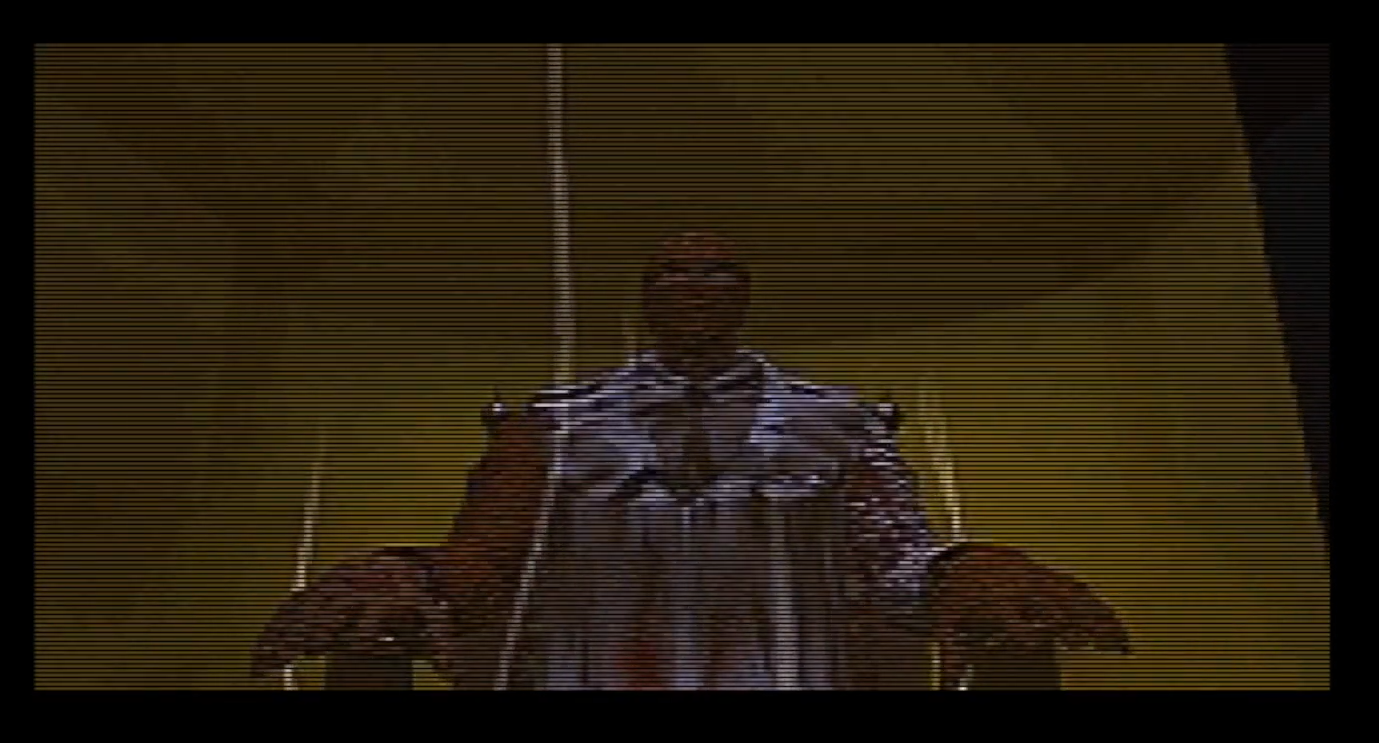
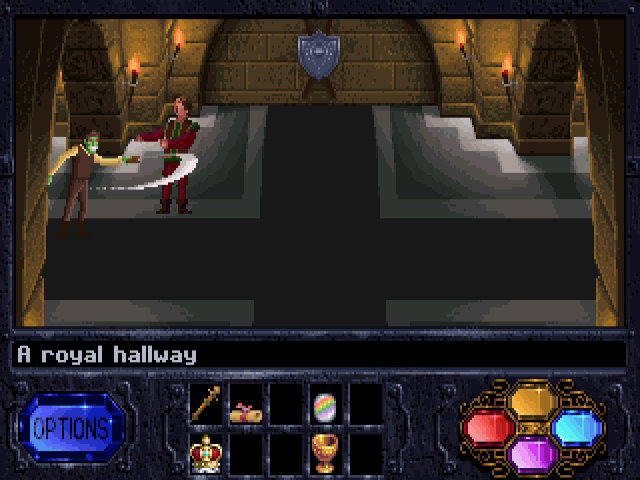
Using The Circular Elevator Room To Find The Knight And Defeating Said Knight [Rating: 6/10] - While the first disc of D certainly has its fair share of bumps and bruises, it wasn't so wild and wacky you never feel like you can't figure out what the fuck it wants. Also, at least every room and environment has a ton of hidden visual cinematics and cutscenes to keep you interested. All of that goes out the window during the game's second disc, where I have a sneaking suspicion Kenji Eno ran out of money. I say that because the start of the second disc primarily takes place in a stone and chain elevator with almost no visual stimuli to keep you on your toes. Worse, most rooms you can visit using the medieval elevator are empty or dead-ends. The first room you'll want to see is the "Knights Room," which will require you to operate a crank three screens removed from the elevator. Worse, the animation when you use the crank is slow, and with the knight's room ten clicks away, I felt like I could feel grey hairs growing on my head when I finally moved the elevator to the correct position. When you enter the room, Laura must defeat a knight. When Laura vanquishes the knight, she ends up with its sword.
When you enter the room with the knight, you will be treated to one of the few "action sequences" in the game. If you were wondering how this plays, it is a quick time event where Laura can end up dead after a single wrong move. Luckily, the game is a bit forgiving with how fast you need to be on the draw, but the element of instant death is still something to be mindful of when you get to this point. I ultimately fall back to that last point when ranking this puzzle. Because the game actively prevents you from saving, ANYTHING that can result in an unanticipated "Game Over" is all the more anxiety-inducing. Likewise, using the elevator fucking sucks. As hinted, it is slow, and if you are not careful, it can eat away at your timer and force you into a failed run to complete the game. More flawed is how the game is structured during this part. There's a "correct" order when using the elevator. Still, you don't know that, and the presence of dead ends makes this sequence one of the least visually exciting and most punishing if you attempt to explore it without a guide.
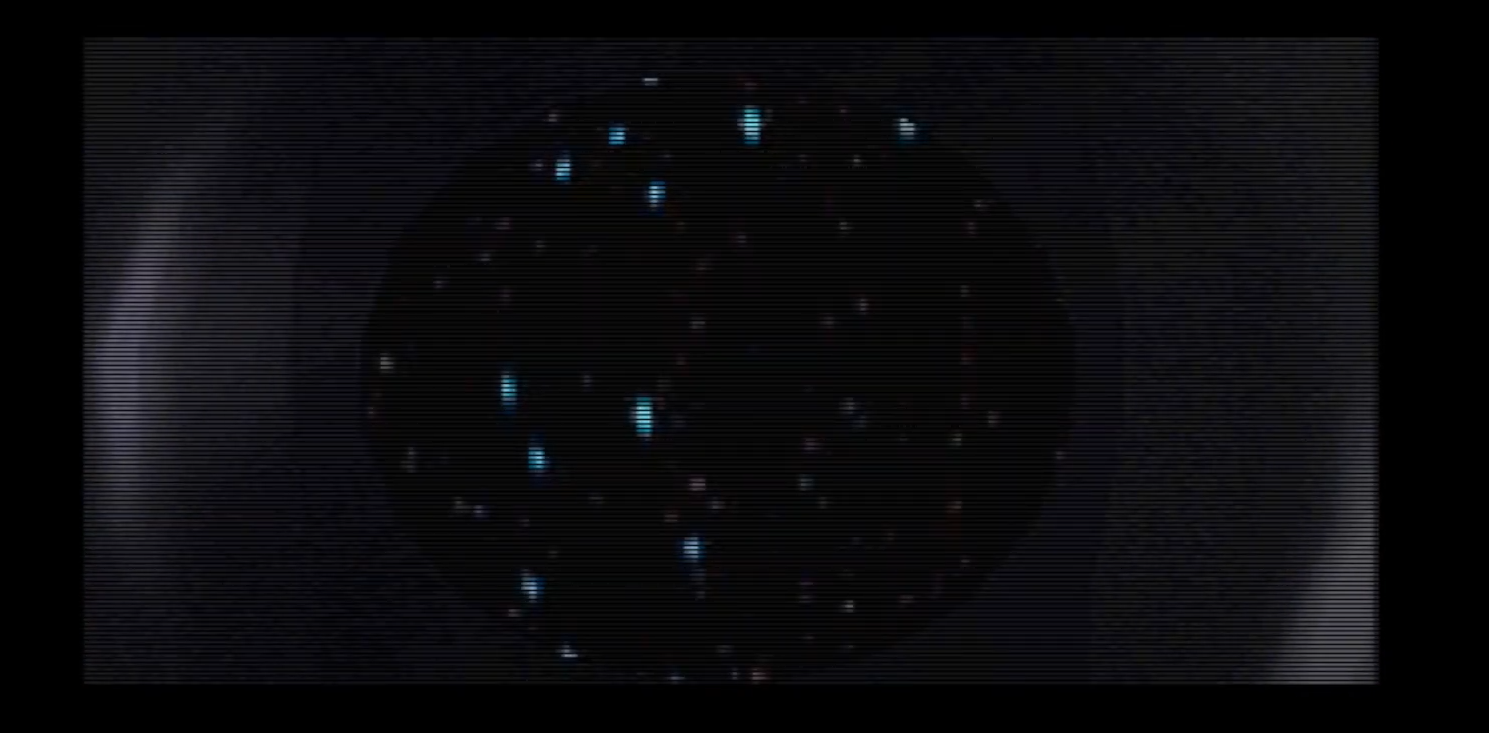
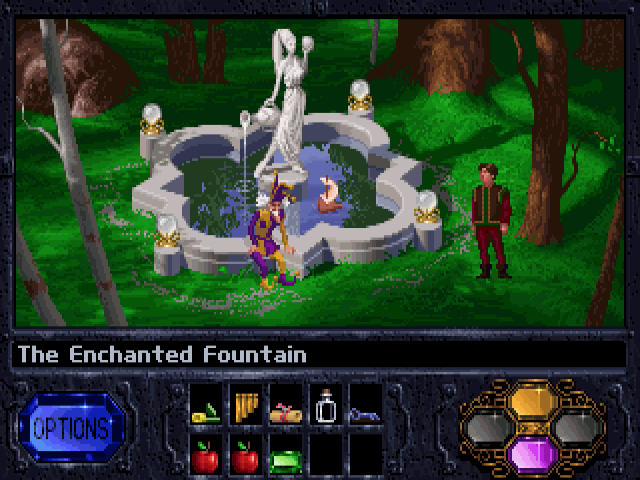
The Fountain Puzzle - [Rating: 6/10 For "Normal People"; Impossible/10 If You Are Color Blind] - With the knight dead and the sword in hand, it's time to move Laura back to the elevator. This time, turn the lever seven times to transport Laura to the castle's garden. While there, you'll notice a locked door to an observatory and two statues standing in the middle of fountains. When you examine the fountains, you discover one depicts the horoscope Aquarius and the other Sagittarius. With the sword, Laura will need to use it to stab the door through a keyhole to open it. When Laura ascends the stairs to the observatory, she can use a telescope to observe the astrological signs of the western zodiac system. However, you'll need to set the telescope using the standard symbols for Aquarius and Sagittarius and then watch the colored light that flickers when you look into its lens. The game requires you to notice green flashes when you examine Sagittarius and light blue when you look at Aquarius. Next, you need to backtrack to the statues and operate a console with buttons on each and click the correct colors. When you do, the water from the fountains will flood a spike pit in a different room and allow you to pick up a dueling pistol from the 1800s.
Let's deal with the most significant problem with this puzzle right off the bat. If you have color blindness, this part of the game is virtually impossible to complete unless you consult a guide. The difference between light blue and regular blue, as well as dark green and regular green, without any accompanying symbols or shapes, can be challenging to parse out for those with vision issues. As such, this puzzle has noteworthy accessibility issues. However, this sequence is still a bit of a pain in the ass outside of those issues. For reference, I am not color blind. However, it still took me a while to remember the symbols for the western zodiac system and realize you need to use the sword, and not ANY of the many keys in Laura's possession, to open the door to the observatory. Finally, using the console on the fountains does not feel good, and going back and forth between the telescope and the outside garden takes fucking forever to do.
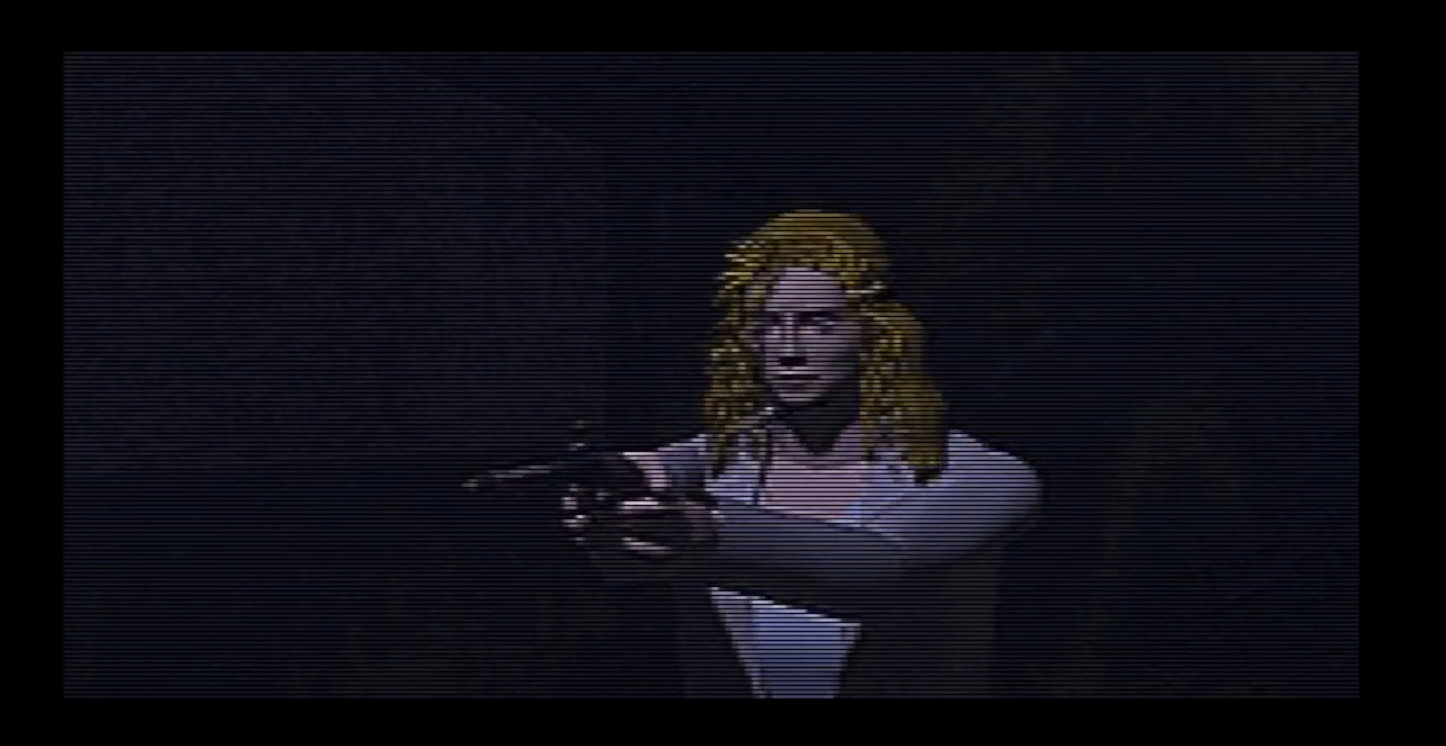
Using The Gun To Escape The Second Stage Of The Castle - [Rating: 4/10] - As I said, the water from the fountains allows Laura to pick up a gun in a chest that previously existed in a spike pit. The game even plays a cinematic showing the chest rising to the top of the water in a different room to direct the player on their next steps. Unfortunately, you must turn the lever for the elevator ten times to get to this chest. Next, you need to return to the elevator with the gun, pull the lever three times, and navigate Laura to a stained glass mural. What was once a dead-end can now be destroyed if you use the gun on the stained glass. The only part of this puzzle I actively dislike is using the crank to move the elevator. Otherwise, this is, again, a fun little escape room puzzle. When I first butted up against the room with the window, I was able to predict I would need to use an item on it acquired elsewhere to continue the game. The minute I picked up the antique handgun, I immediately thought of the room with the window. Even if you skip the window room before you start the puzzle with the observatory, you can safely assume the gun is the key to unlocking the next part of the mansion.
Finding The False Wall - [Rating: 8/10] - After blowing up the window and watching Laura climb a ladder, you'll find her in a dark corridor. If you walk to the end of this corridor, she will see a hallucination that depicts a stone wall breaking apart. That is your LONE HINT to find a secret door to a concealed passageway. The corridor has two sides, and you must check both for the hidden passage. Also, it is a narrow linear walkway with the same repeating stone texture. The good news is that the corridor is short, but it is long enough that you might be sweating bullets if you only have a little time left. It's not an impossible ask of the player IF the hint the game provided was explicit enough for them to know what they need to do. That's not the case with the hallucination because the wall breaking apart is only a tiny jittery section of the dream. Nonetheless, you can brute force your way to the secret passage, which is why I can't give it my highest mark.

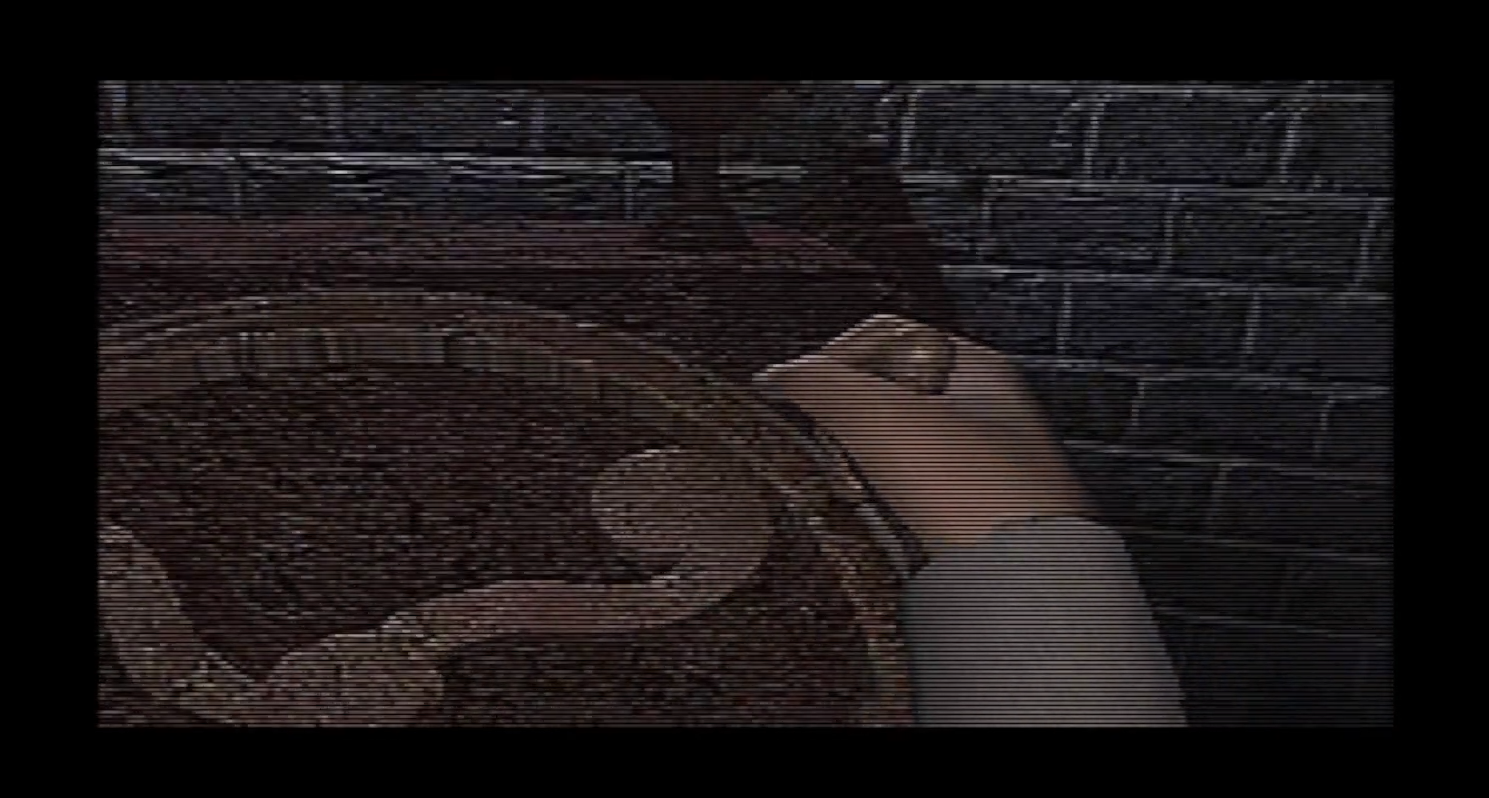
Operating The Machine Behind False Wall - [Rating: 8/10] - When or if you manage to find the false wall, Laura will immediately encounter a weird machine with gears and buttons. If you look closely, you can notice a red ball on one of the gears to the left. The goal is to move the ball to the center of the right gear. On a console that shifts the ball and wheels, there is a lever on the left, a button in the middle, and another lever on the right. The levers can be set to a top, middle, or down setting, and the left handle shifts the left gear while the right one shifts the rightmost gear. There is more than one way to solve this puzzle, and while I appreciate that, there is no way to reset the ball and gears should you royally fuck up the contraption. That last point is an absolute pain in the ass because even with optimal play, getting everything where it needs to be is relatively involved. The quickest solution, with the first position being for the left lever and the second position for the right one, is Middle-Middle-Button, Down-Middle-Button, Middle-Middle-Button, Top-Middle-Button, Top-Down-Button, and Middle-Middle-Button. Once you move the red ball to the correct place, another wall gives way, and Laura confronts her father attempting to become the next Dracula. Yeah, the story in this game GOES PLACES!
However, let's talk about why this machine puzzle sucks ass. If you mess up even once, how you undo your mistake is a complete and total mystery. Sometimes, your best bet is to spin the ball in a full circle until it returns to its original starting position. Moreover, the machine is laborious and slow, much like the elevator. For reference, I was only three to five steps removed from the optimal way to use the device, and it took me a solid nine to ten minutes. All the while, the few mistakes I made were a complete revelation to me. I feel like the levers' inputs, and the ball's position can lead to unexpected results, but that might be me going crazy. Nonetheless, there's no doubt this is an incredibly poorly signposted puzzle that comes out of nowhere and is a terrible immersion breaker. It's a lousy penultimate capstone to what is a bizarre but at least visually provocative art house project.
Shooting Your Father In The Heart Before He Becomes Dracula - [1/10] - Congratulations! You have reached the end of the game! Before you do anything too hasty, Laura's father gives her the rundown about how she and her family are distant relatives of Dracula. He also reveals that after her birth, Laura ate her mother to absorb her flesh and soul to become some ultimate being or demigod. After lecturing why he should be the one to become the next Dracula, he goads Laura to approach him so he can absorb her essence. However, if you take the time to pick up the antique pistol, using it results in Laura shooting her father in the heart and listening to his dying words before the game smash cuts to credits. It's a binary choice and a hilariously dumb way to end this game. However, it also feels wildly appropriate, given how the game only gives a shit about its story at the ass-end of its final hours. What a fucking video game!
Should You Play D? (Answer: Only If You Like Weird Art House Stuff So Much You Can Overlook A Lot Of Bunk Gameplay)
You have to have a deep appreciation and fascination for art house projects to appreciate the merits of D. It is a wildly ambitious title that goes places you'd never expect. Also, there's nothing in the industry that plays and feels like D, and while I would argue there's a good reason for that, that's worth commending on paper. Likewise, the game's unusual format results in average playtimes of around an hour and a half to two hours. With the game's moderate asking price, there's no denying it is an experiment with a low barrier to entry. In many ways, D is a prototype of what we often see on itch.io or most PC digital marketplaces. It takes crazy risks that don't always pan out, but it has hutzpah. Similarly, the game does not have a single malicious bone and broadly commits to Kenji Eno's design objectives of creating a "virtual movie."
Unfortunately, it's not a lot of fun to play. It is a game that is still operating under the shadow of Myst and 7th Guest, and as a result, its puzzles are often laborious tasks that will try the average person's patience if they are not consulting a guide. Worse, the game only partially delivers on its promise of providing an interactive world with hidden context clues on what's happening in the story. The minute you leave the starting environment and start dabbling with the castle elevator, the game is essentially done with its optional psychedelic cutscenes or rewarding the player for exploring its nooks and crannies. On top of that, the game only gives a shit about telling a story during its start and final scene. All of the stuff about Dracula and cannibalism come out of nowhere. It is also an odd and unwanted plot twist considering the beginning of the game puts some value on telling a realistic and atmospheric horror story.
I'm not going to sit here and say Kenji Eno didn't have an influence or legacy during his tragically short lifespan. I'm also not going to tell you that you need to go out of your way to play his games. The only sub-set of people I feel comfortable imploring to check out D are Deadly Premonition fans still toiling away on this site. The same logic Deadly Premonition fans use to excuse the actively unfun nature of that game by saying part of its appeal is its jank applies to D. However, I do need to issue one word of advice to those who might follow through and play this game. Avoid the sequels and pretend they do not exist.
Also, if you are interested to see what it was like for me playing the game blind, here's an archive of that happening:


Log in to comment